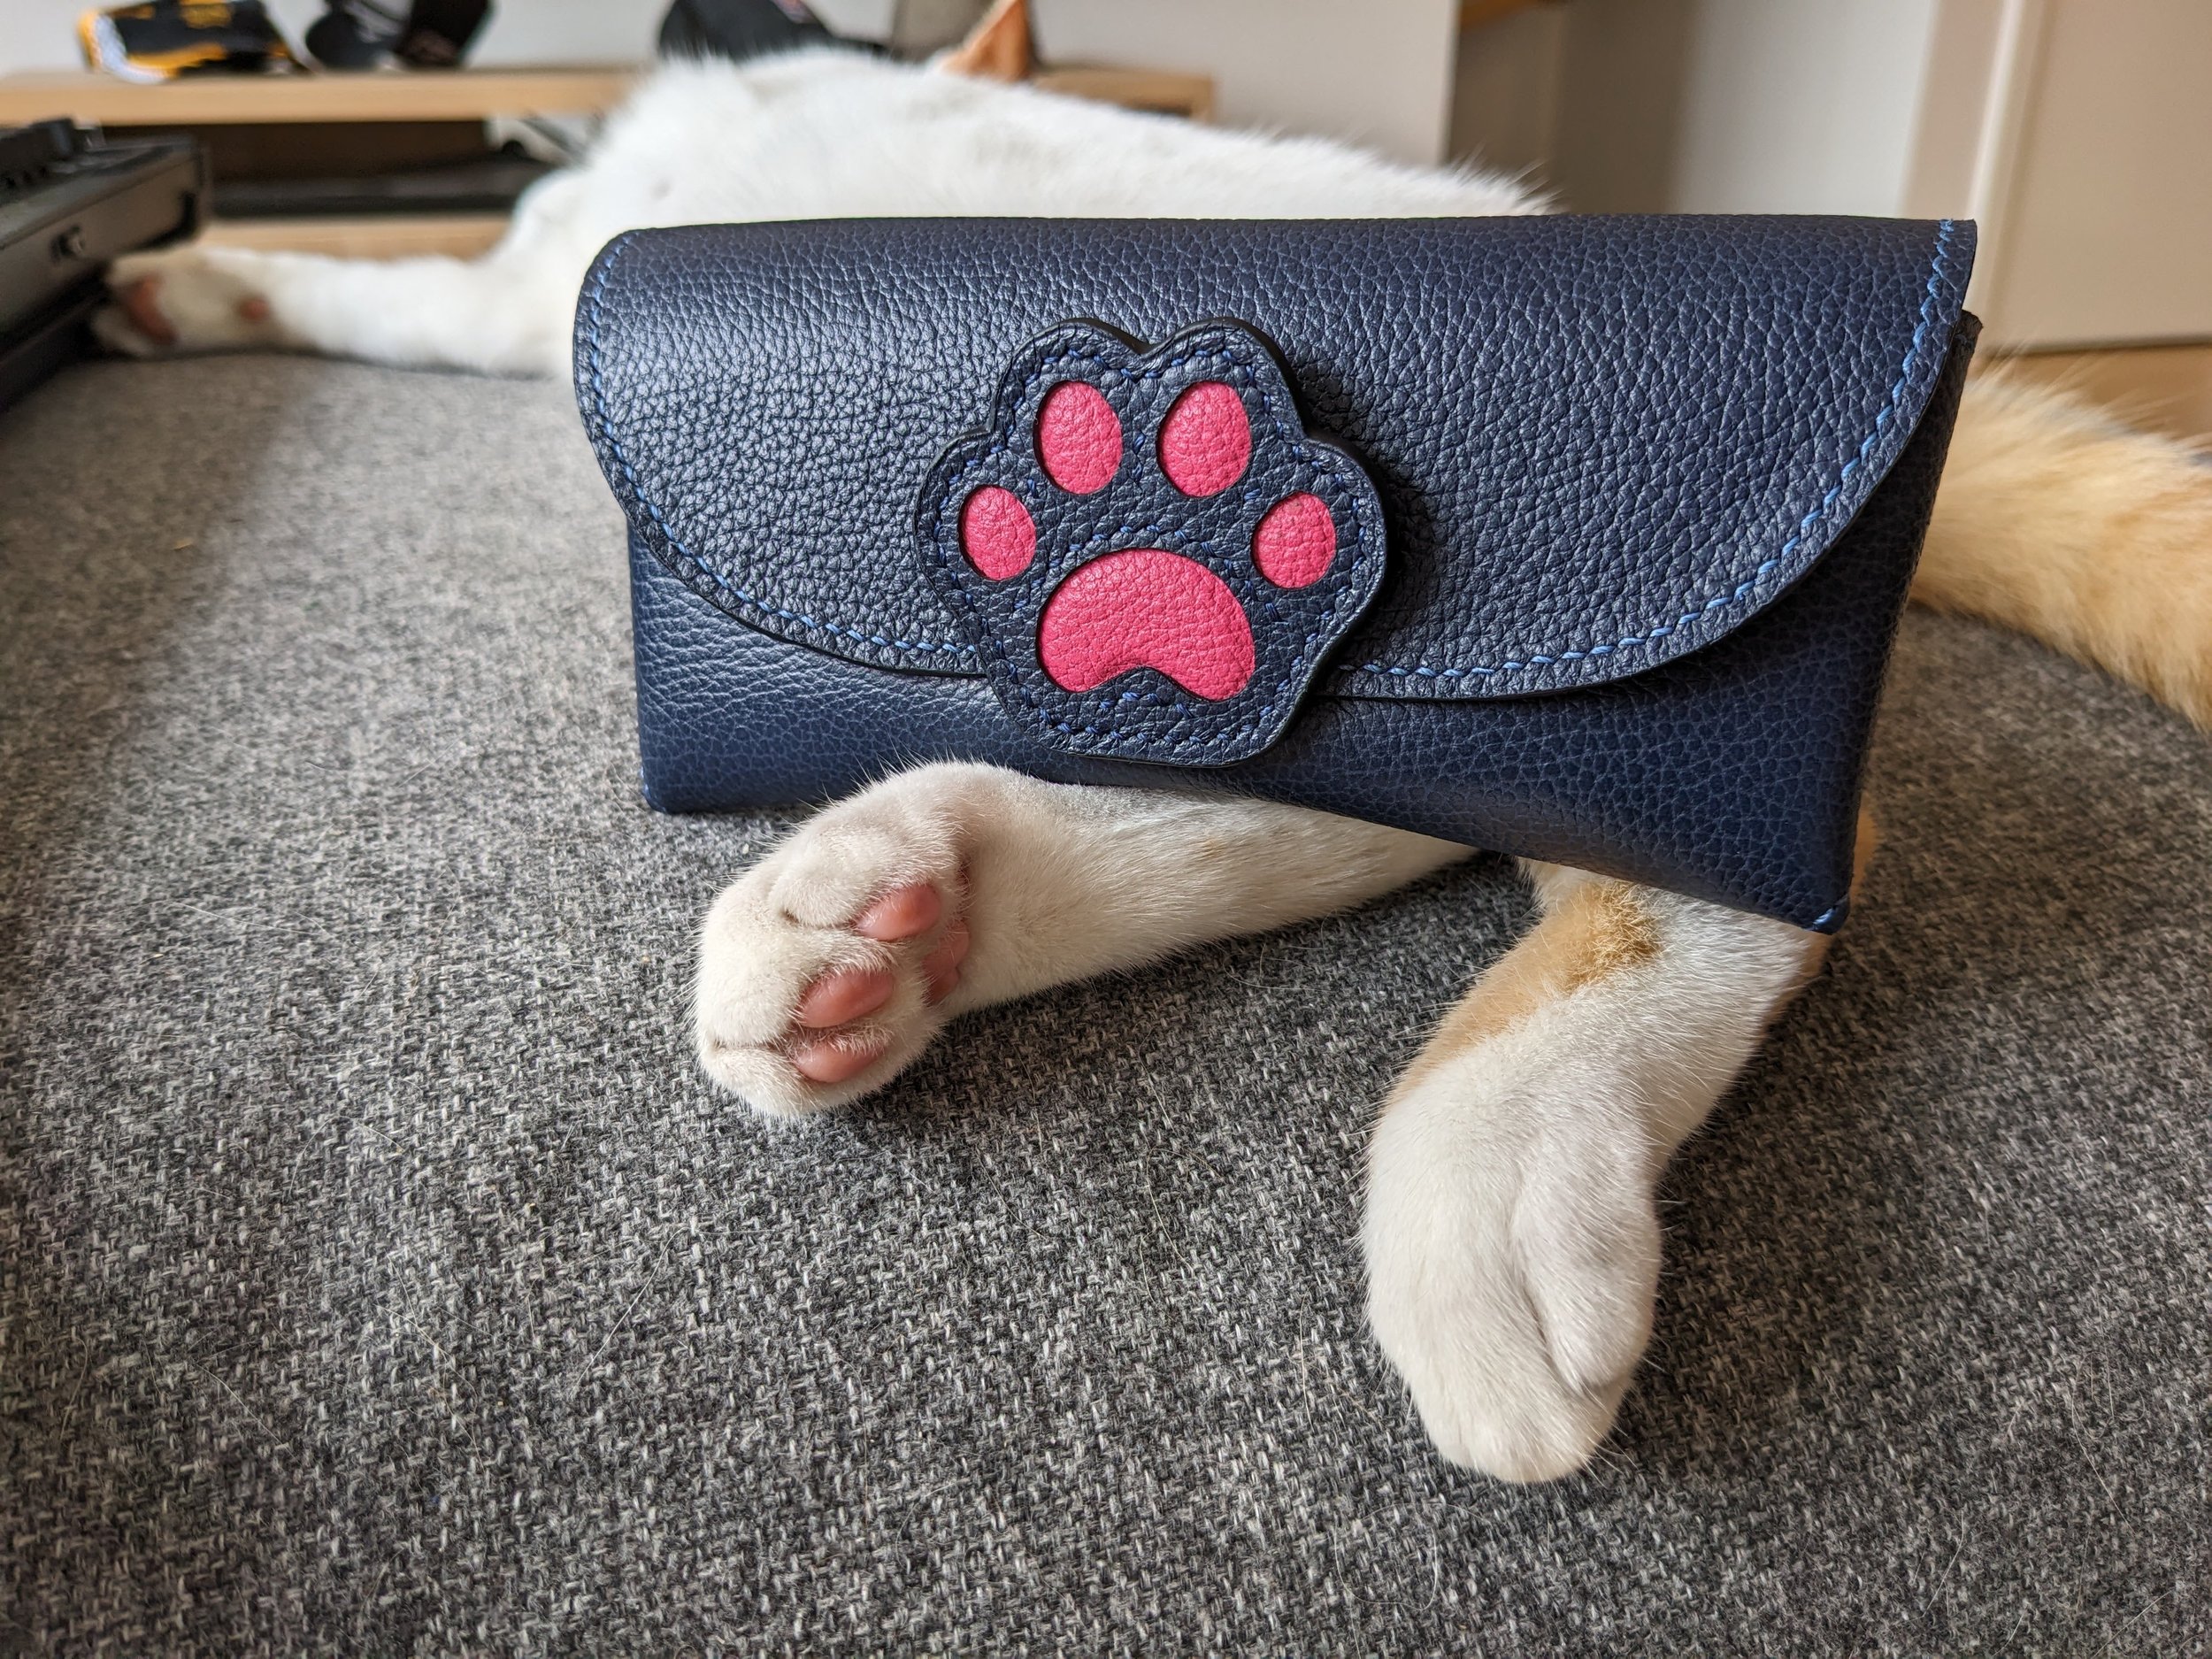
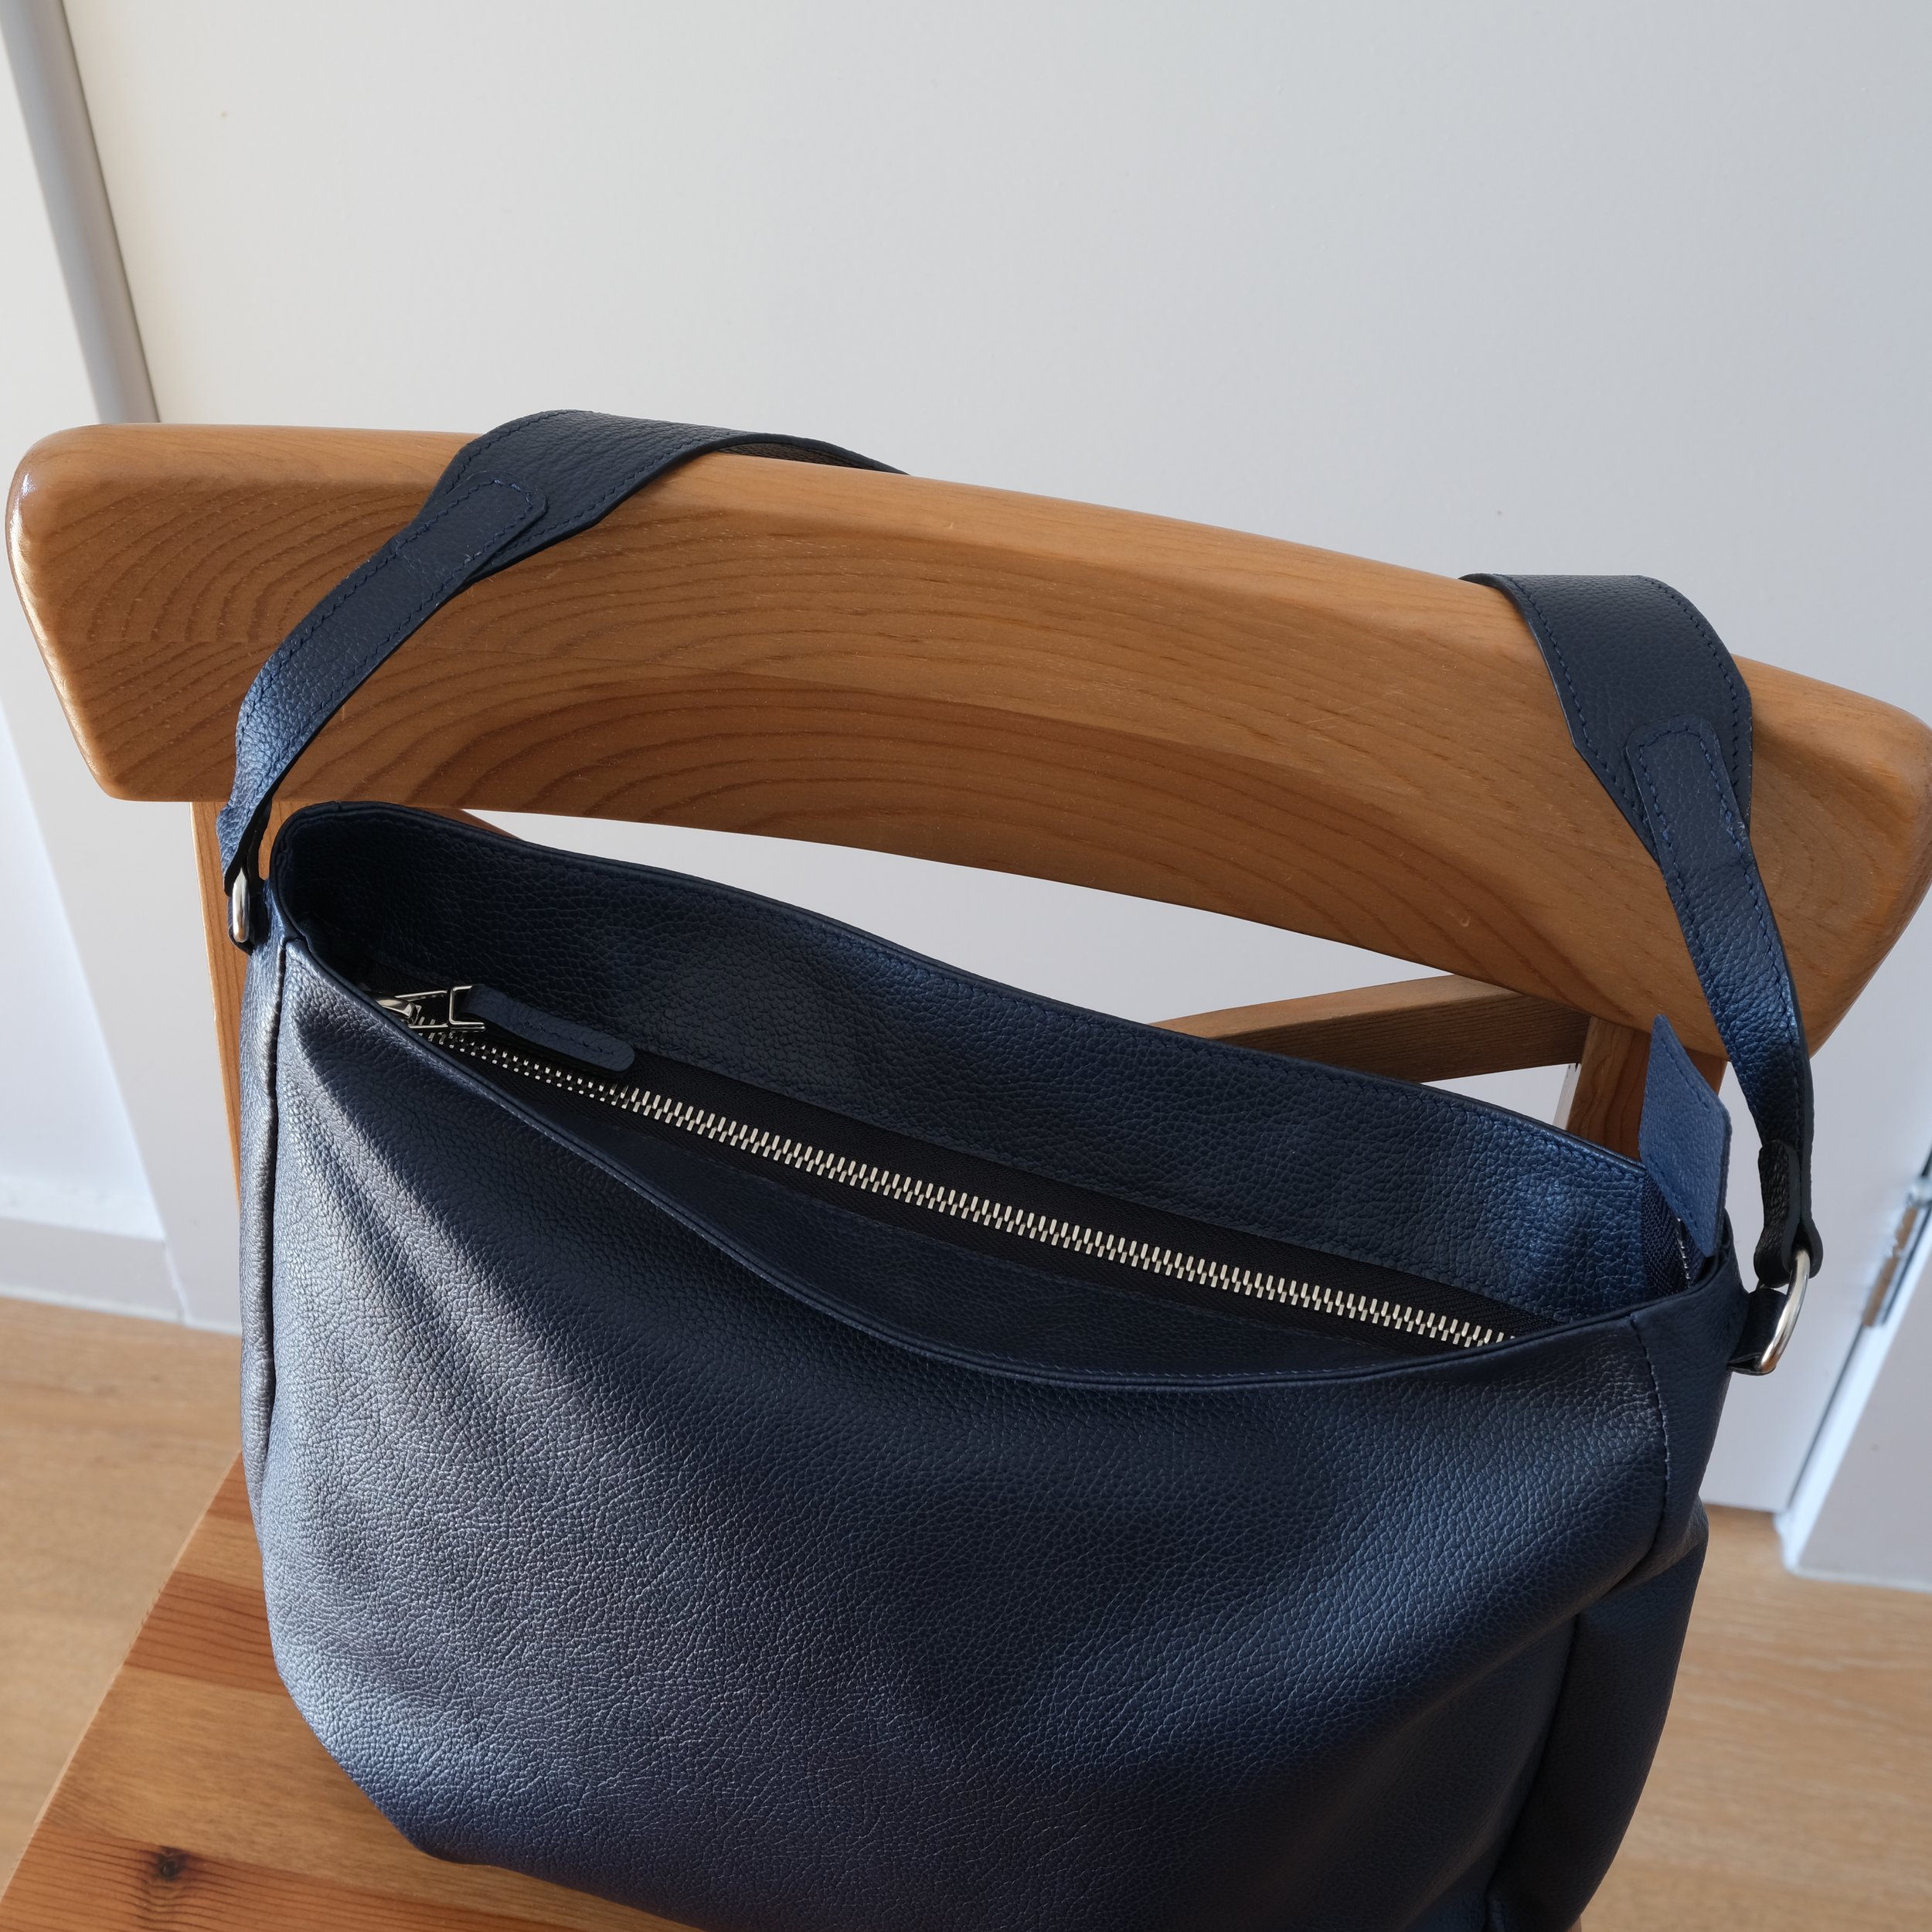
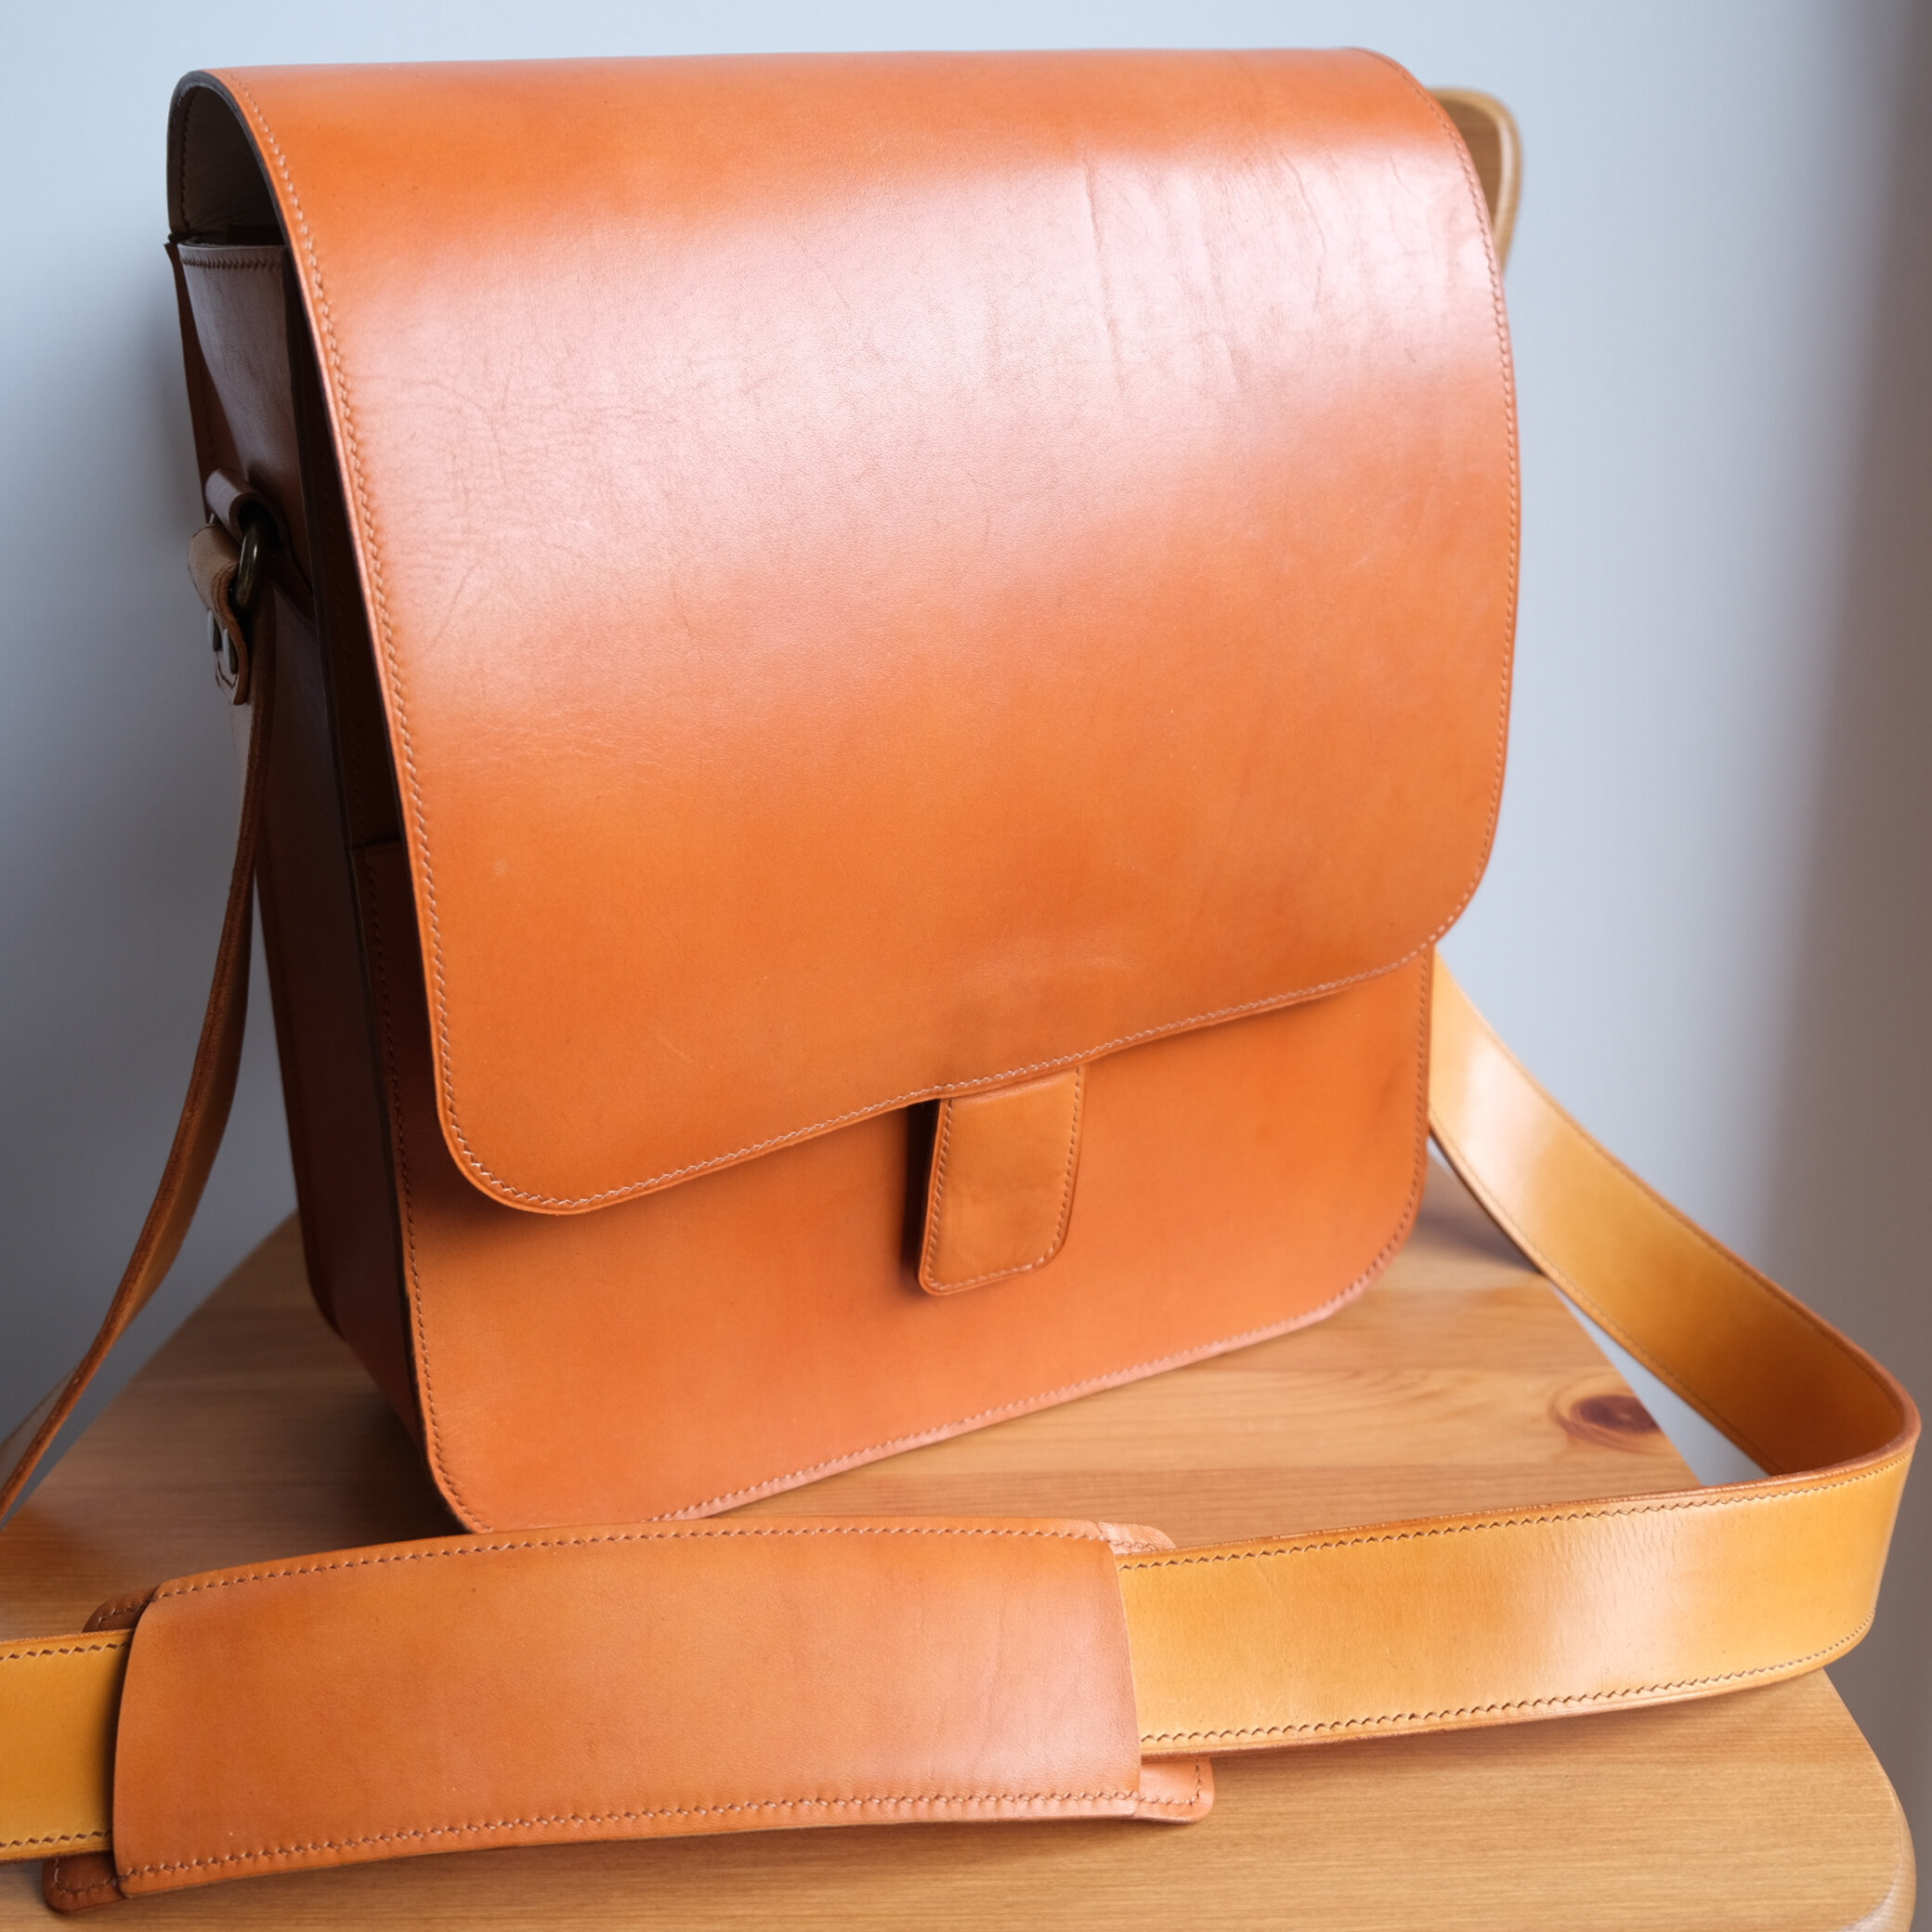
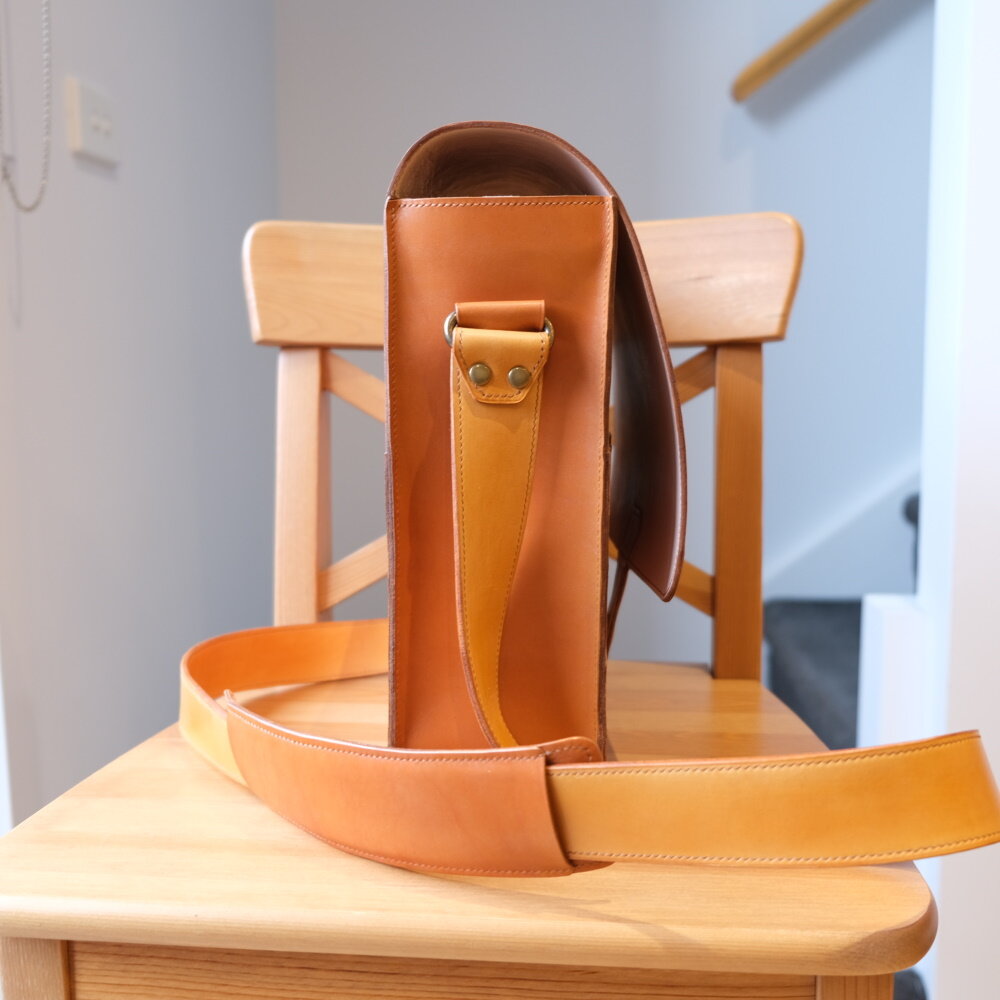
Convertible Ankara bag in over the shoulder carry mode
This bag is an improvement on my first try at the Convertible Kanga Bag. This time I’m using Ankara fabric, and lighter hardware. I’m also skipping the laptop pocket, and attempting to make this bag water resistant by using ripstop water resistant liner.
Materials:
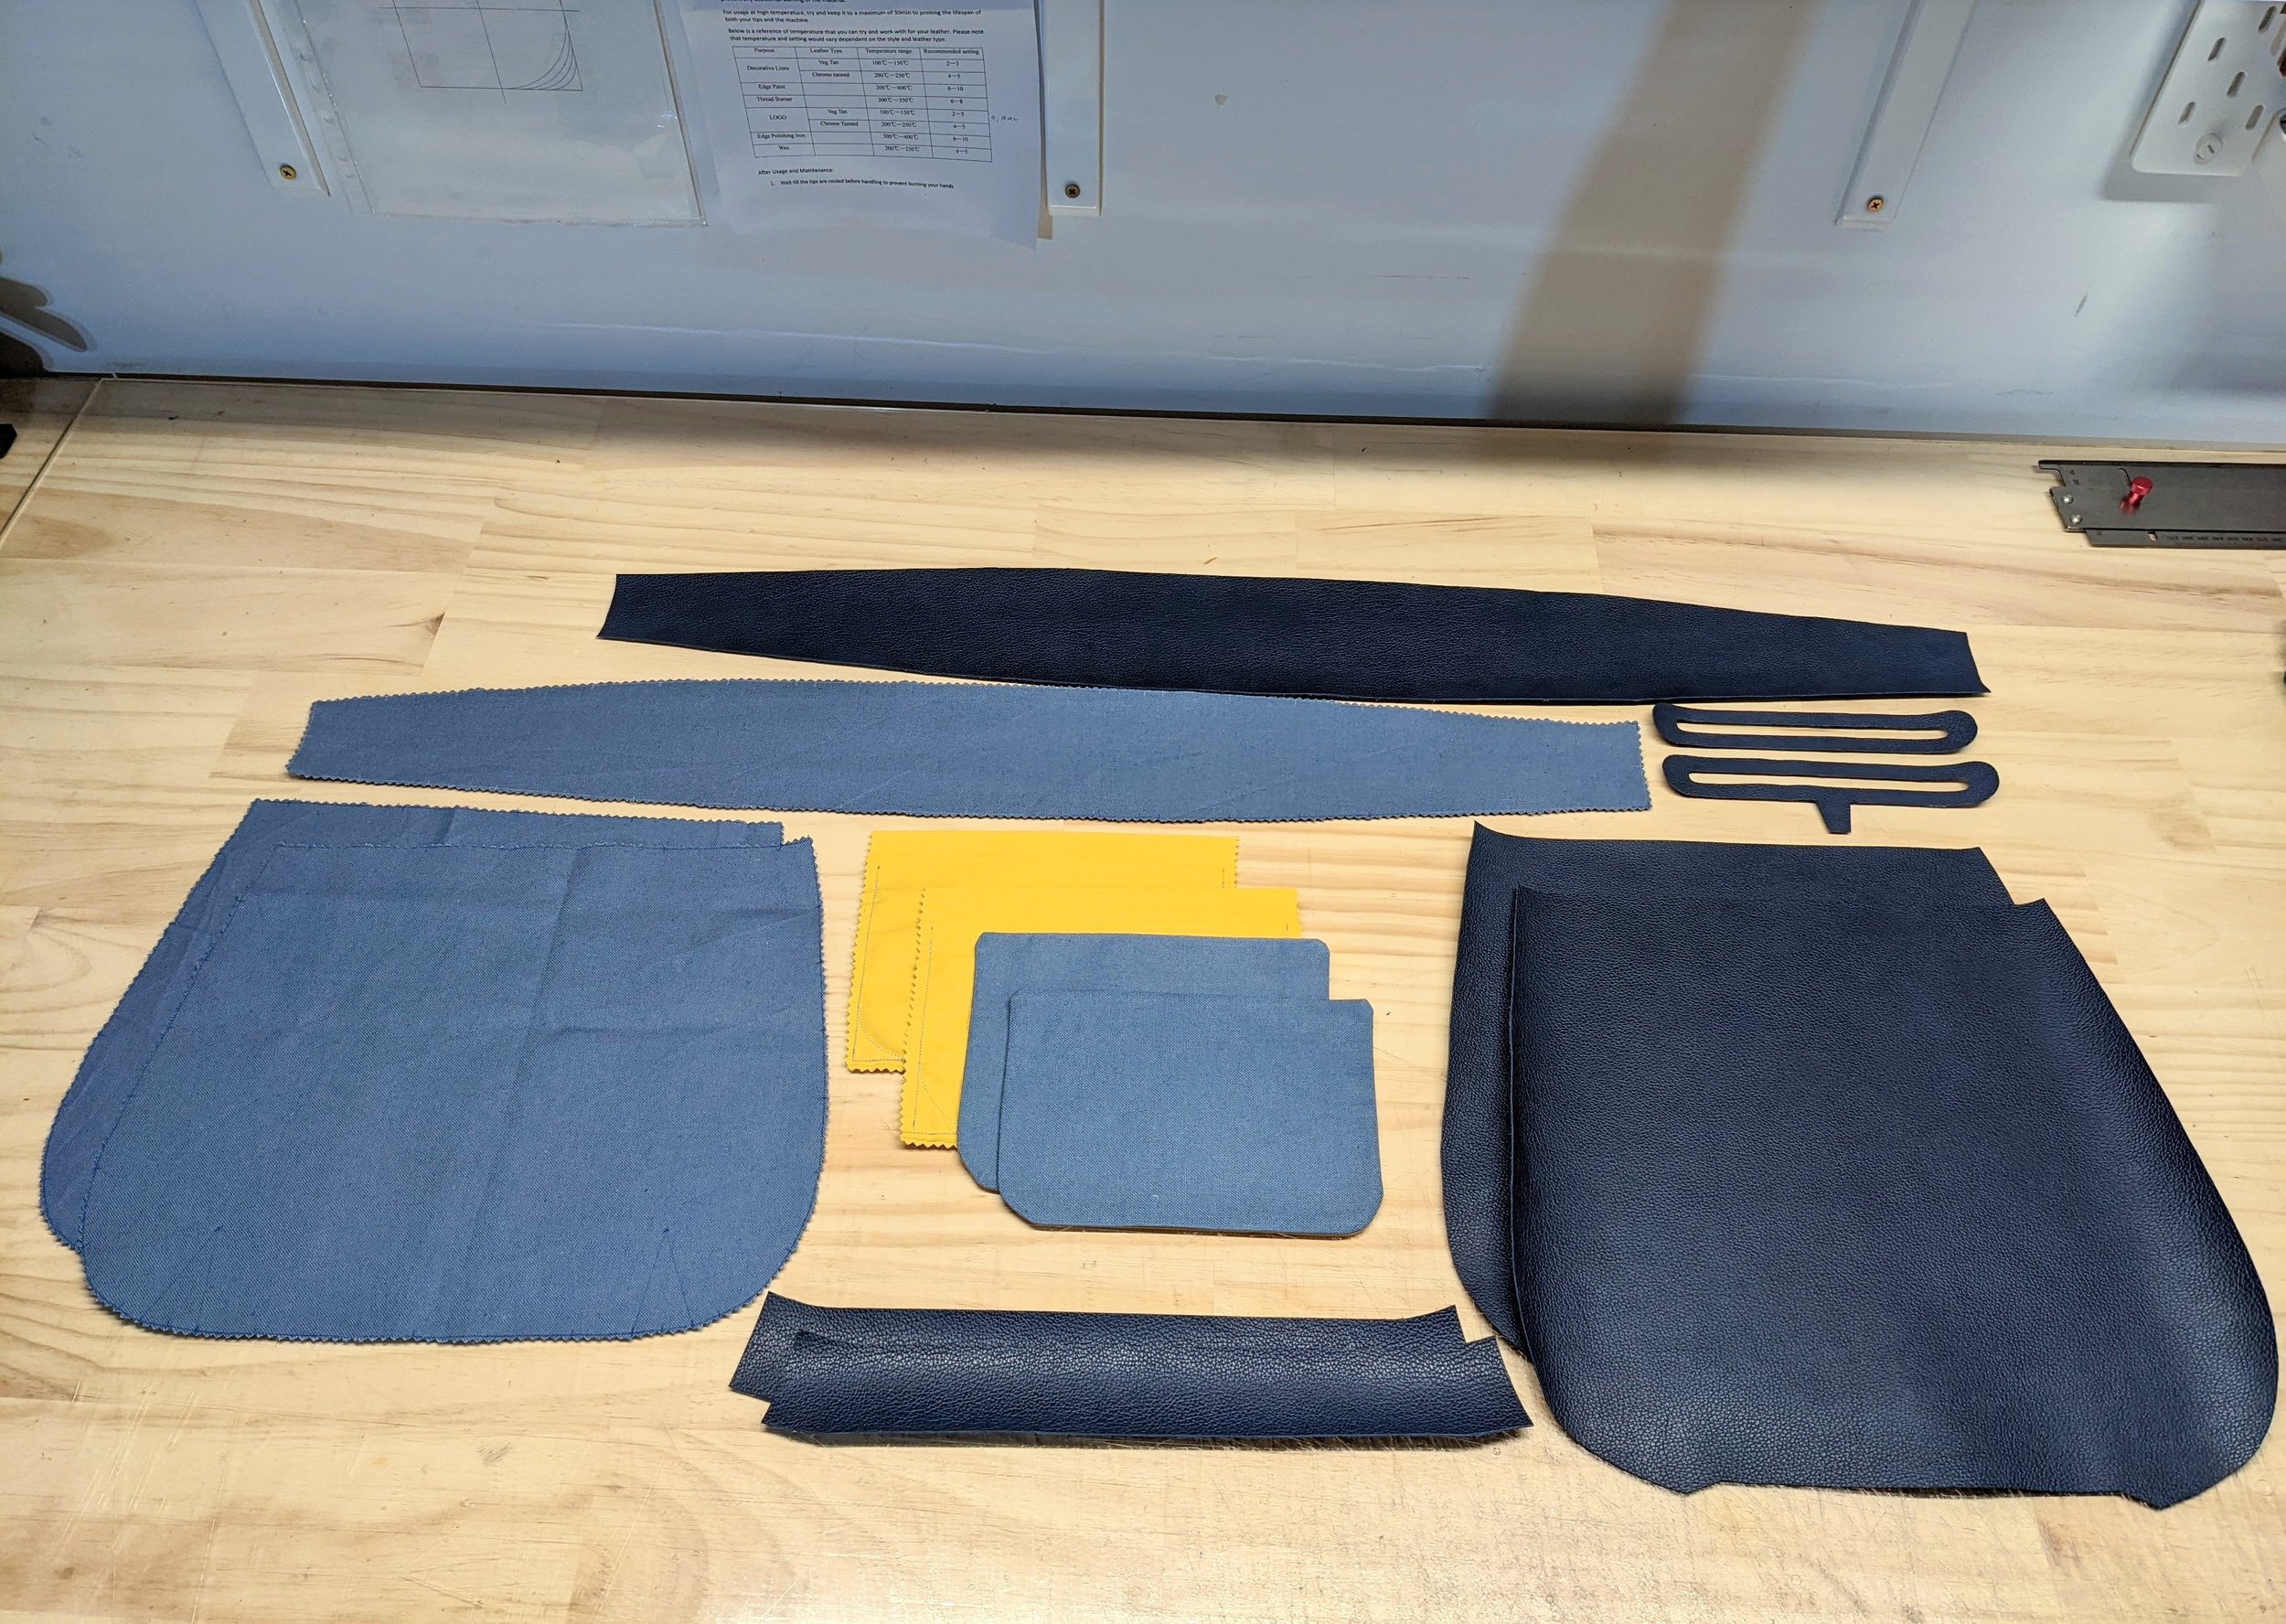
Leather (vegtan goat)
Microsuede reinforcement, Velodon reinforcement
Ankara fabric
Medium fusible interfacing
Water resistant ripstop nylon fabric
Hardware: D-rings, Oval ring, Swivel snaps, Belt slider, YKK Zippers
Method
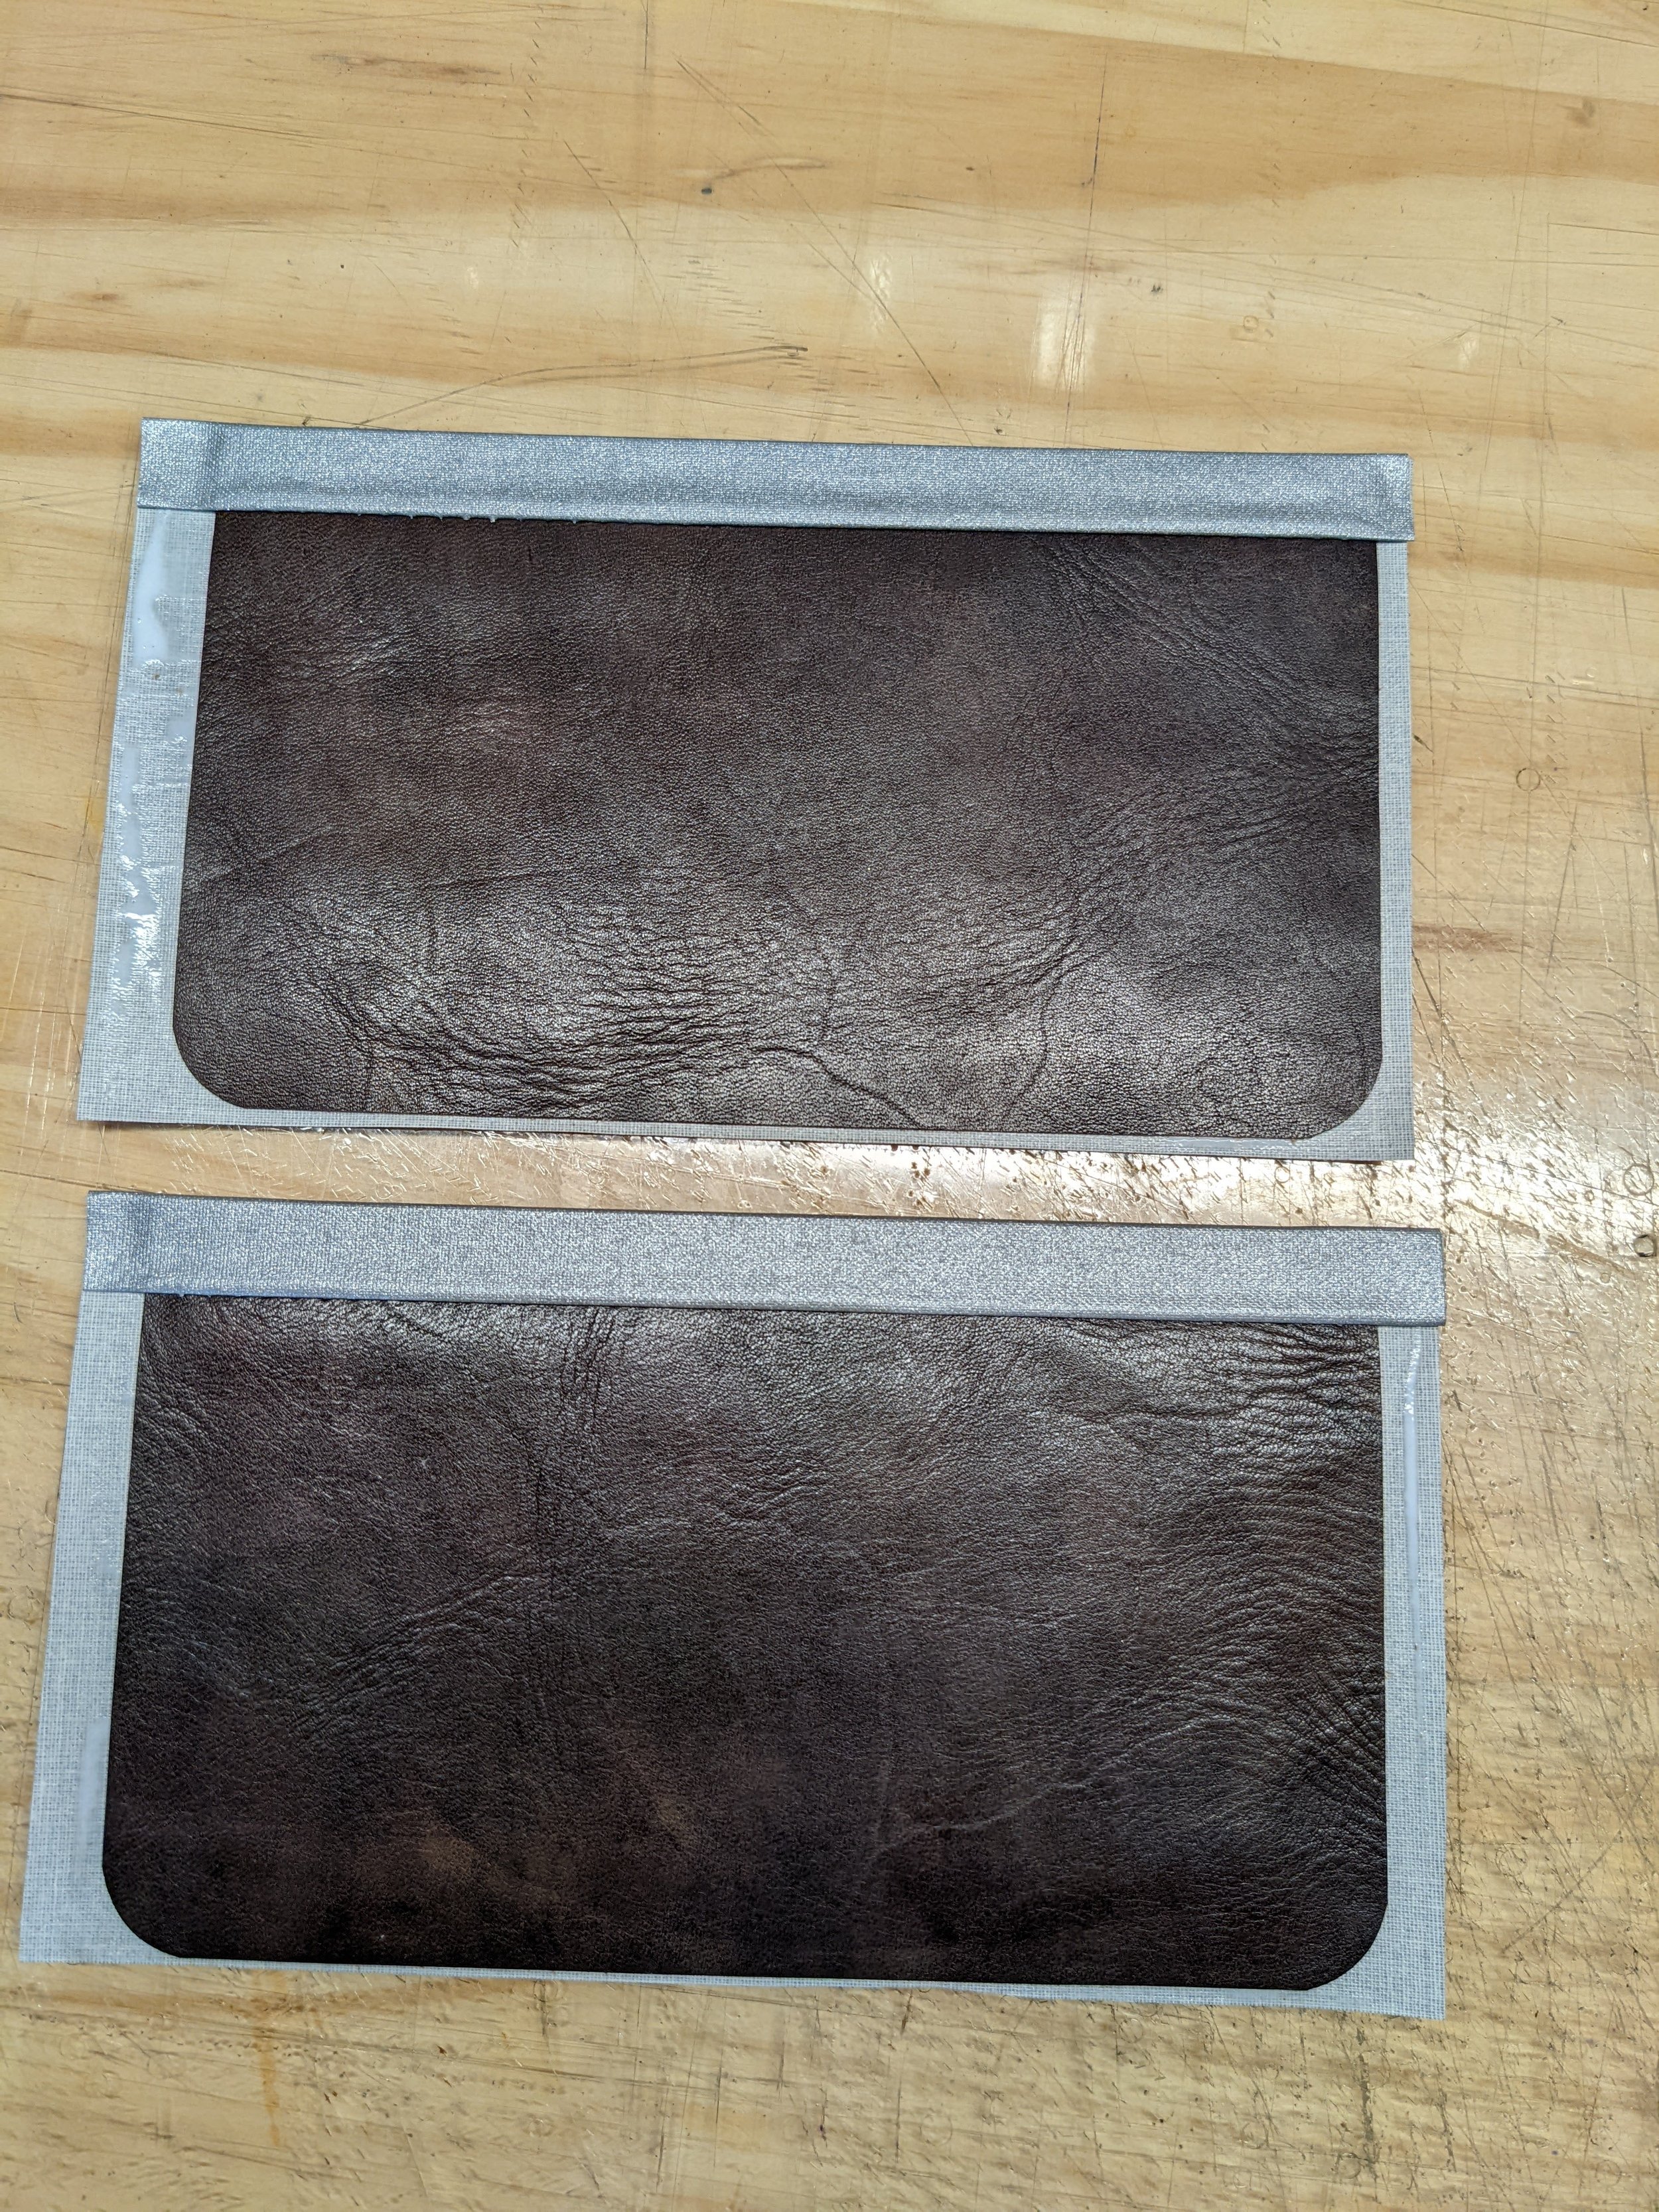
Starting with the base, I went with a standard tote base. Given this is vegtan goat, it wouldn’t need too much reinforcement, so I went with a light microsuede reinforcement laminated (fully glued) to the leather. The leather panel dimensions were 34 x 31cm.
The lamination left some air pockets which I had to go back and fix later by cutting open the air pockets and applying glue again. Since the interfacing wouldn’t be visible this didn’t pose a large problem. In the future, I’ll make sure that when I laminate, besides just using a roller, I’ll apply a large weight to the full surface.
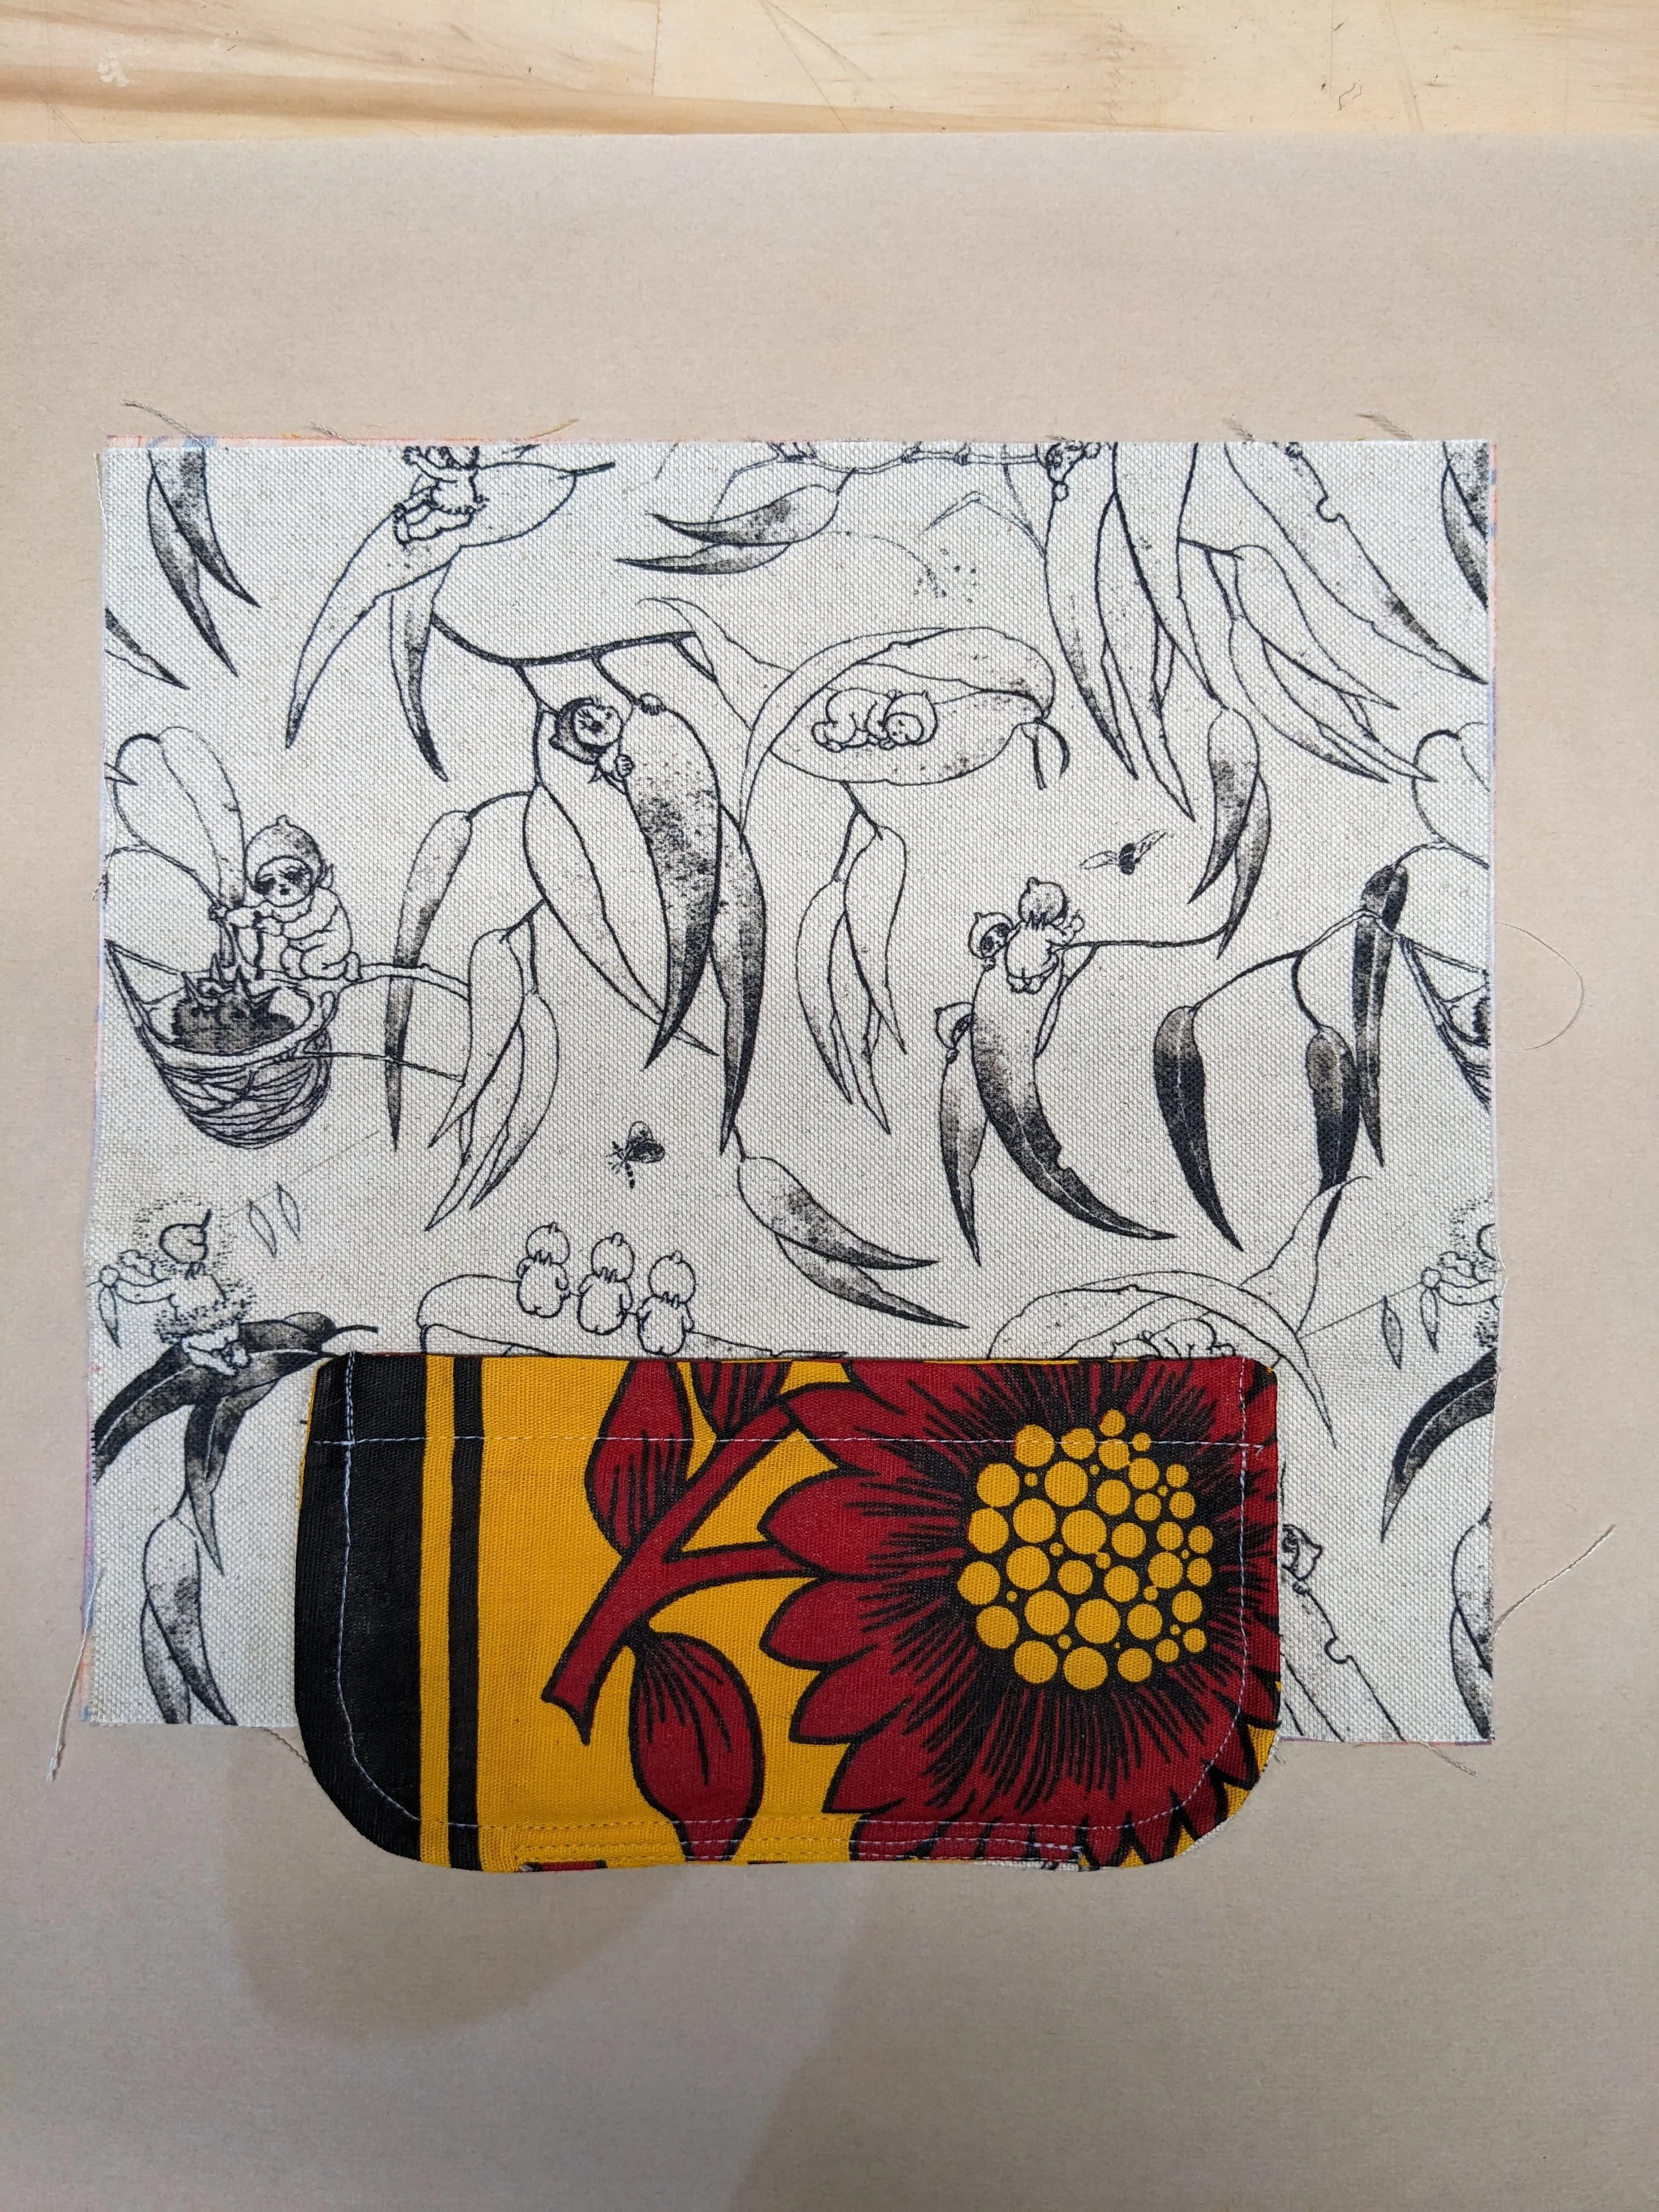
Next I interfaced the Ankara fabric and cut two outer panels 35 x 25cm. The outer panels had enough seam allowance on the sides to be sewn, and the bottom and top to be folded.
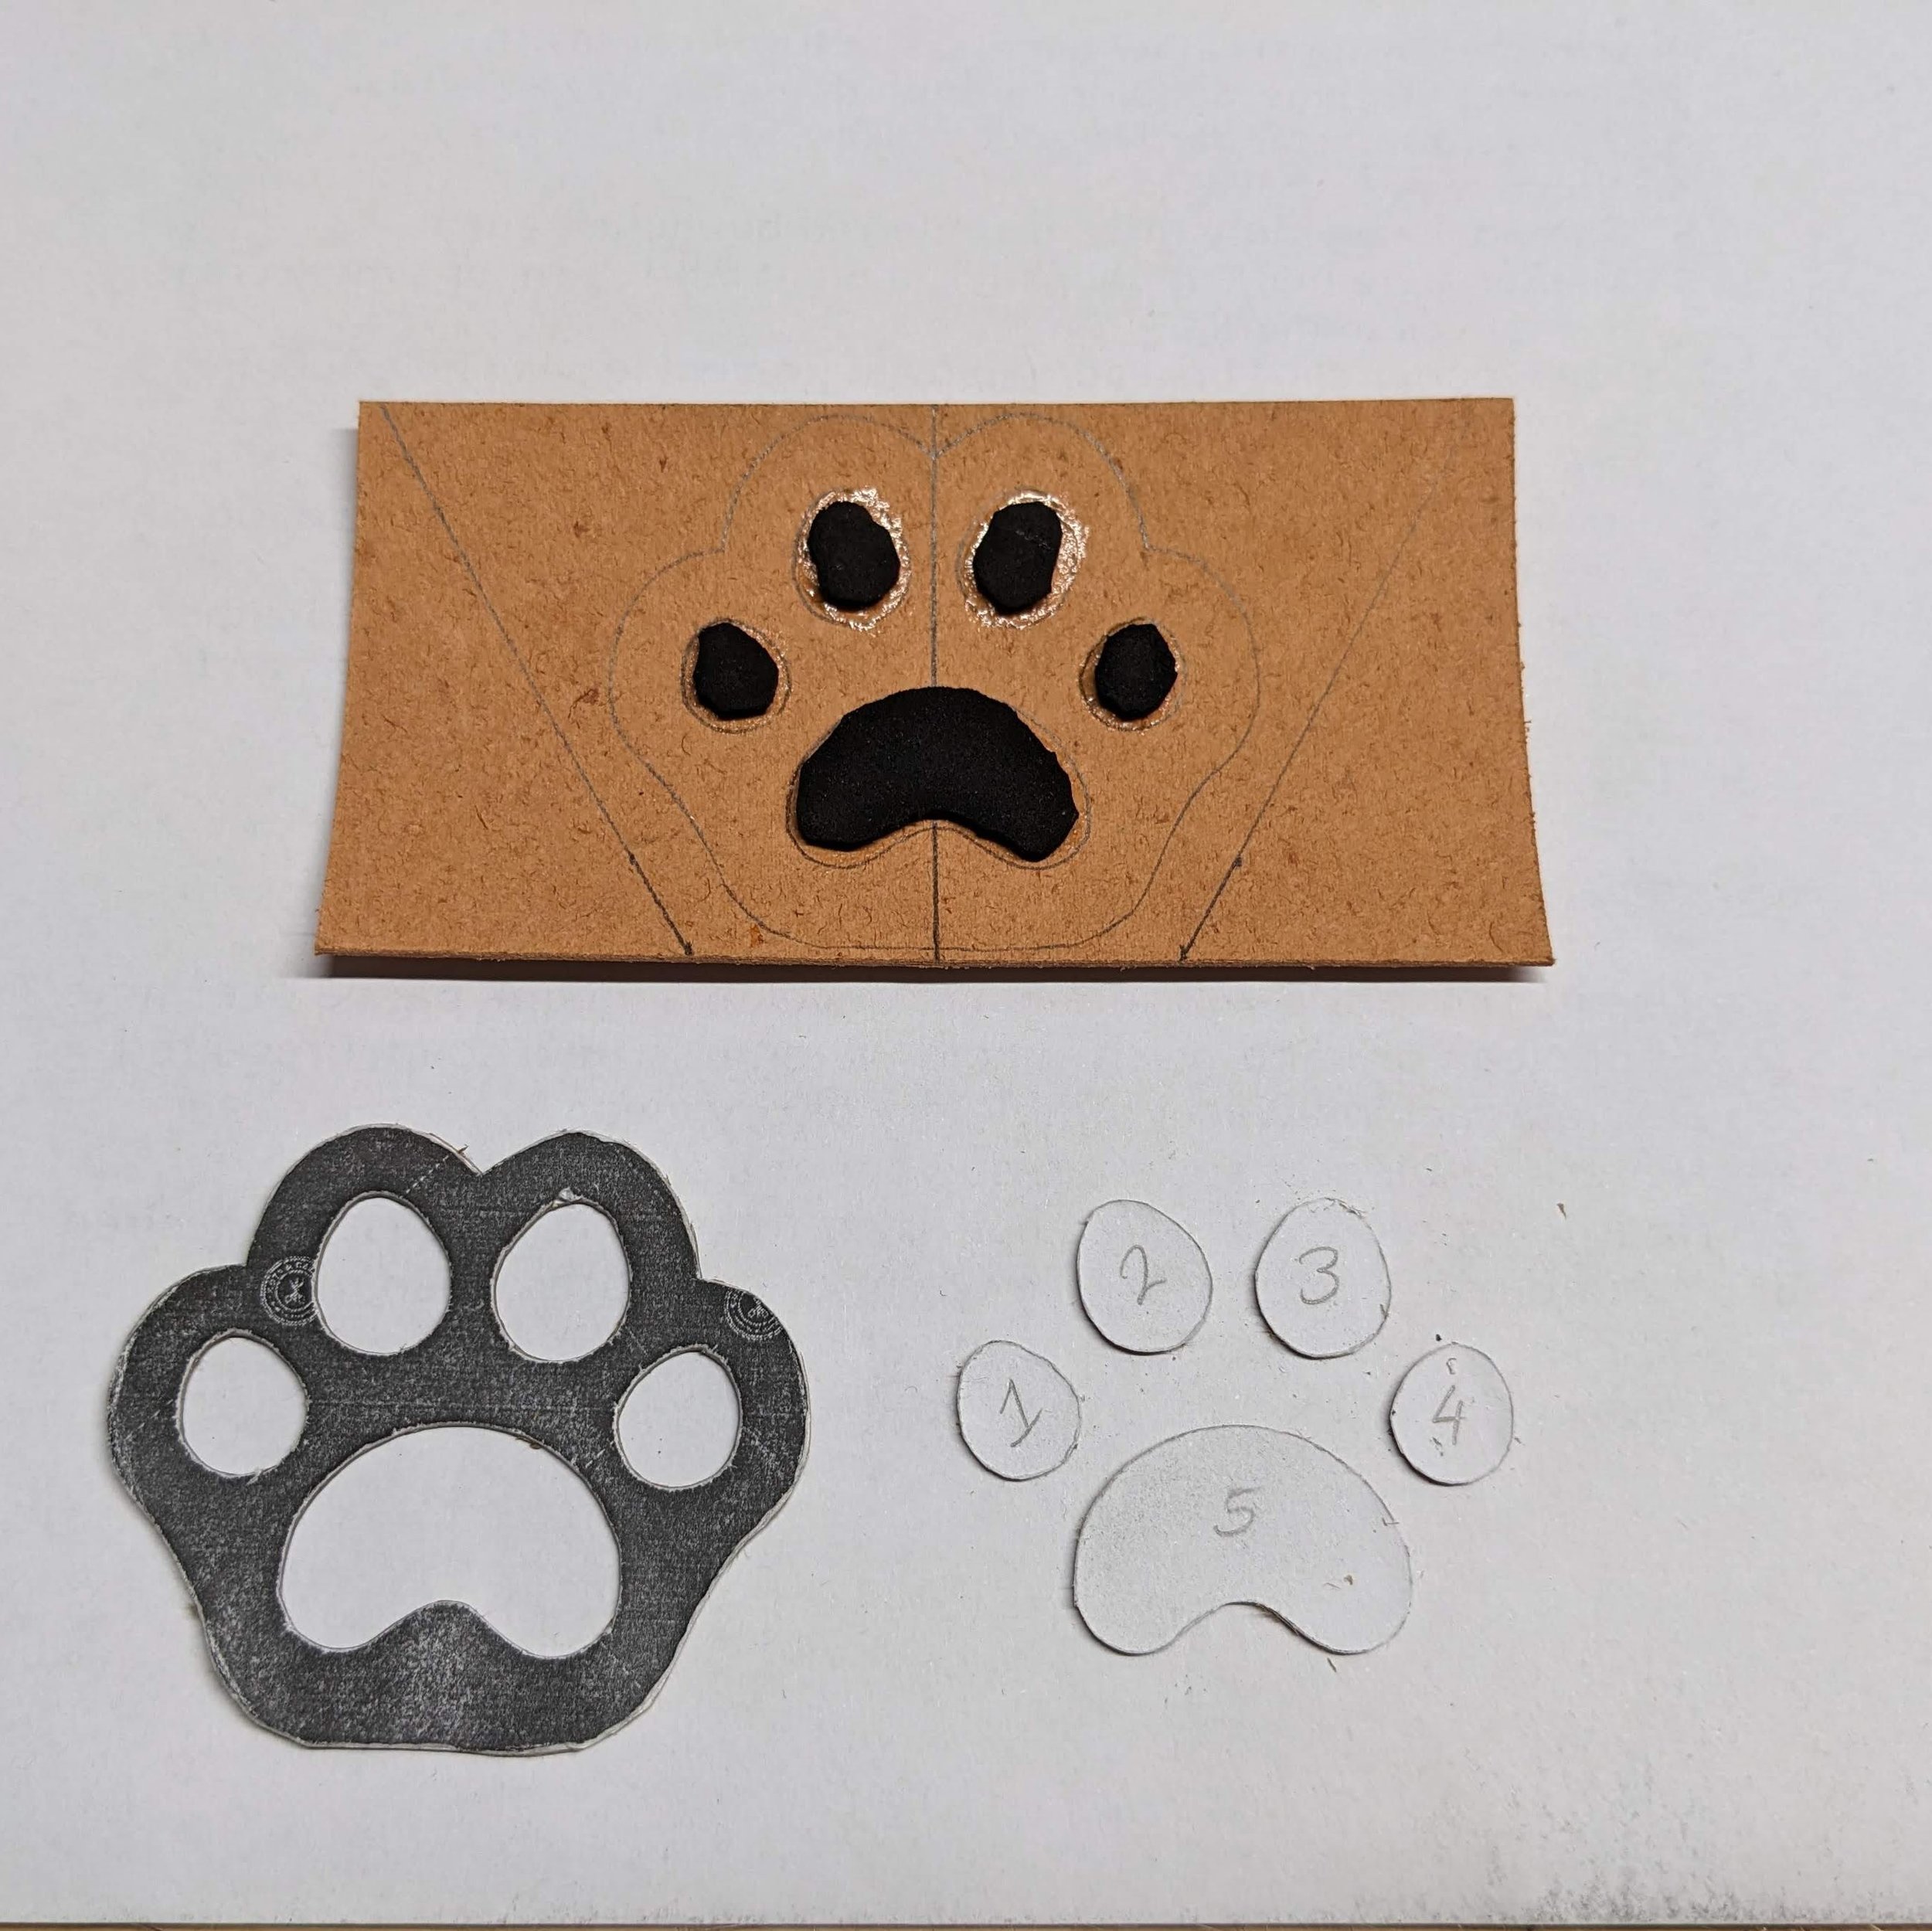
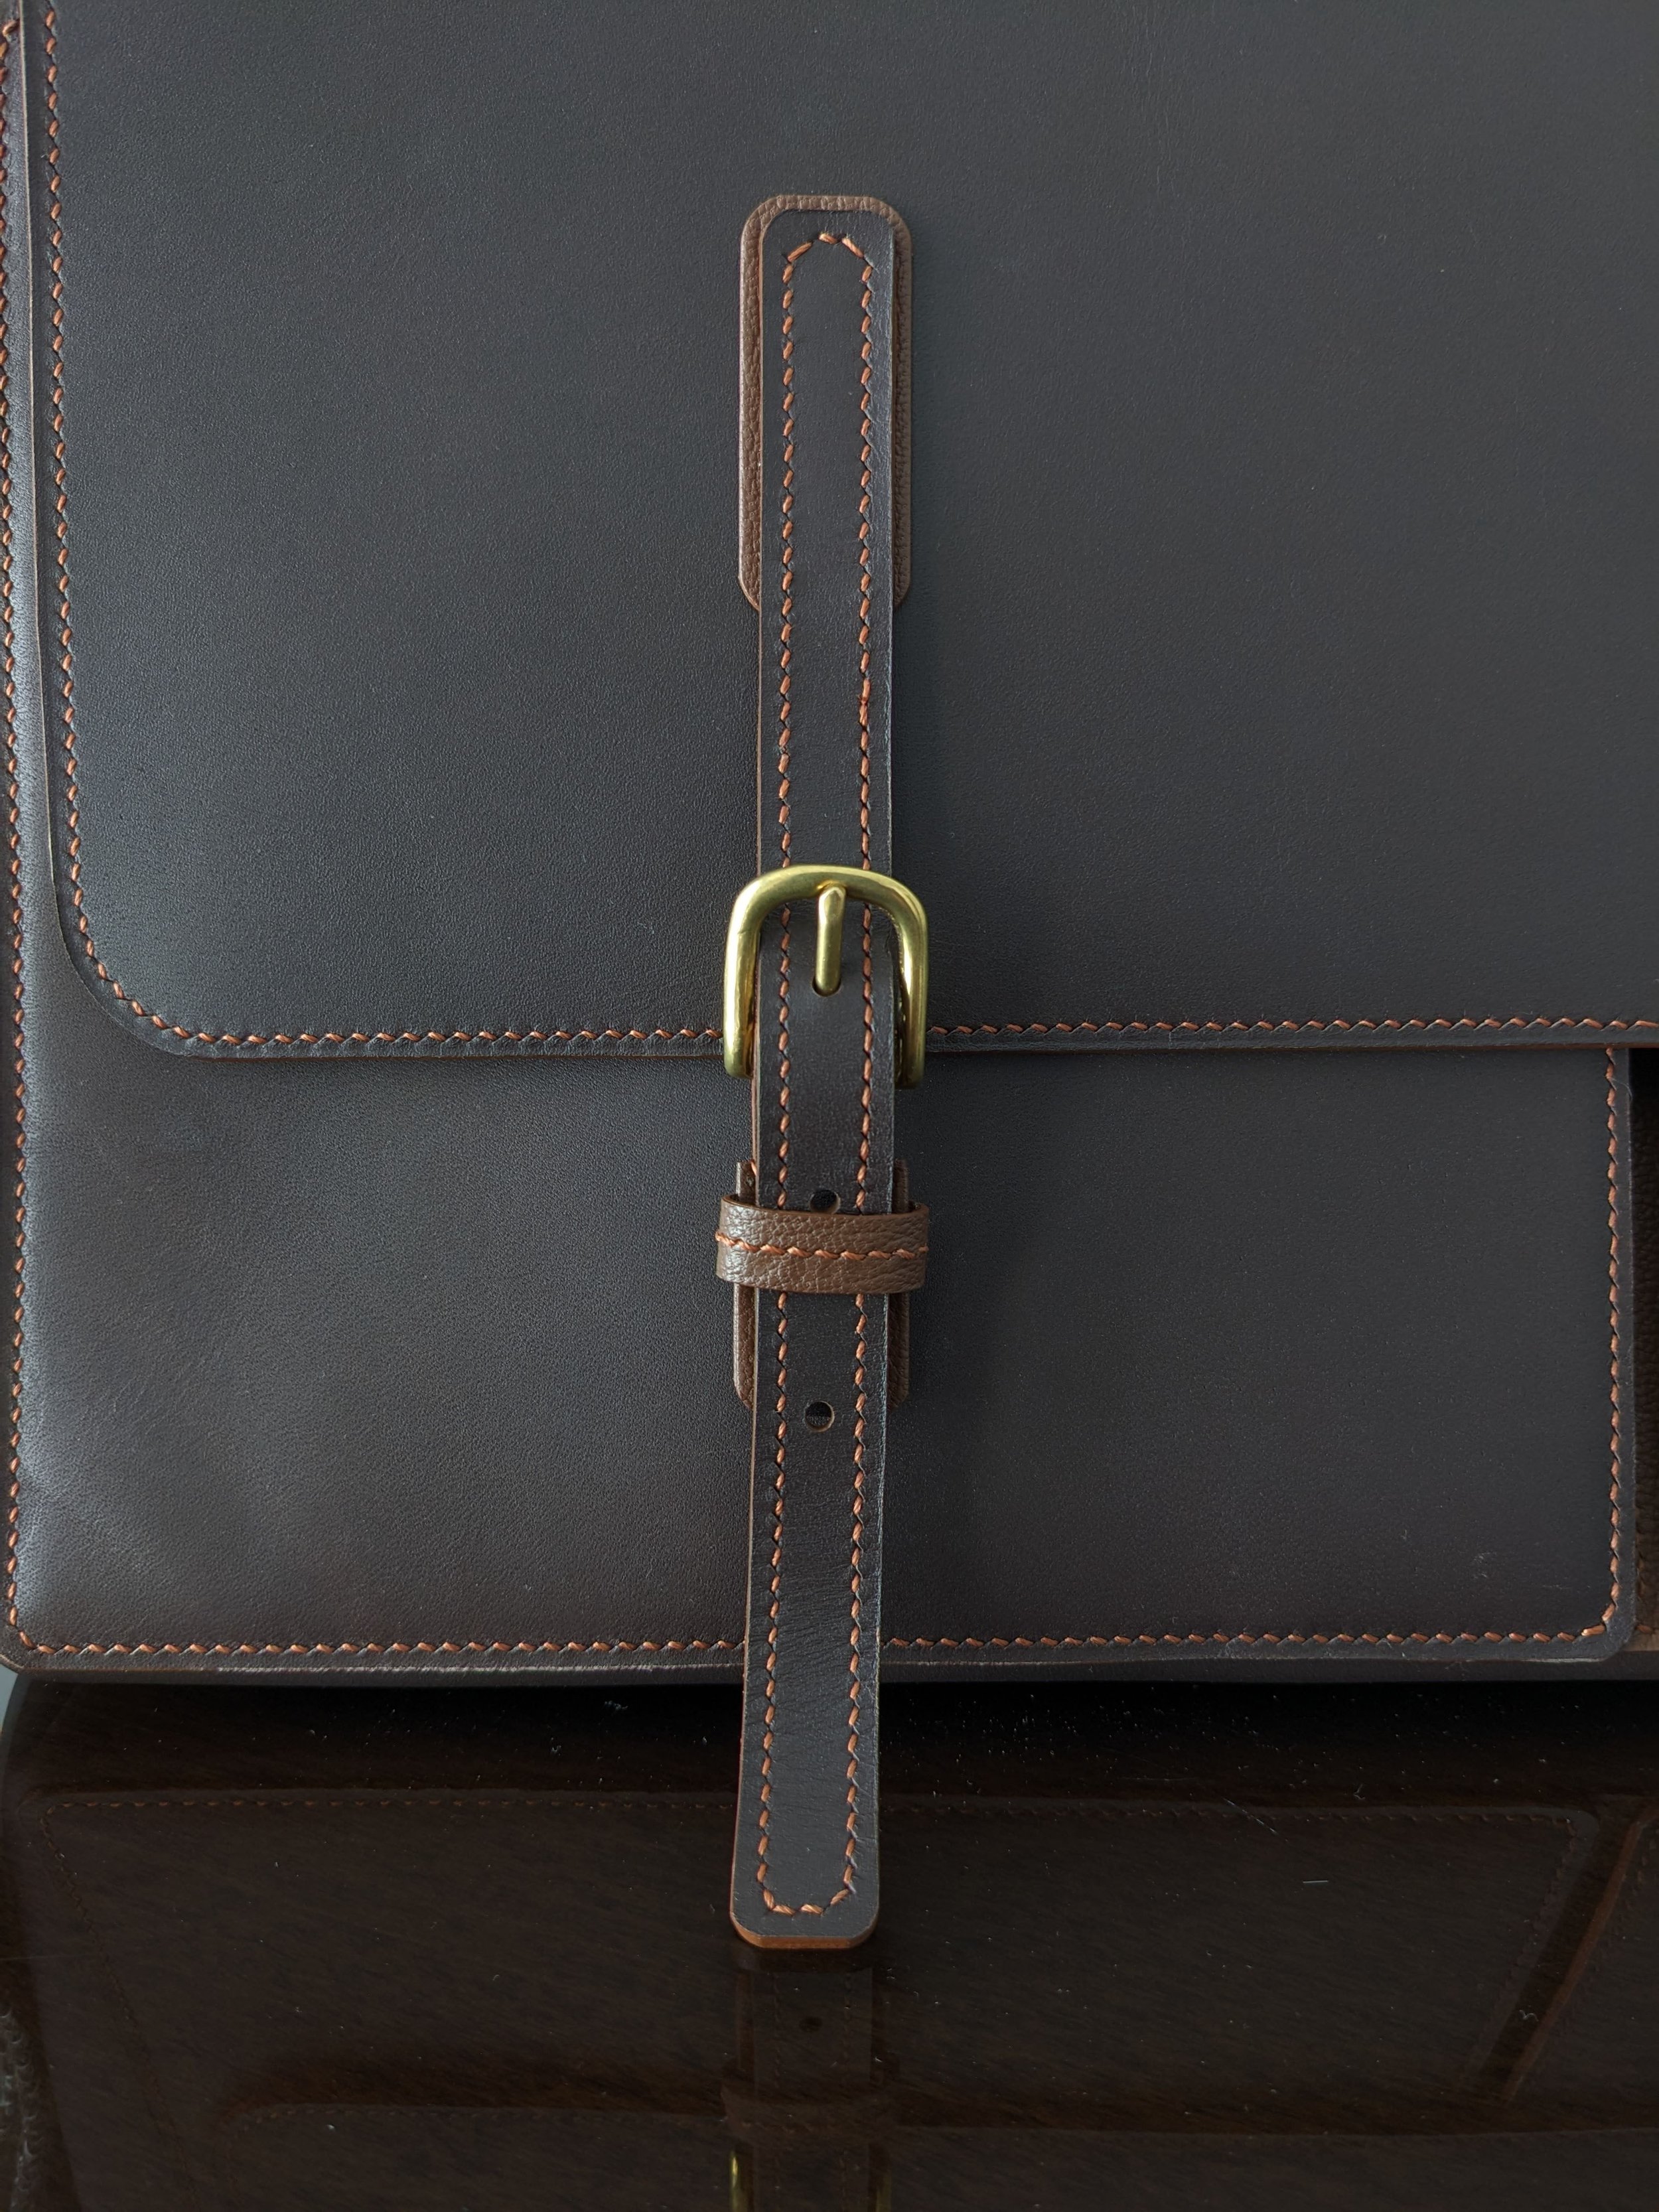
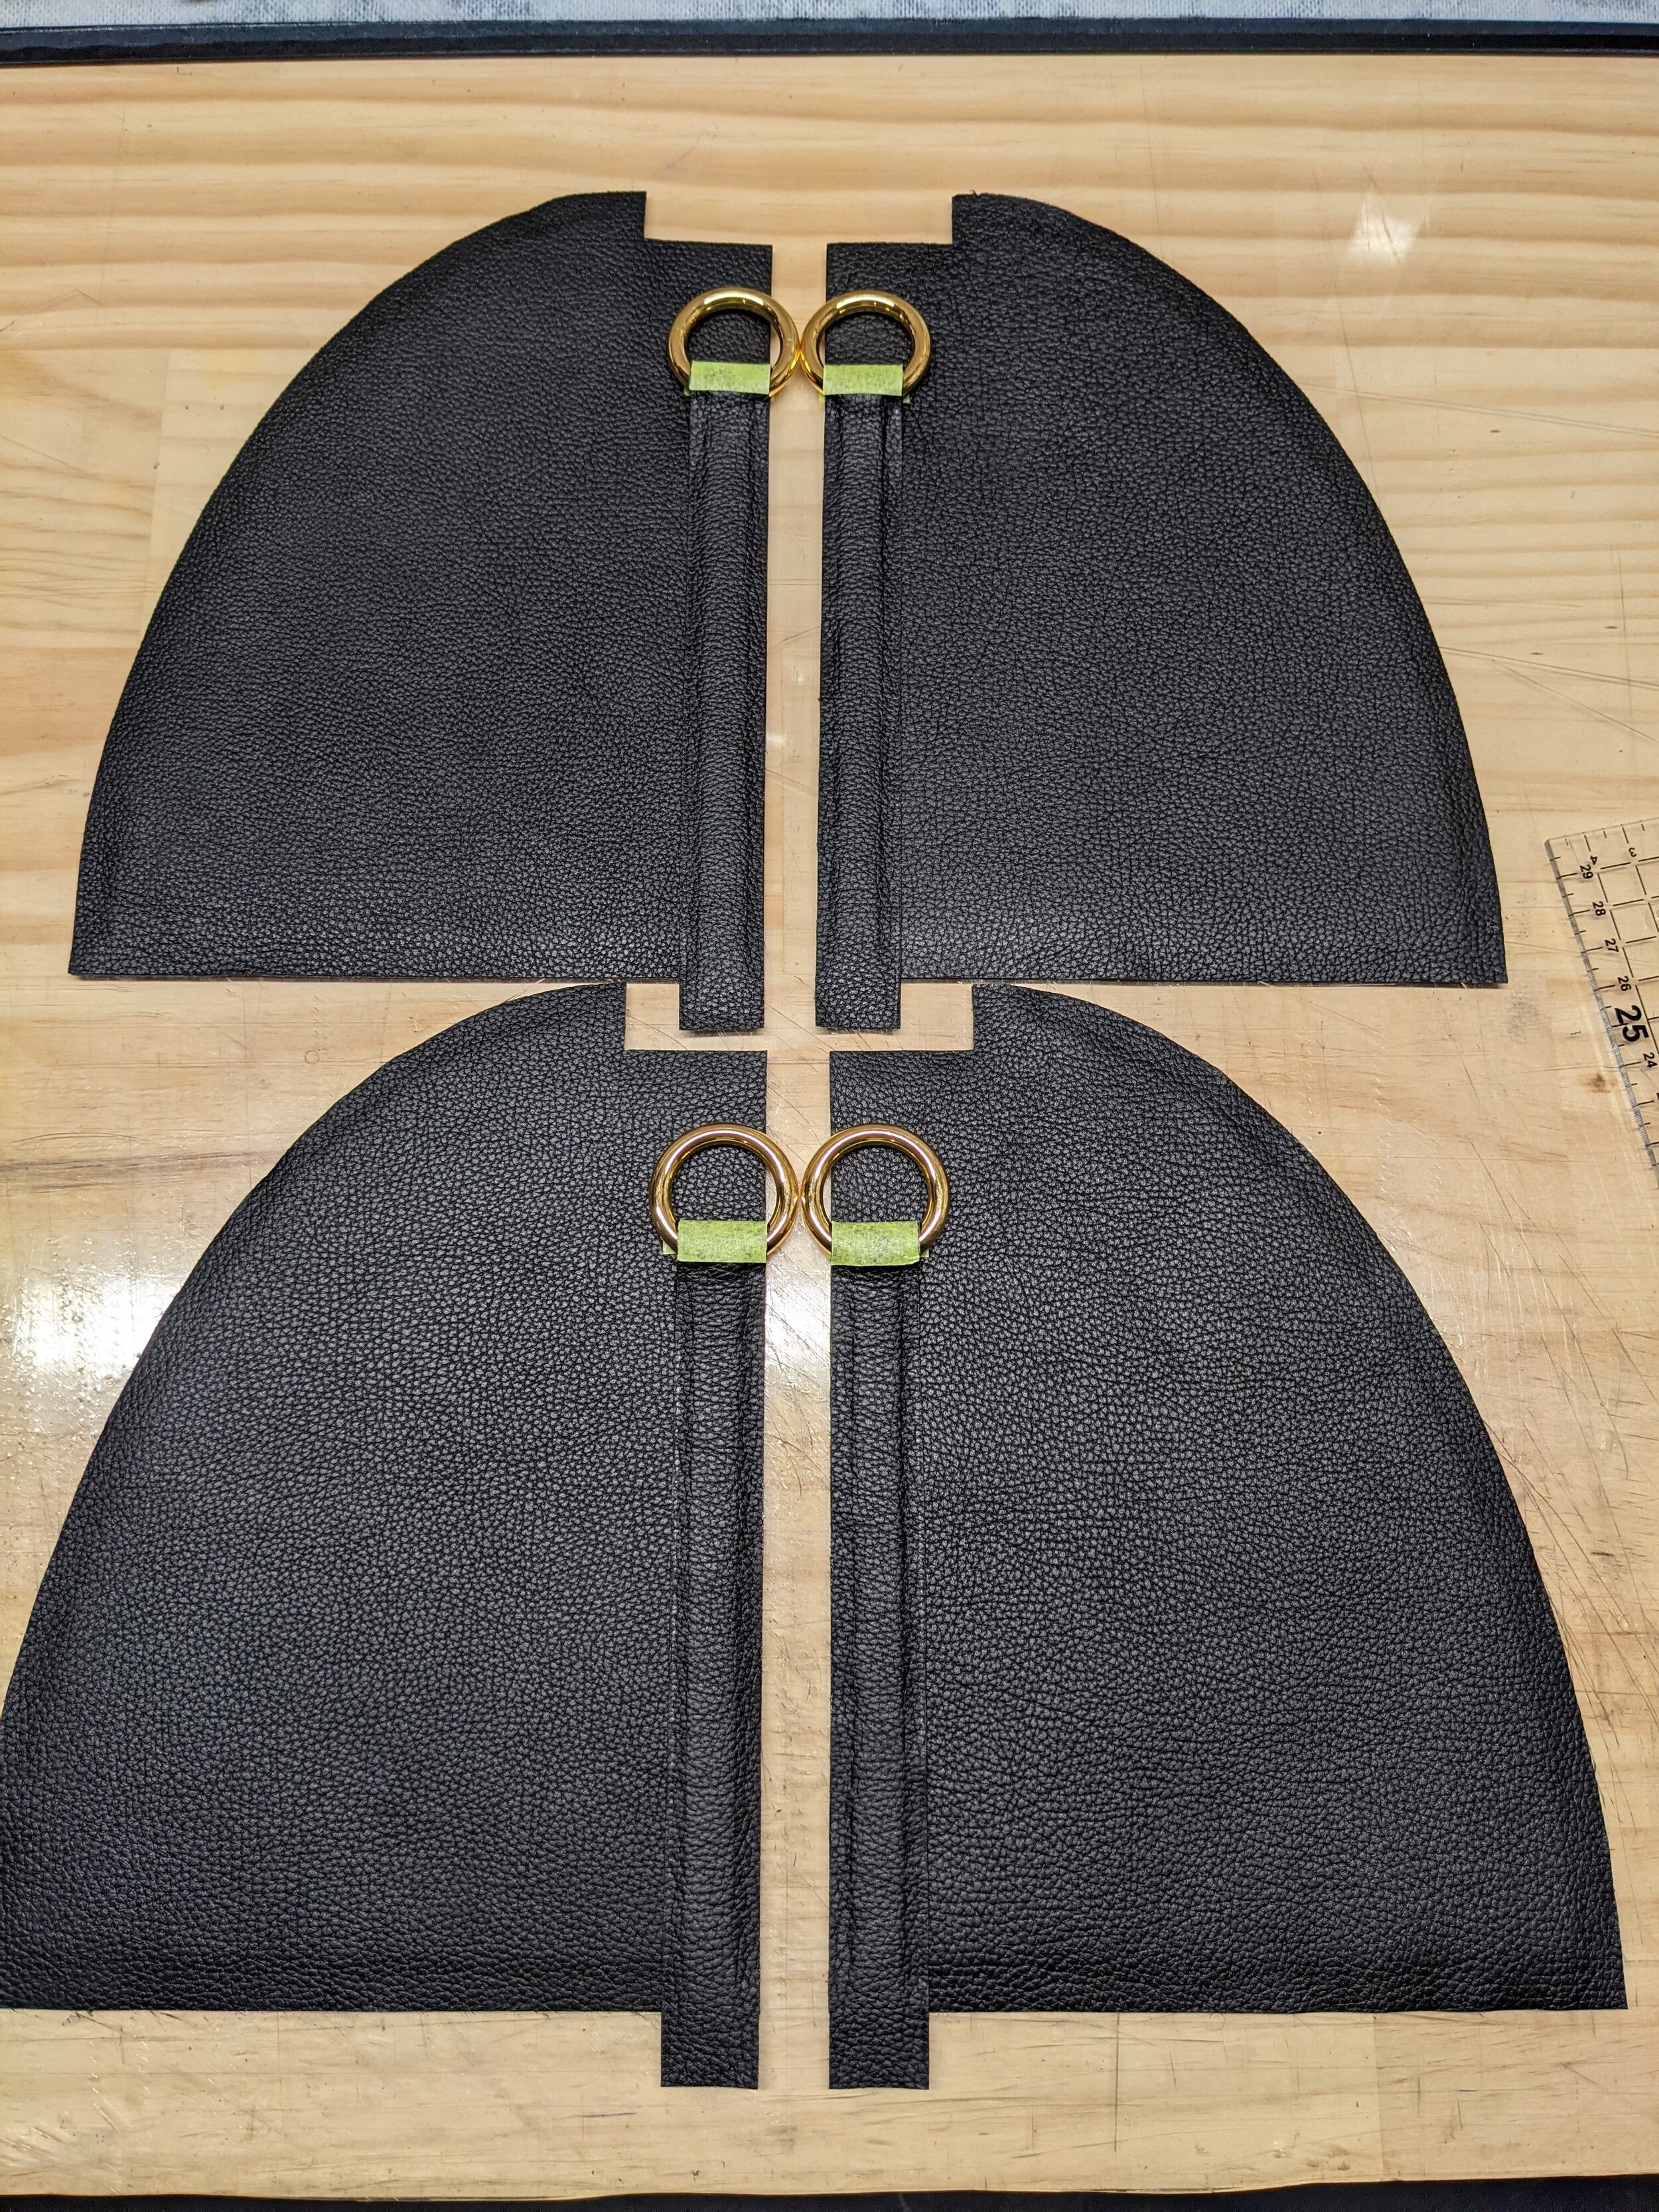
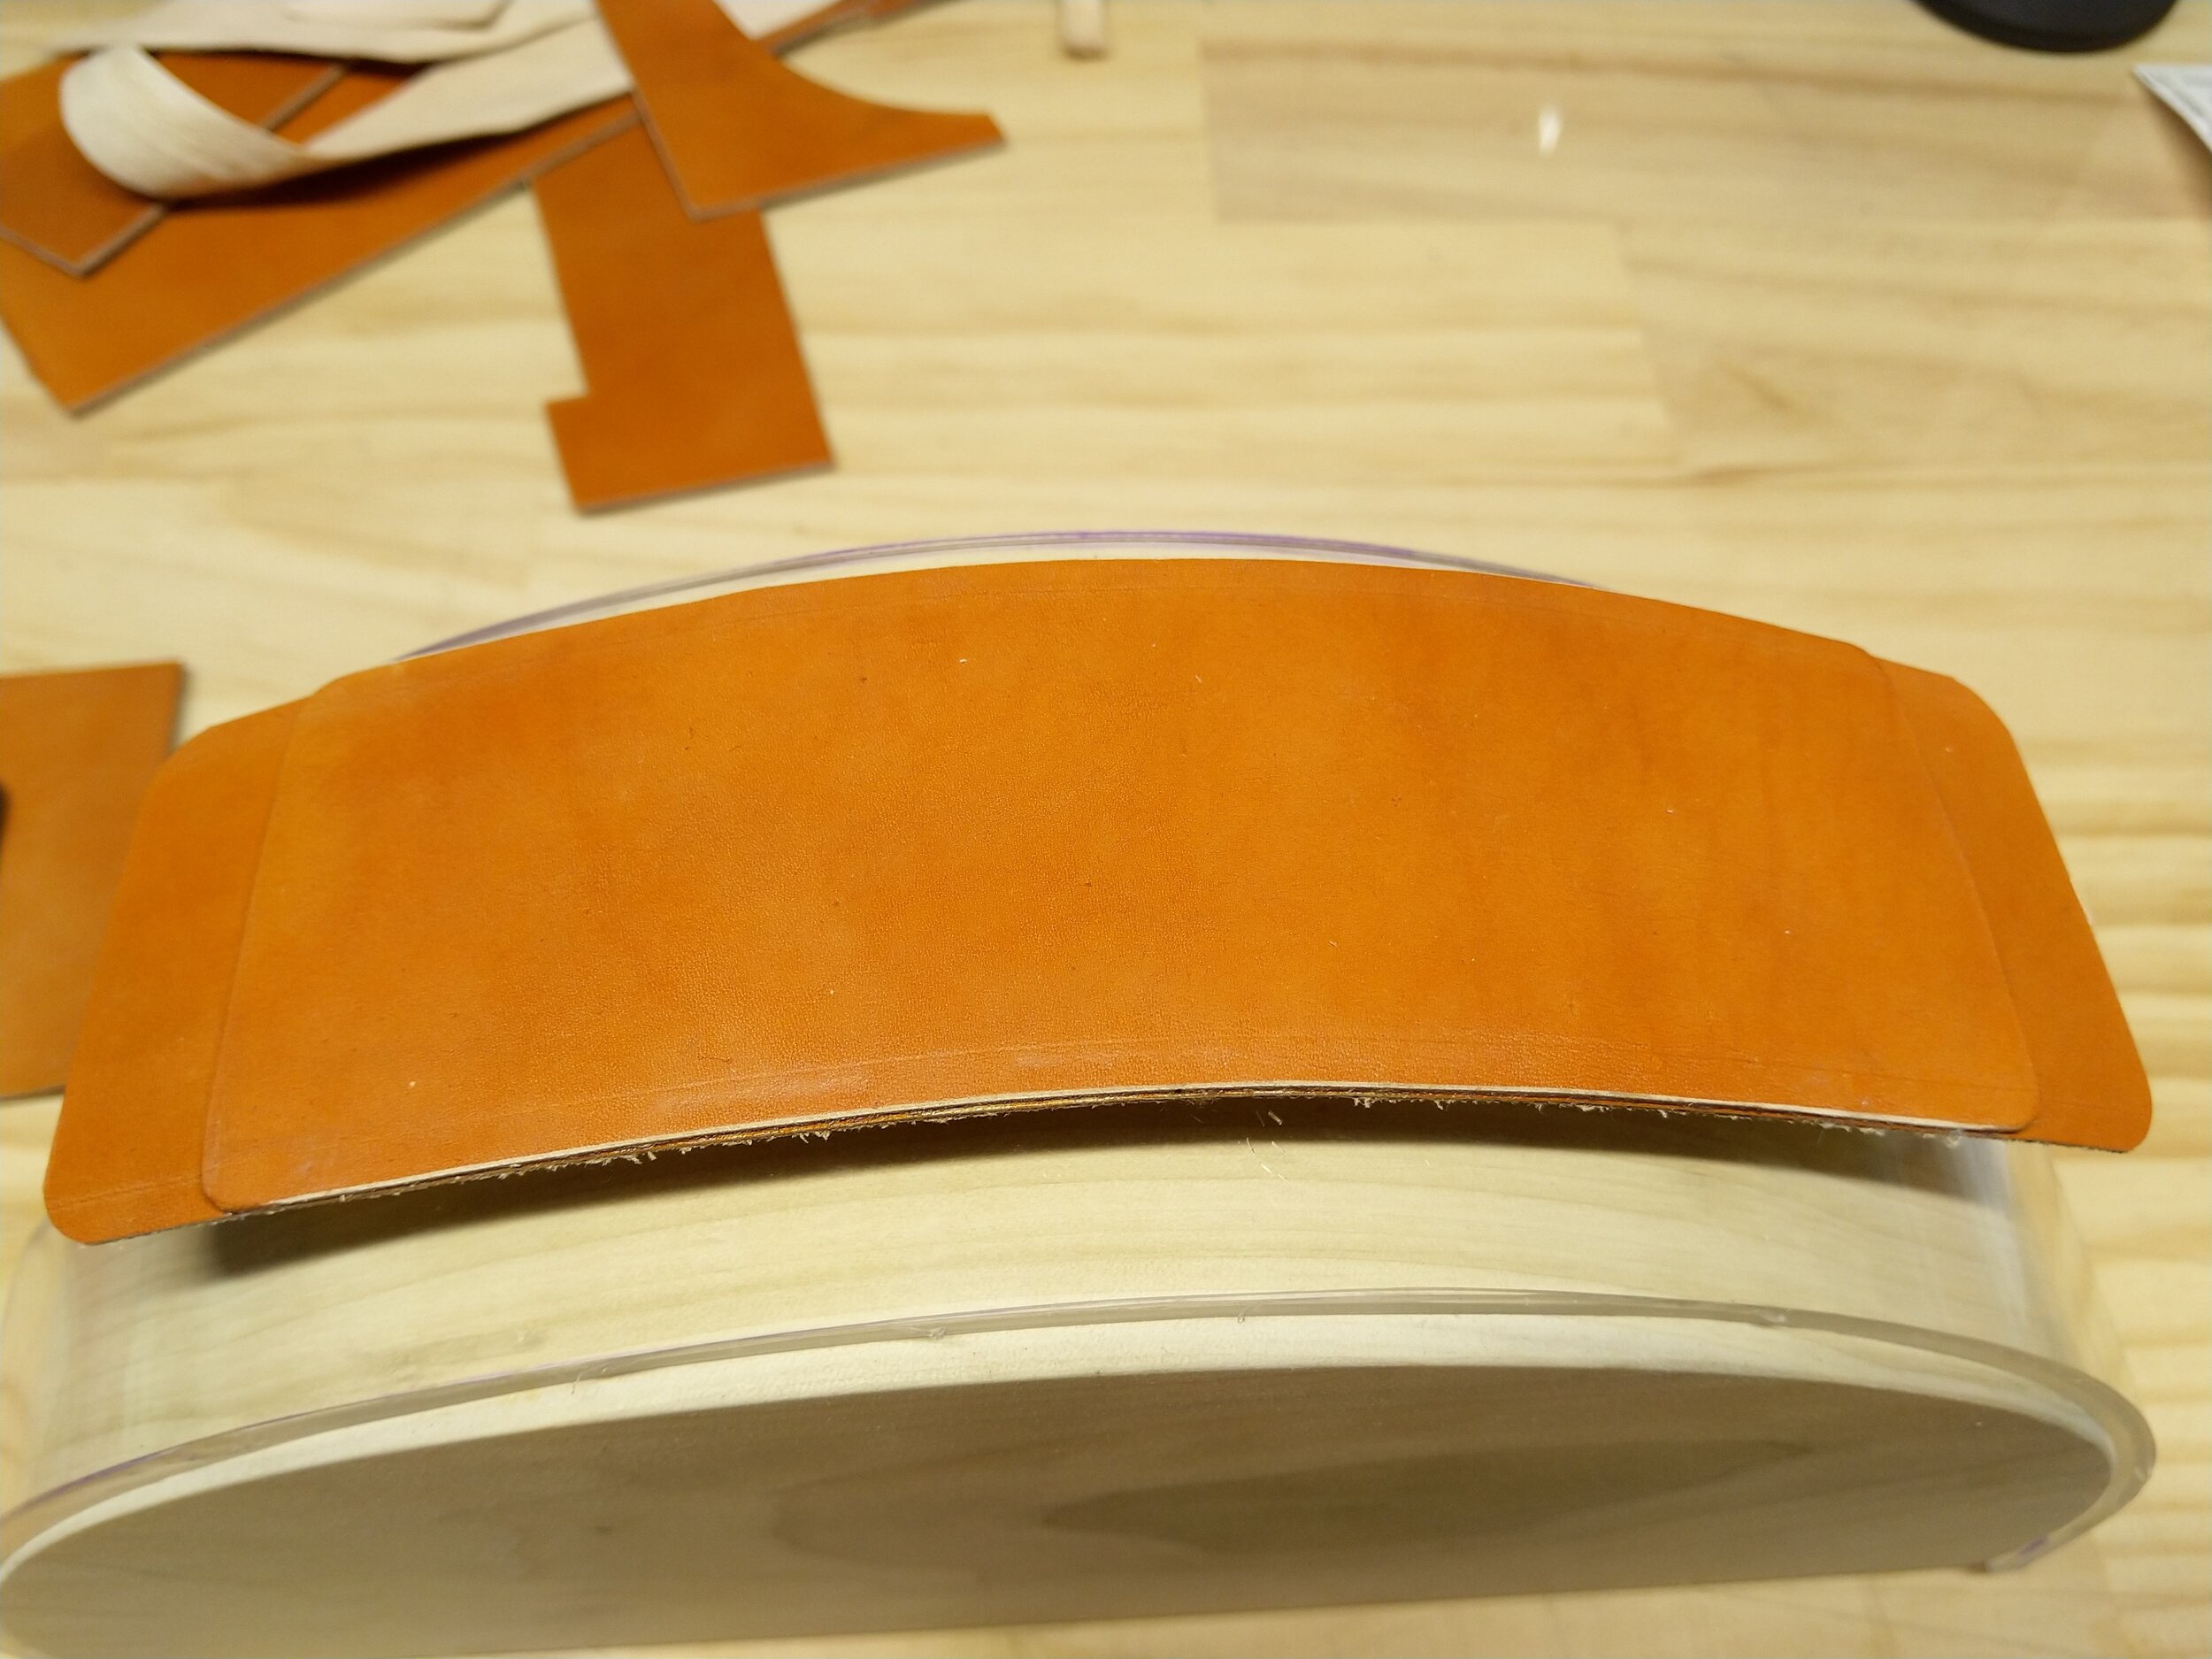
I prepared the D-ring attachments backed with velodon, and edge-painted them:
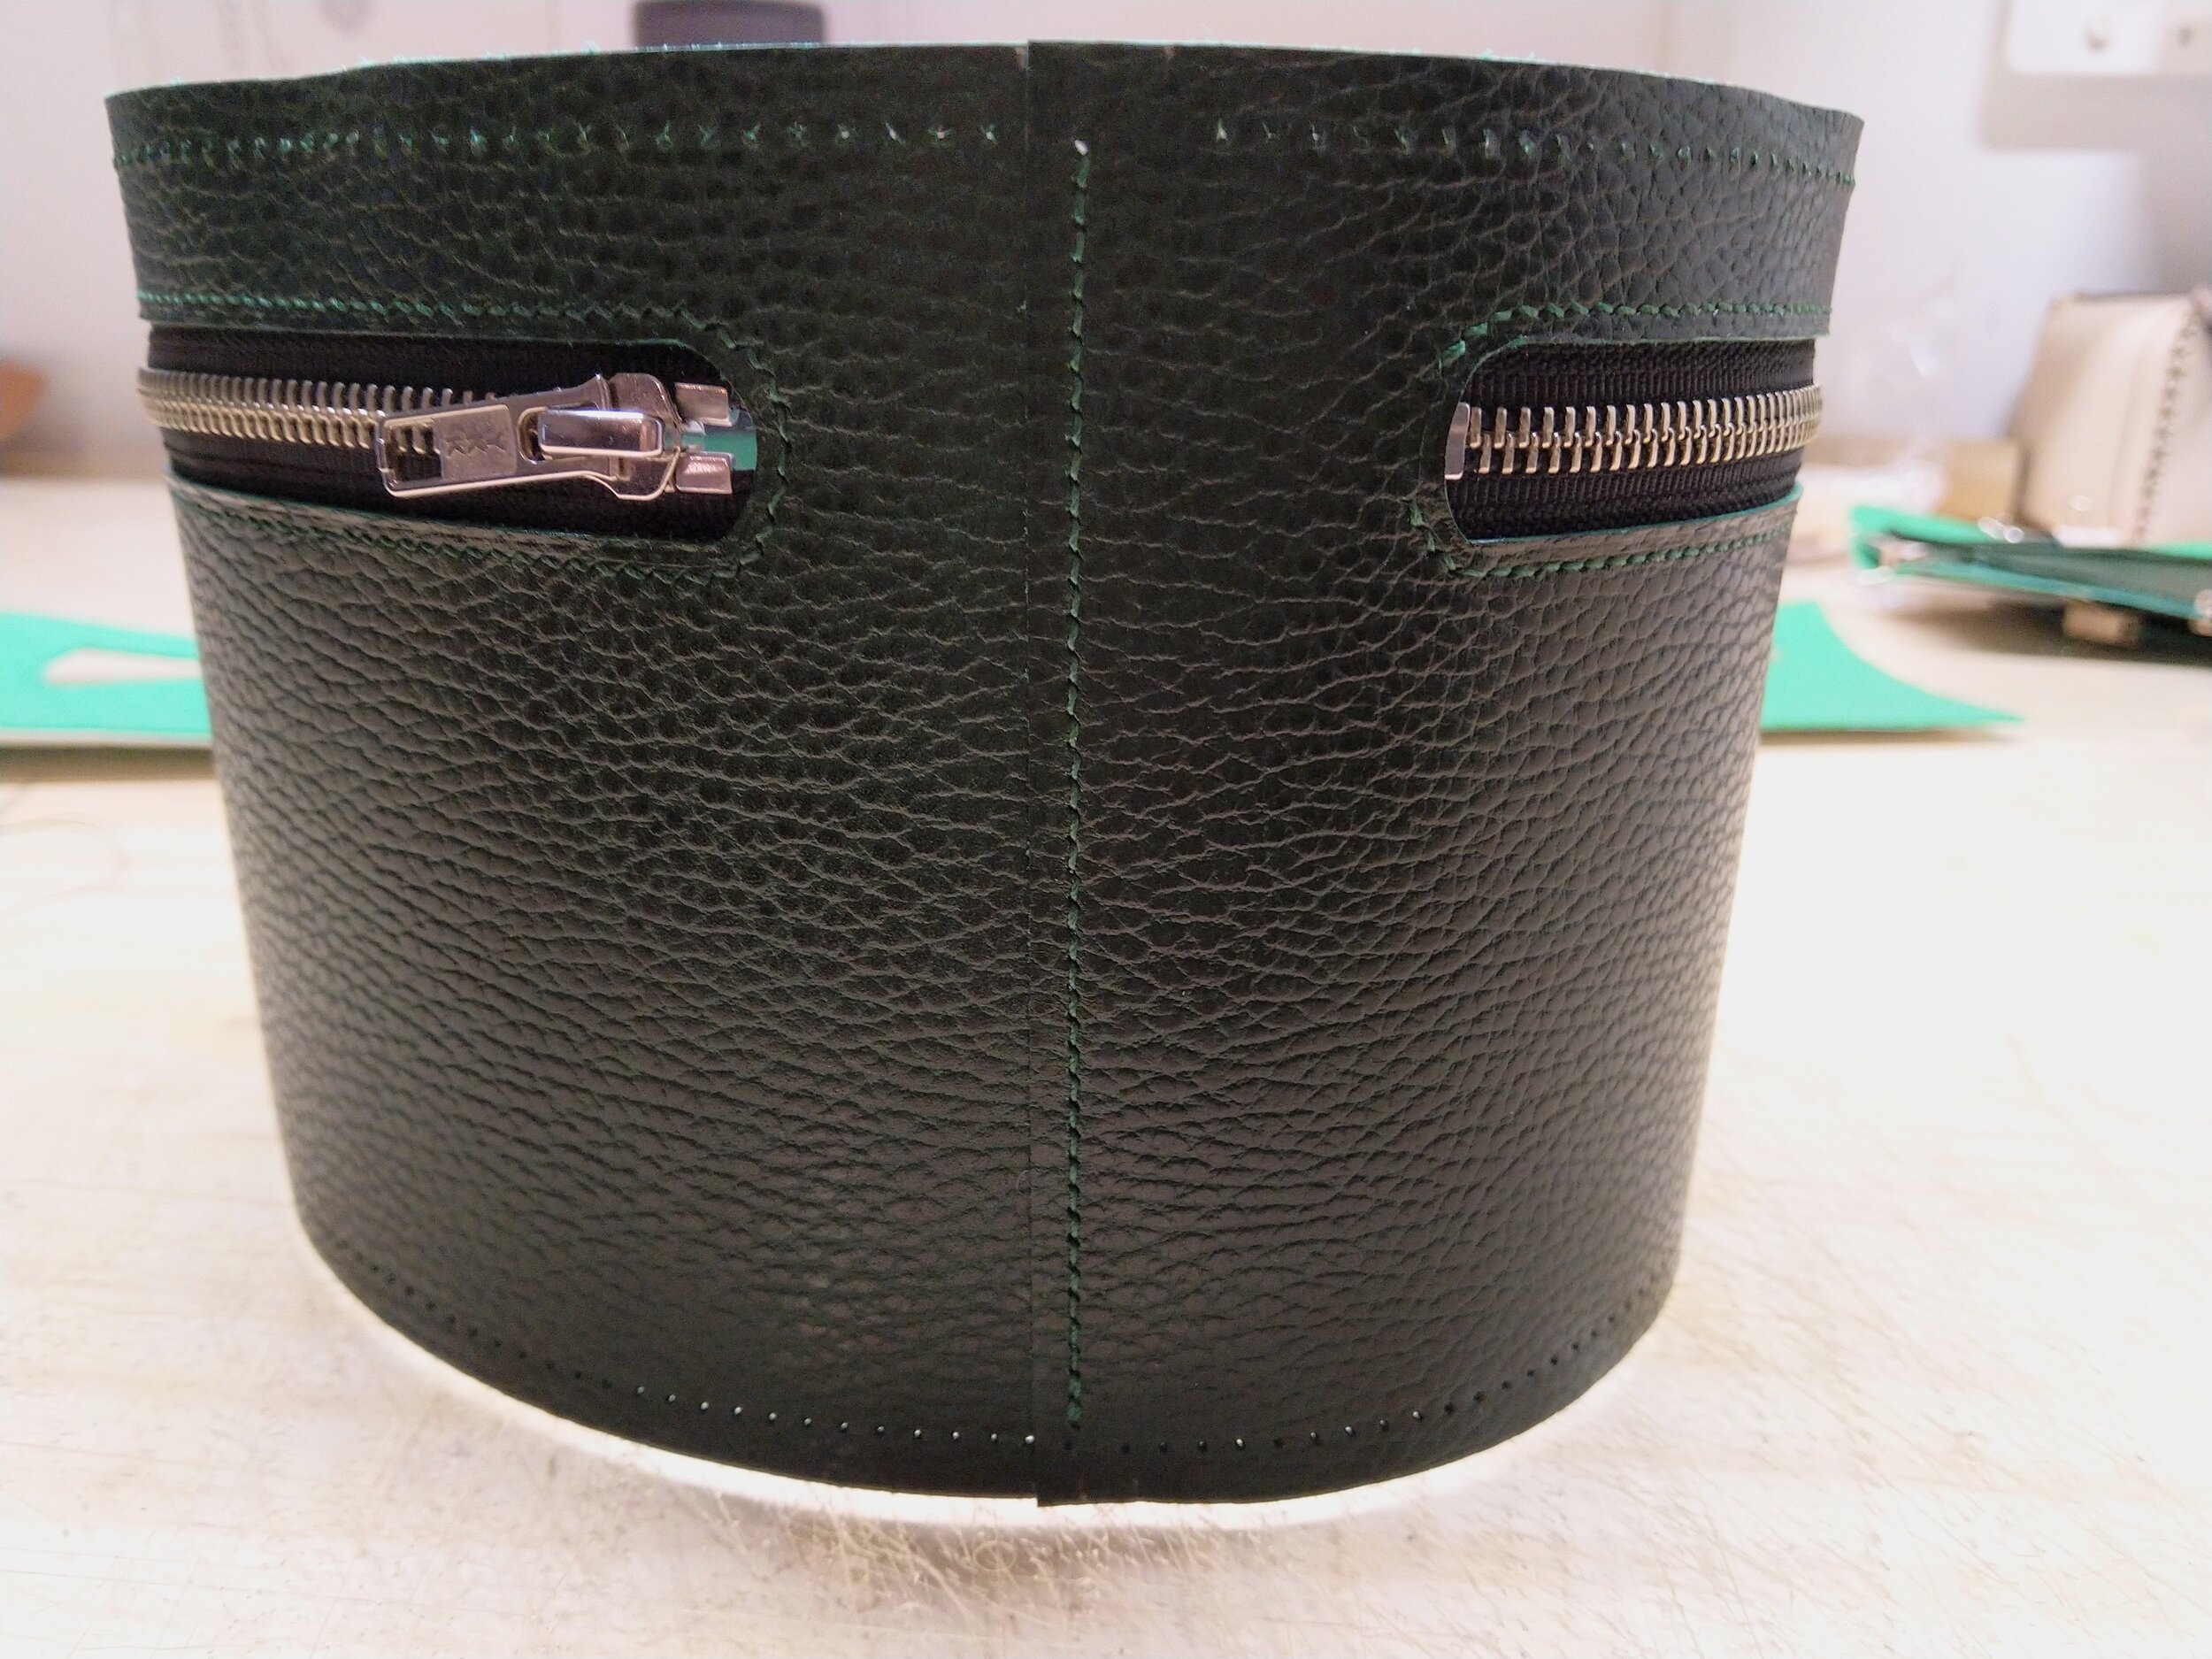
Back pocket zipper strip
Main zipper strips (left partially unfinished to be cut to size later)
Back central D-ring enchape
2 x top D-ring enchapes
2 x mid P-shaped enchapes
2 x base D-ring enchapes
Strap end pieces
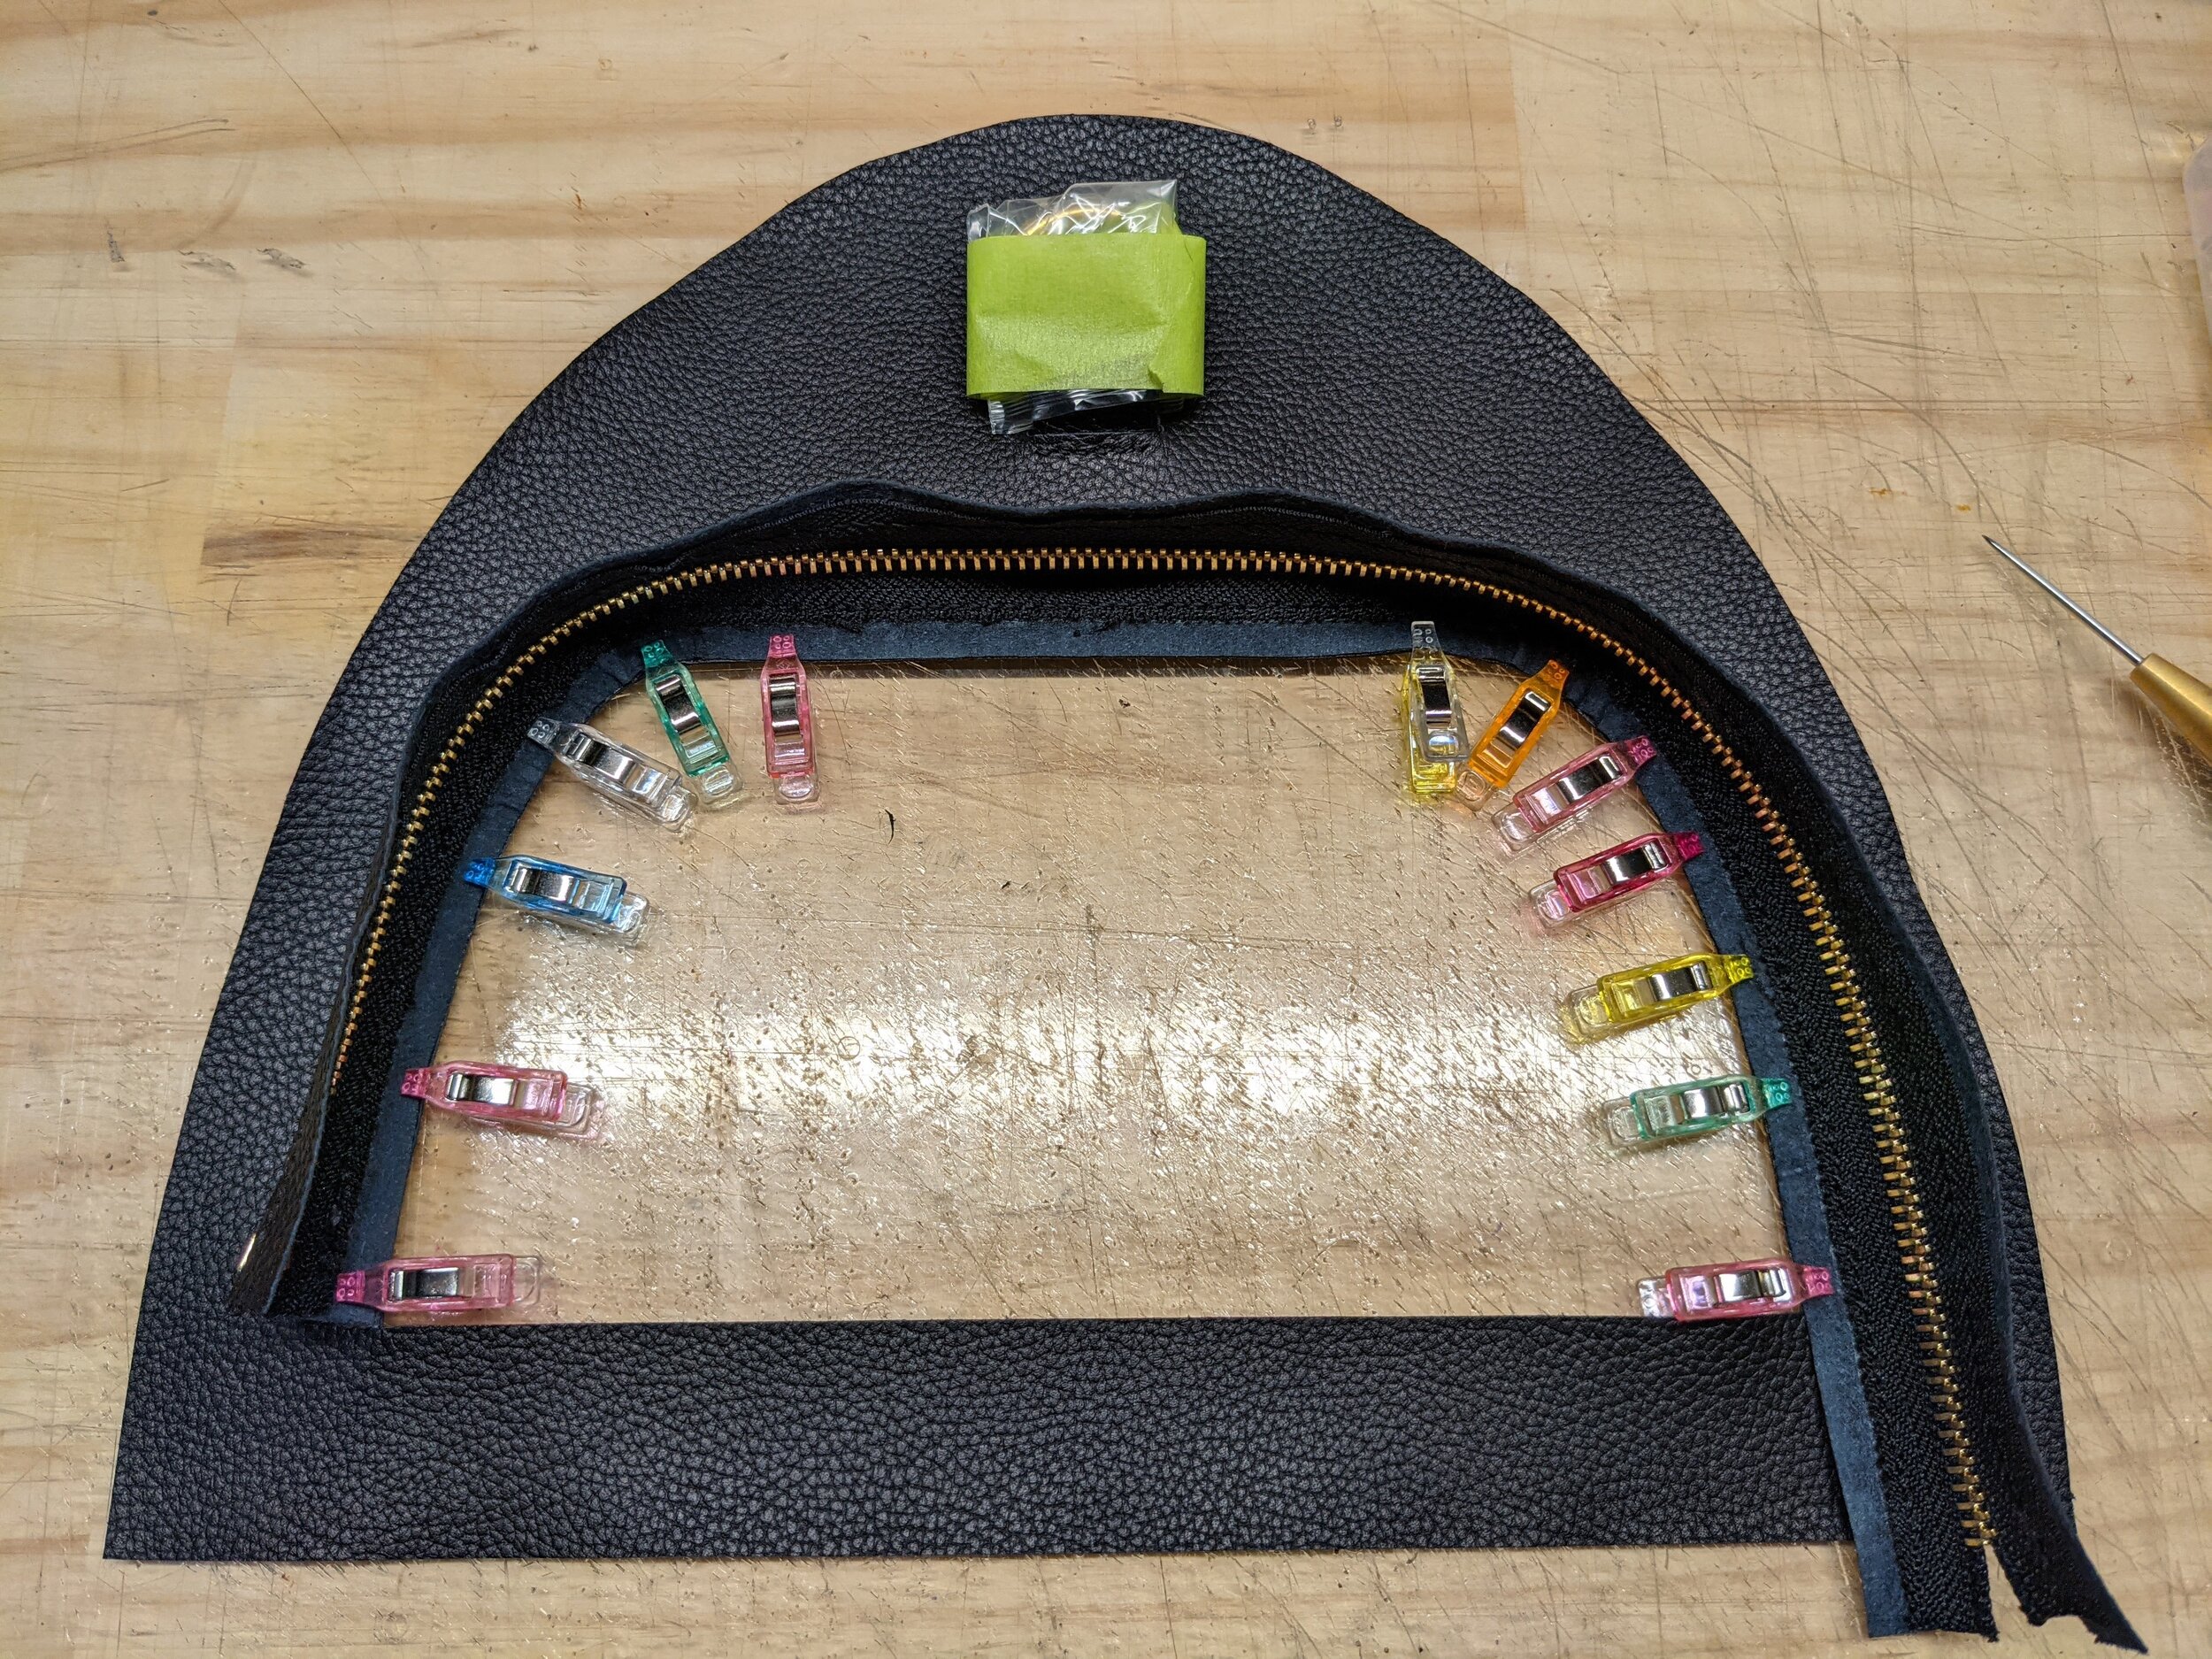
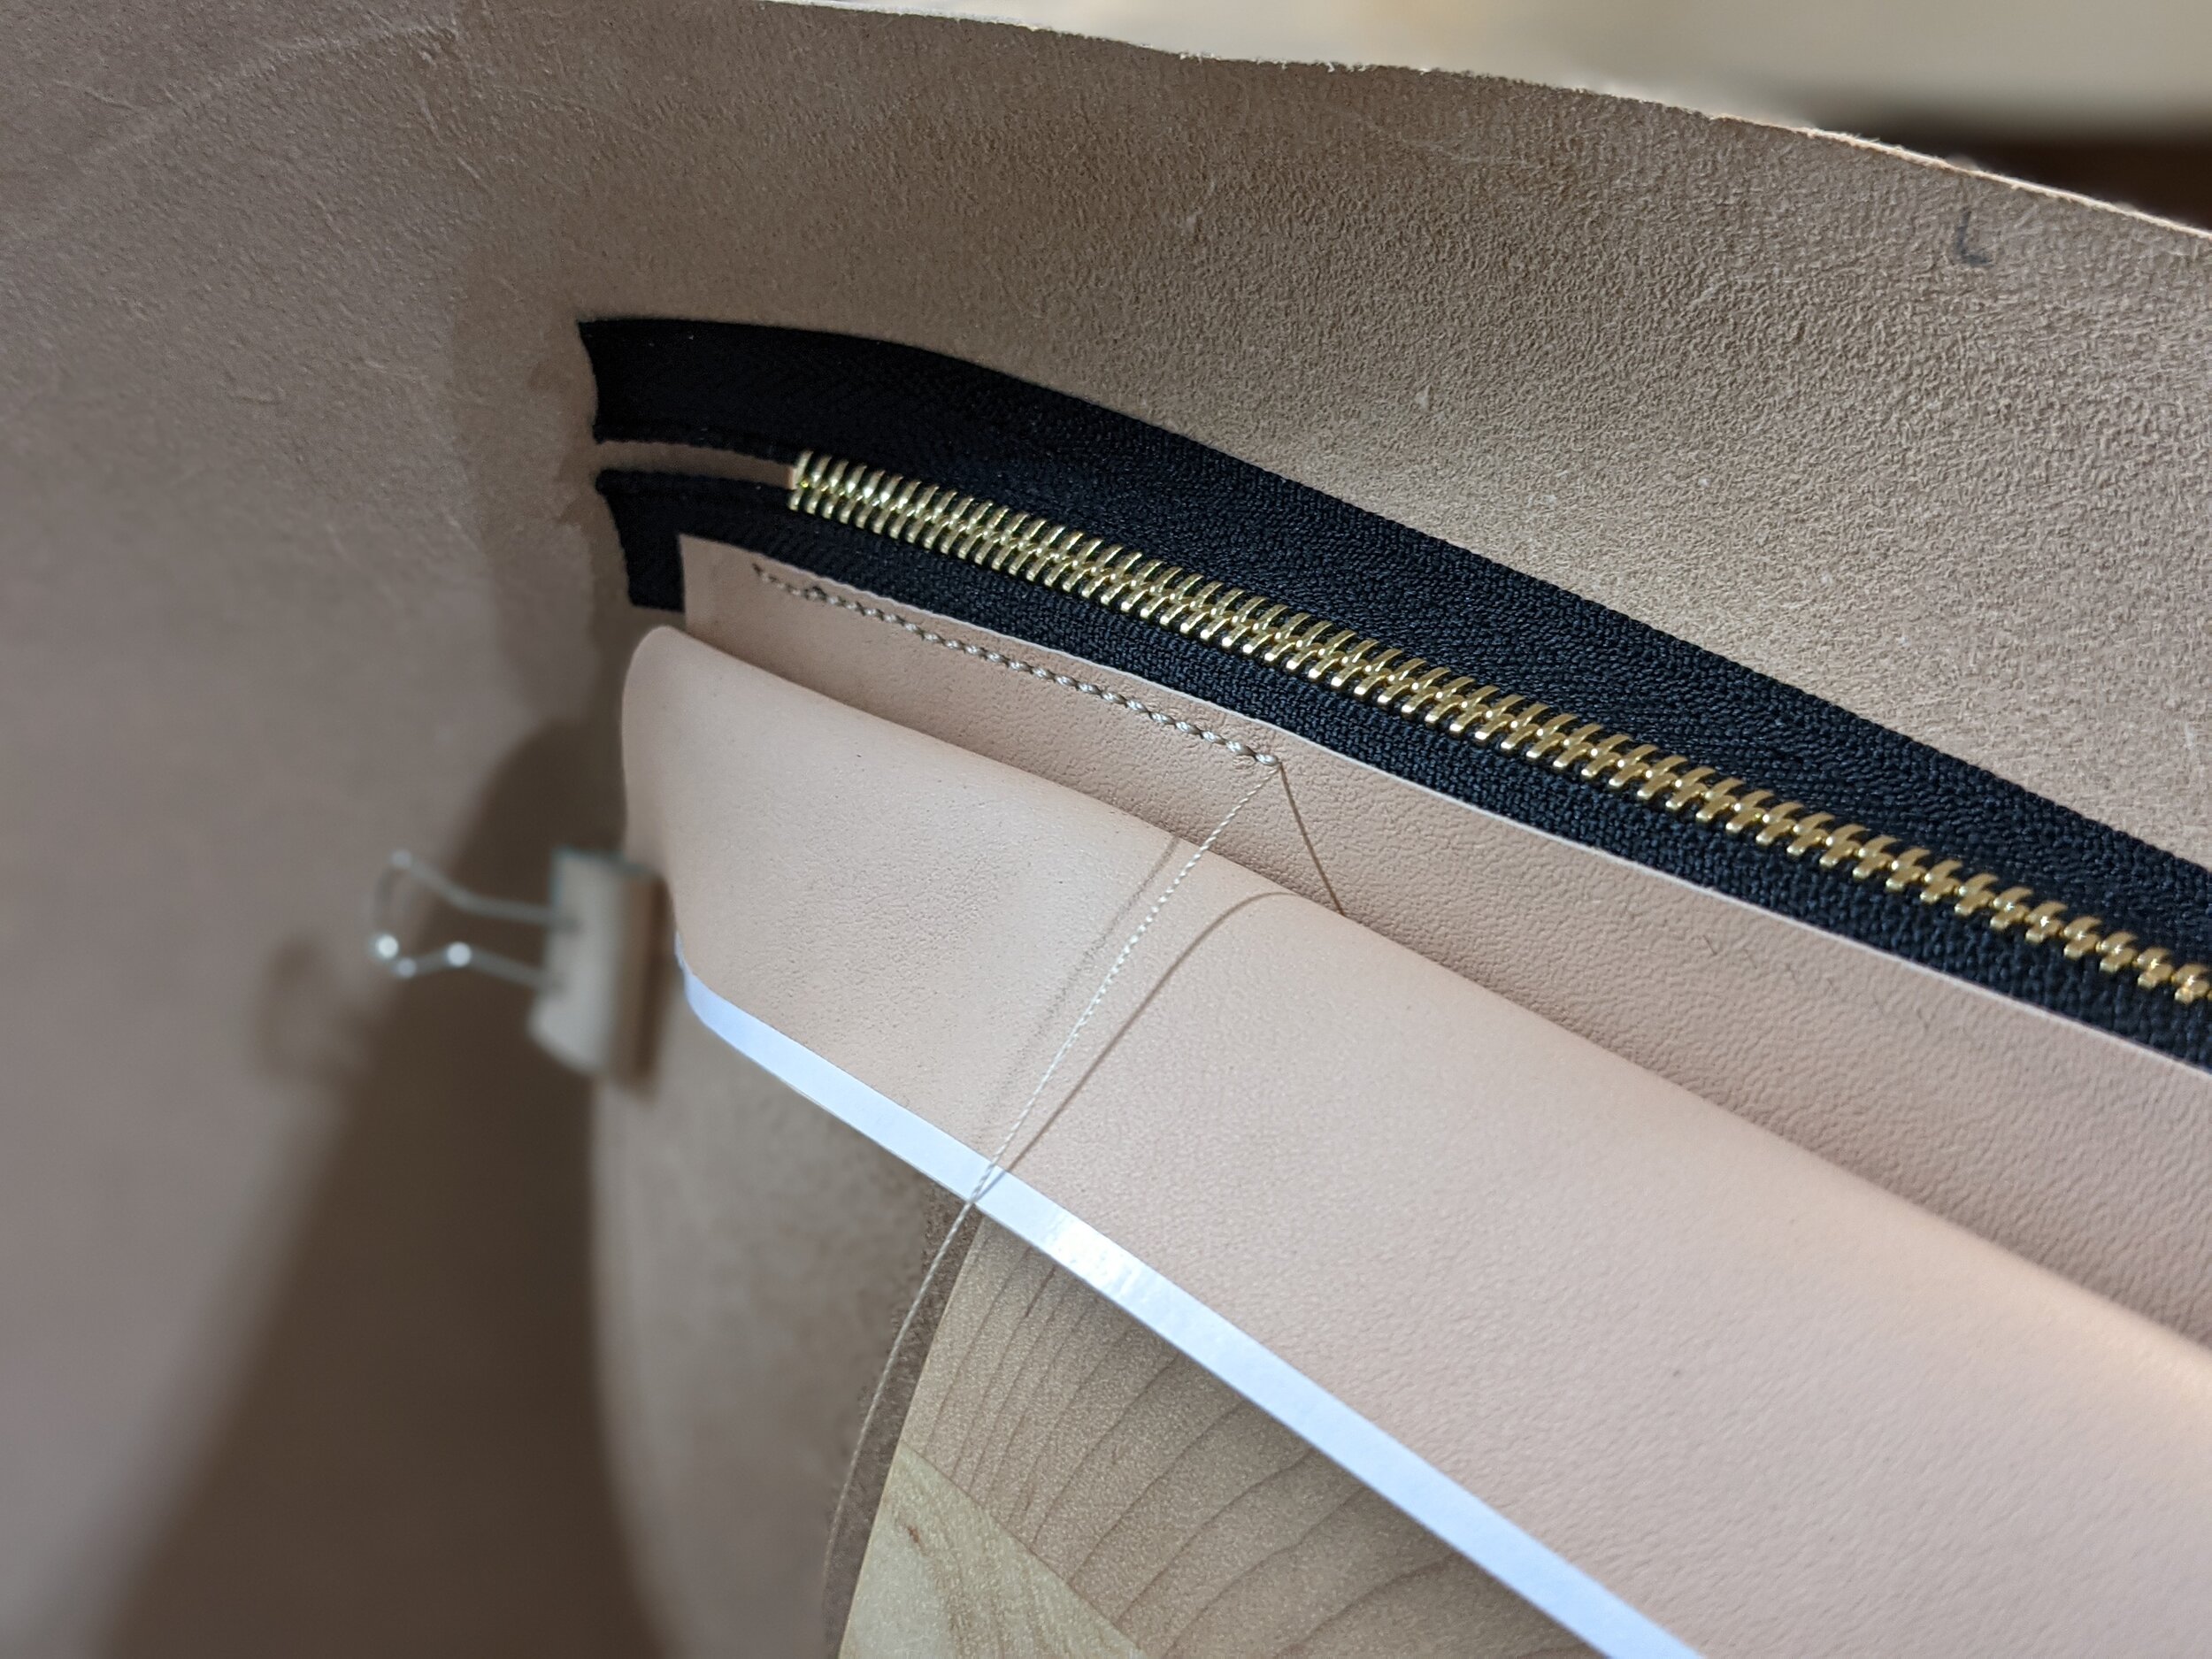
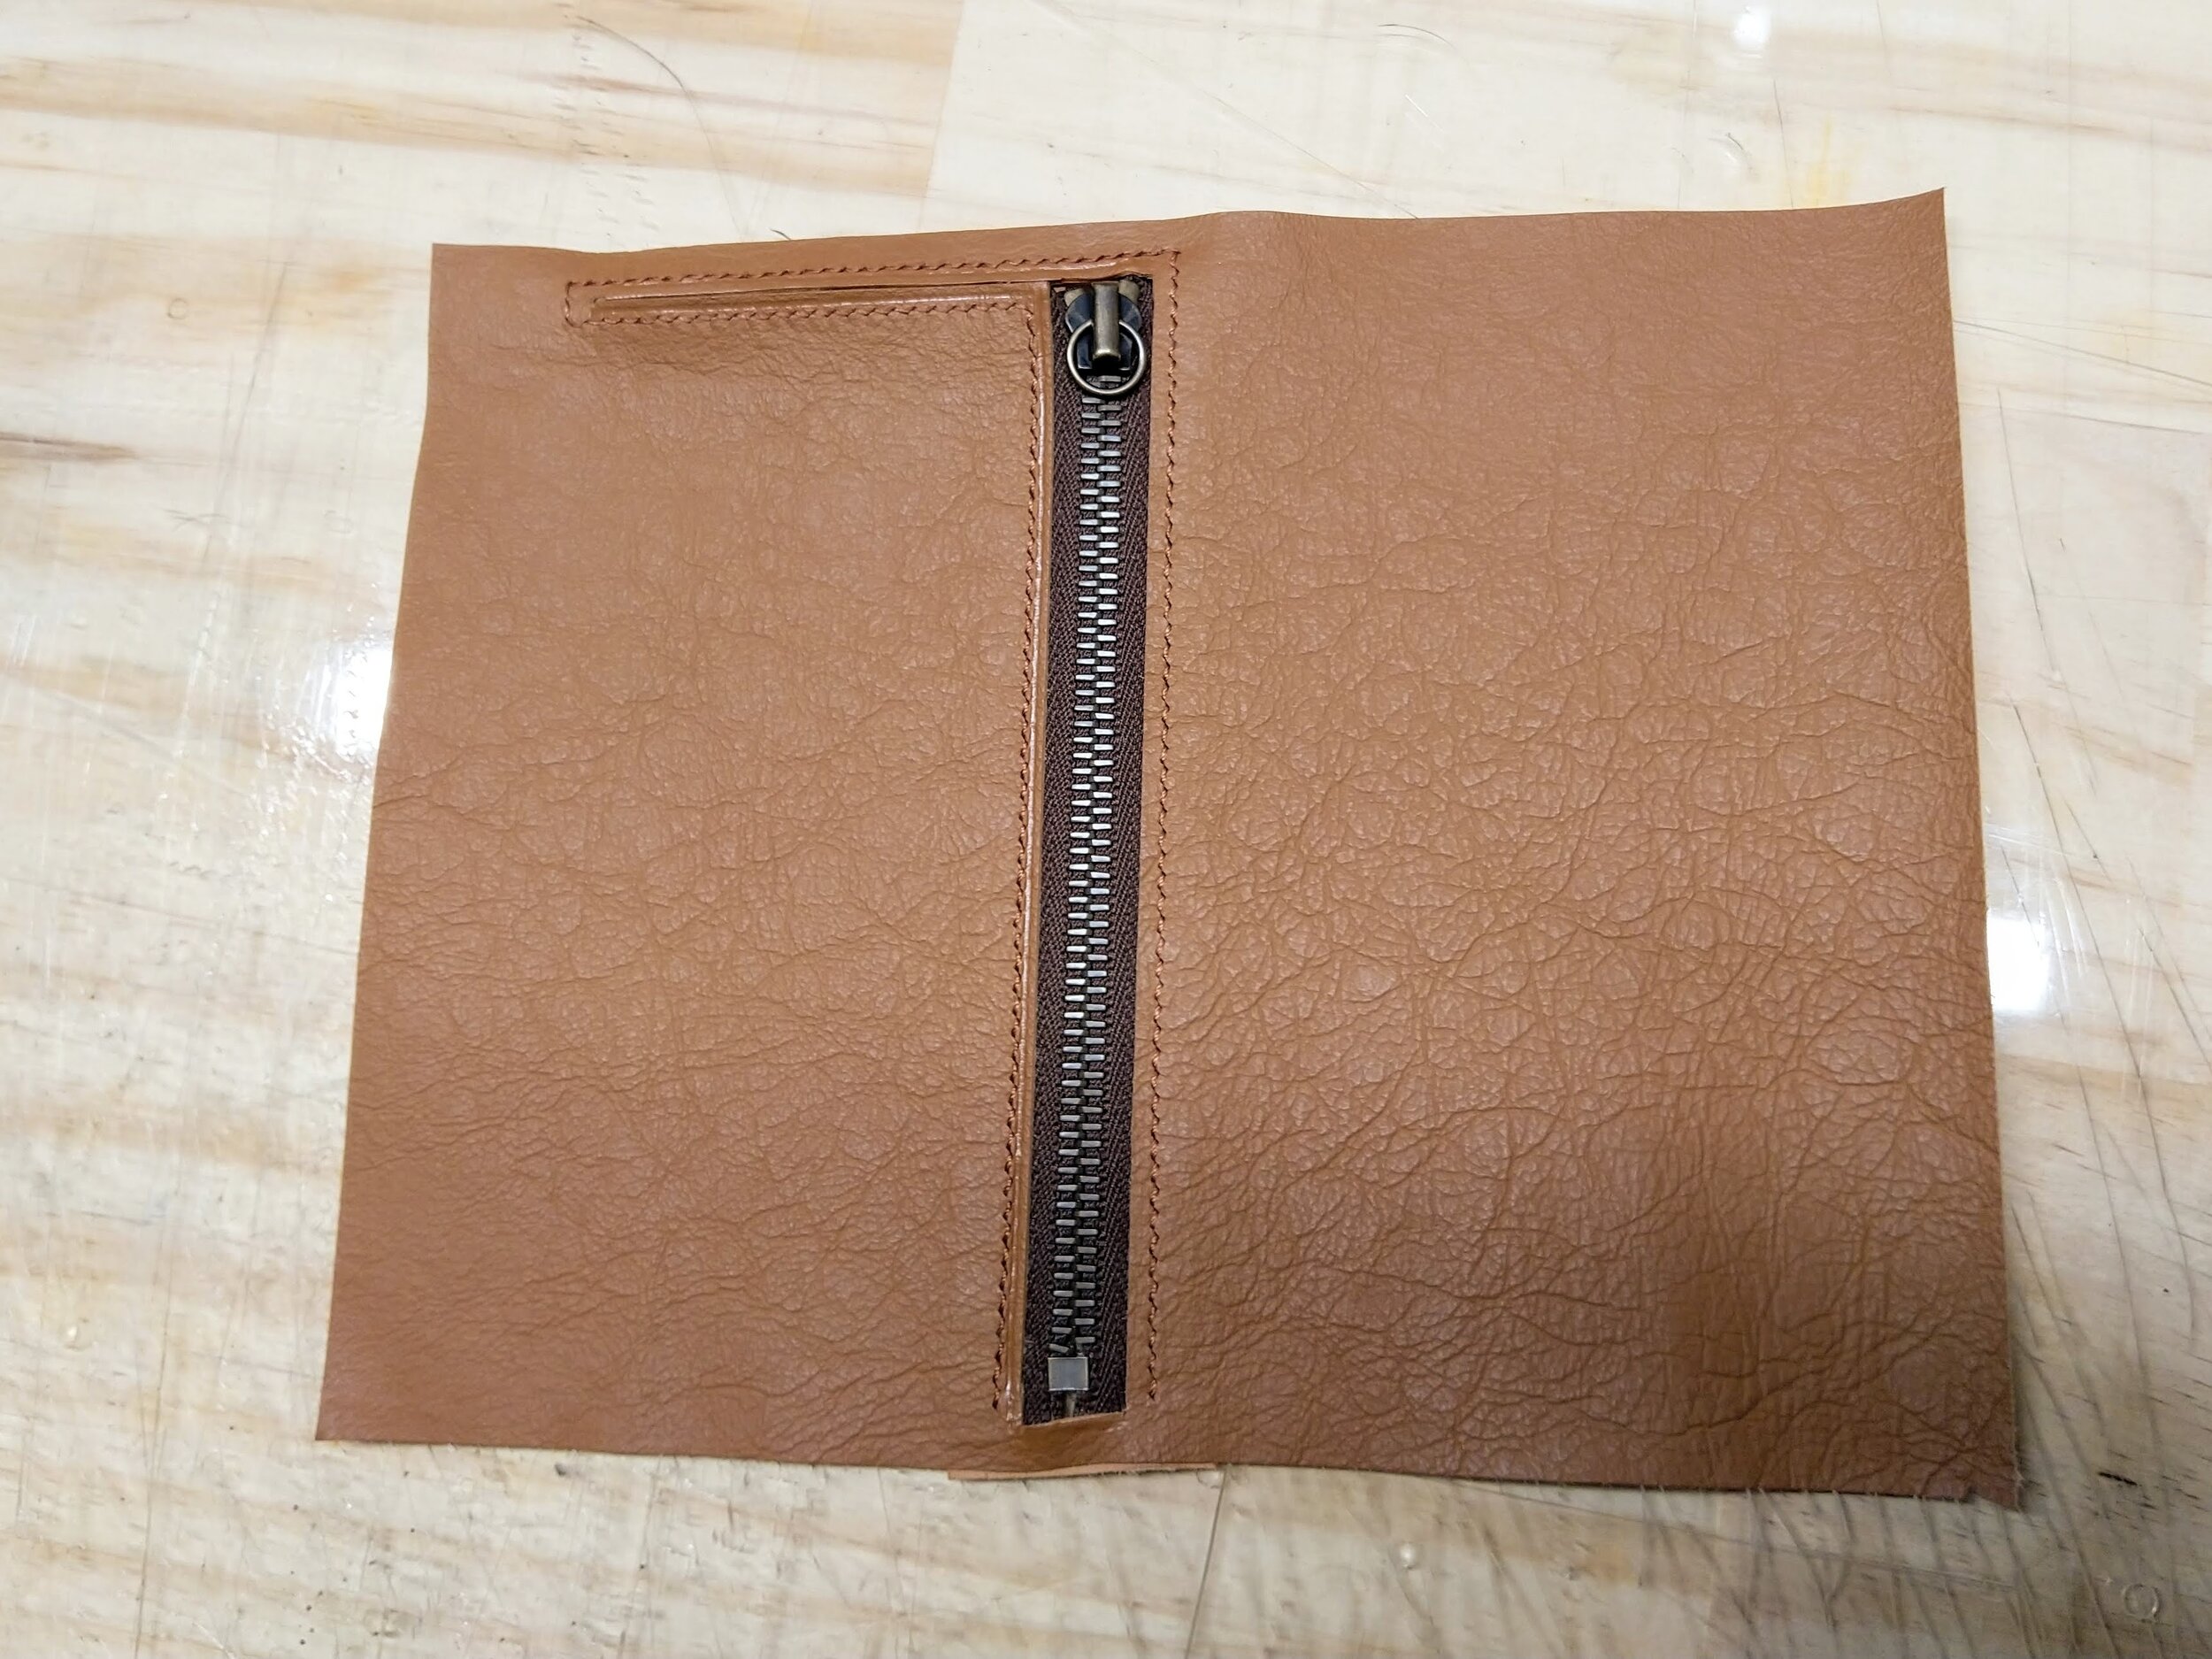
Using the ripstop liner I prepared a pocket that would be sewn to the back panel. Putting the back pocket zipper in place I stitched the zipper to the pocket.
I later realised that the zipper was installed backward, i.e. when closed the zipper pull would be on the right instead of the left (which would be easier to use for a right-handed person).
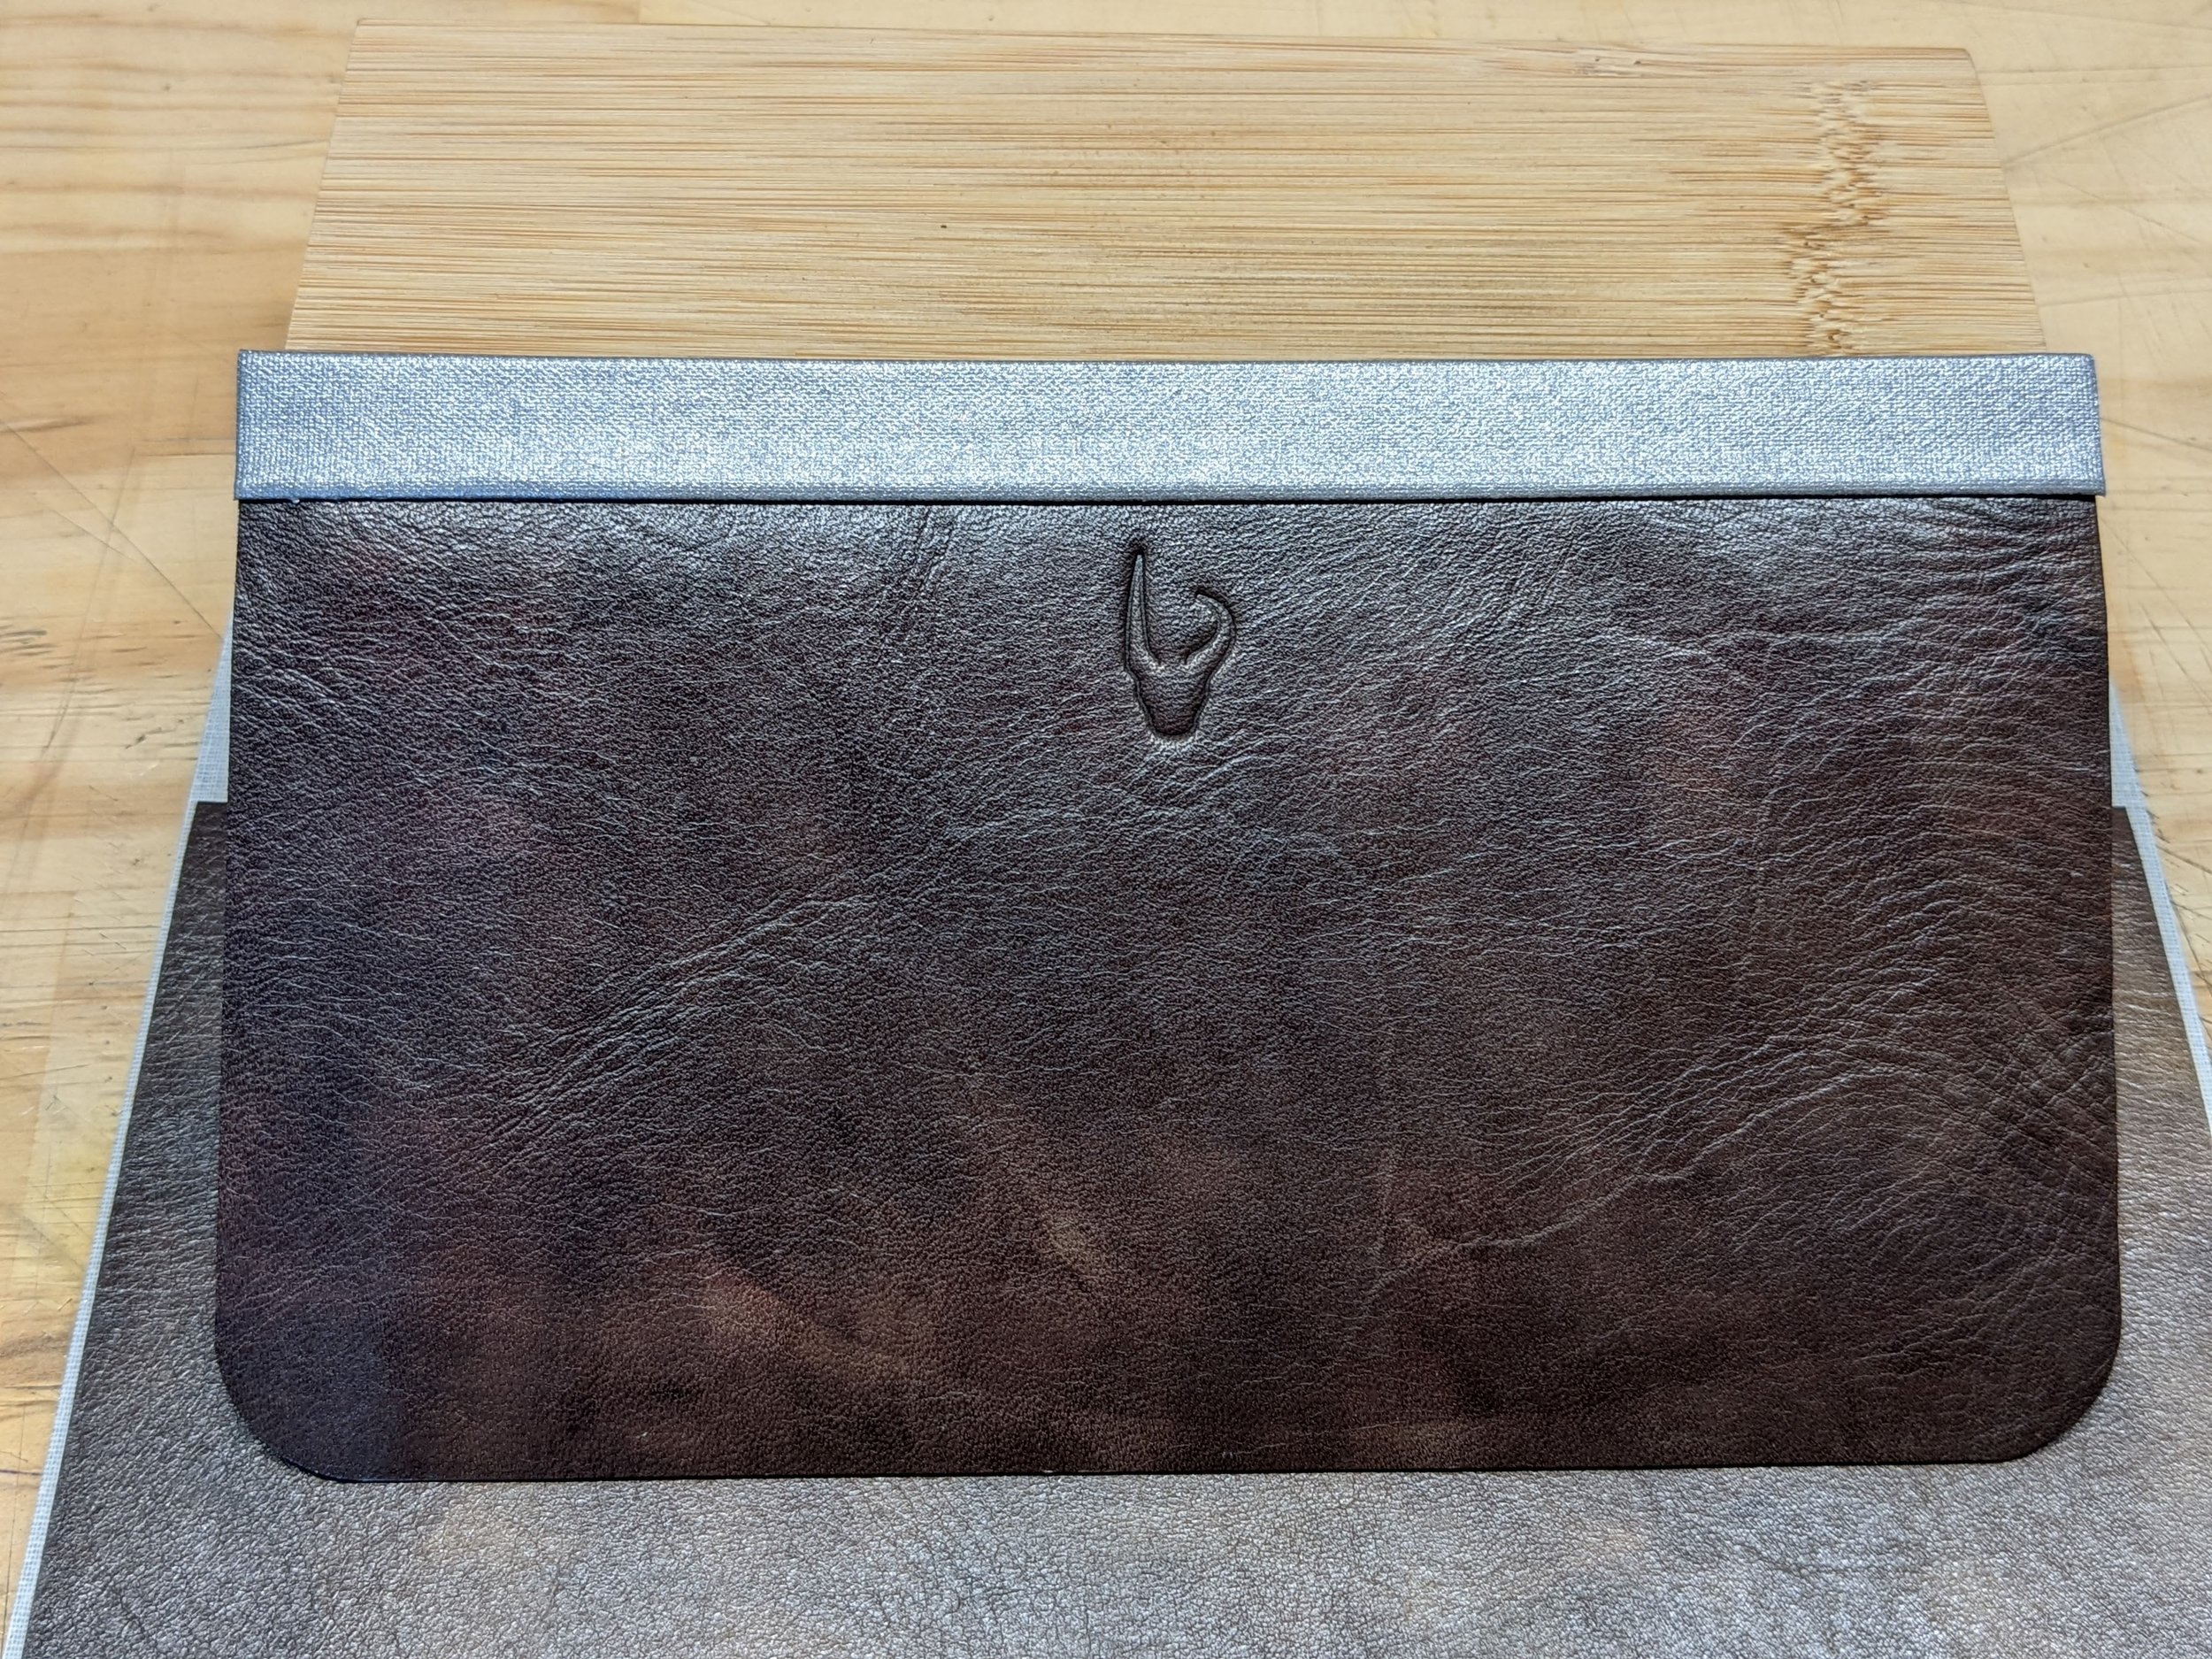
Still on the back panel I stitched the back enchape. This would carry a bit of weight, so I stitched it to a salpa piece on the other side of the fabric. Given that I was going to be using a drop liner, I couldn’t stitch this back enchape all the way through the liner.

Back panel with back pocket zipper and backpack enchape installed
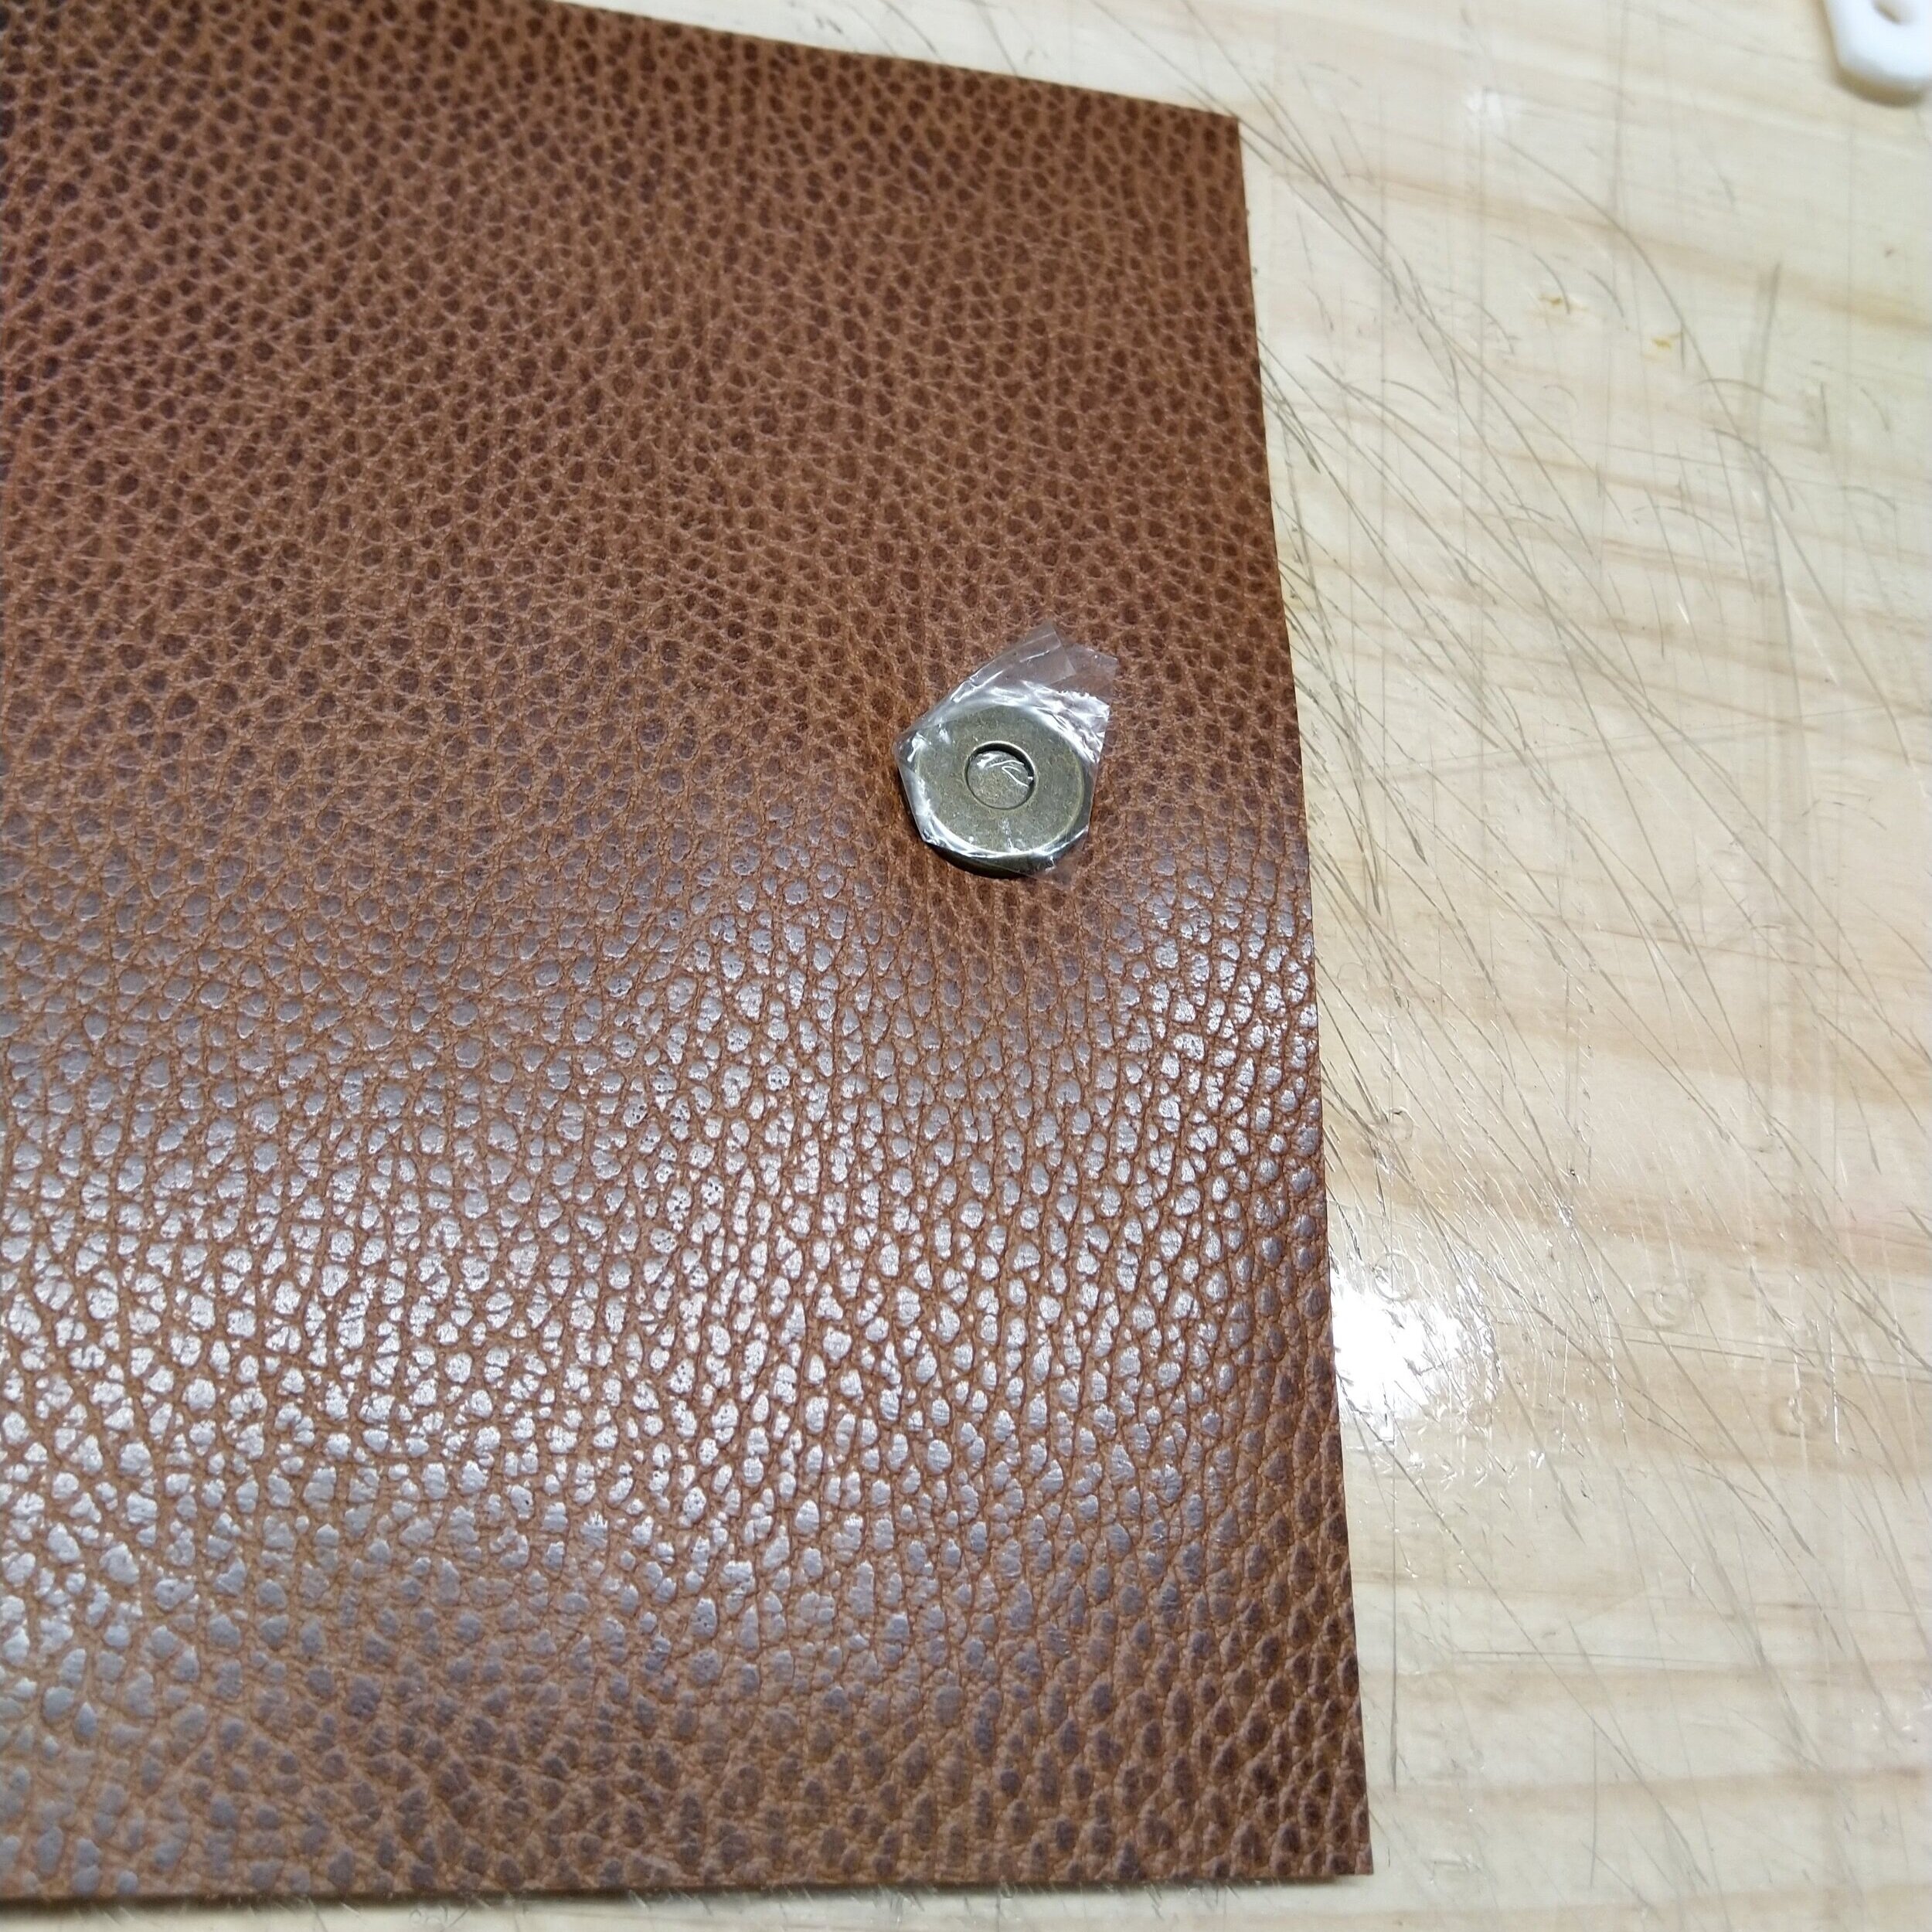
I cut the liner front and back panels 35 x 39.5cm. I made two slip pockets and sewed them to the liner. For making sure they didn’t sag open, I used magnet closures.
Next I attached the base D-rings to the leather base, making sure they weren’t smack in the middle of the base, but more towards the rear of the bag.

Bottom D-ring attached with rivets
With that done, it was time to start stitching the outer fabric to the leather. It was at this point I noticed the air pockets in the reinforcement, which I corrected.

Outer panels attached to leather base. Air pockets in reinforcement discovered

Air pockets in base reinforcement cut open to be reglued
After fixing up the air pockets in the reinforcement, I stitched up the left and right seams, right sides together, sandwiching the middle enchapes in the seam. I needed to do this in multiple steps since my sewing machine can’t sew through leather this thick, so I hand-sewed the enchapes, then resumed with the sewing machine. With that done, I boxed the leather base and stitched it. Finally I flipped the bag.
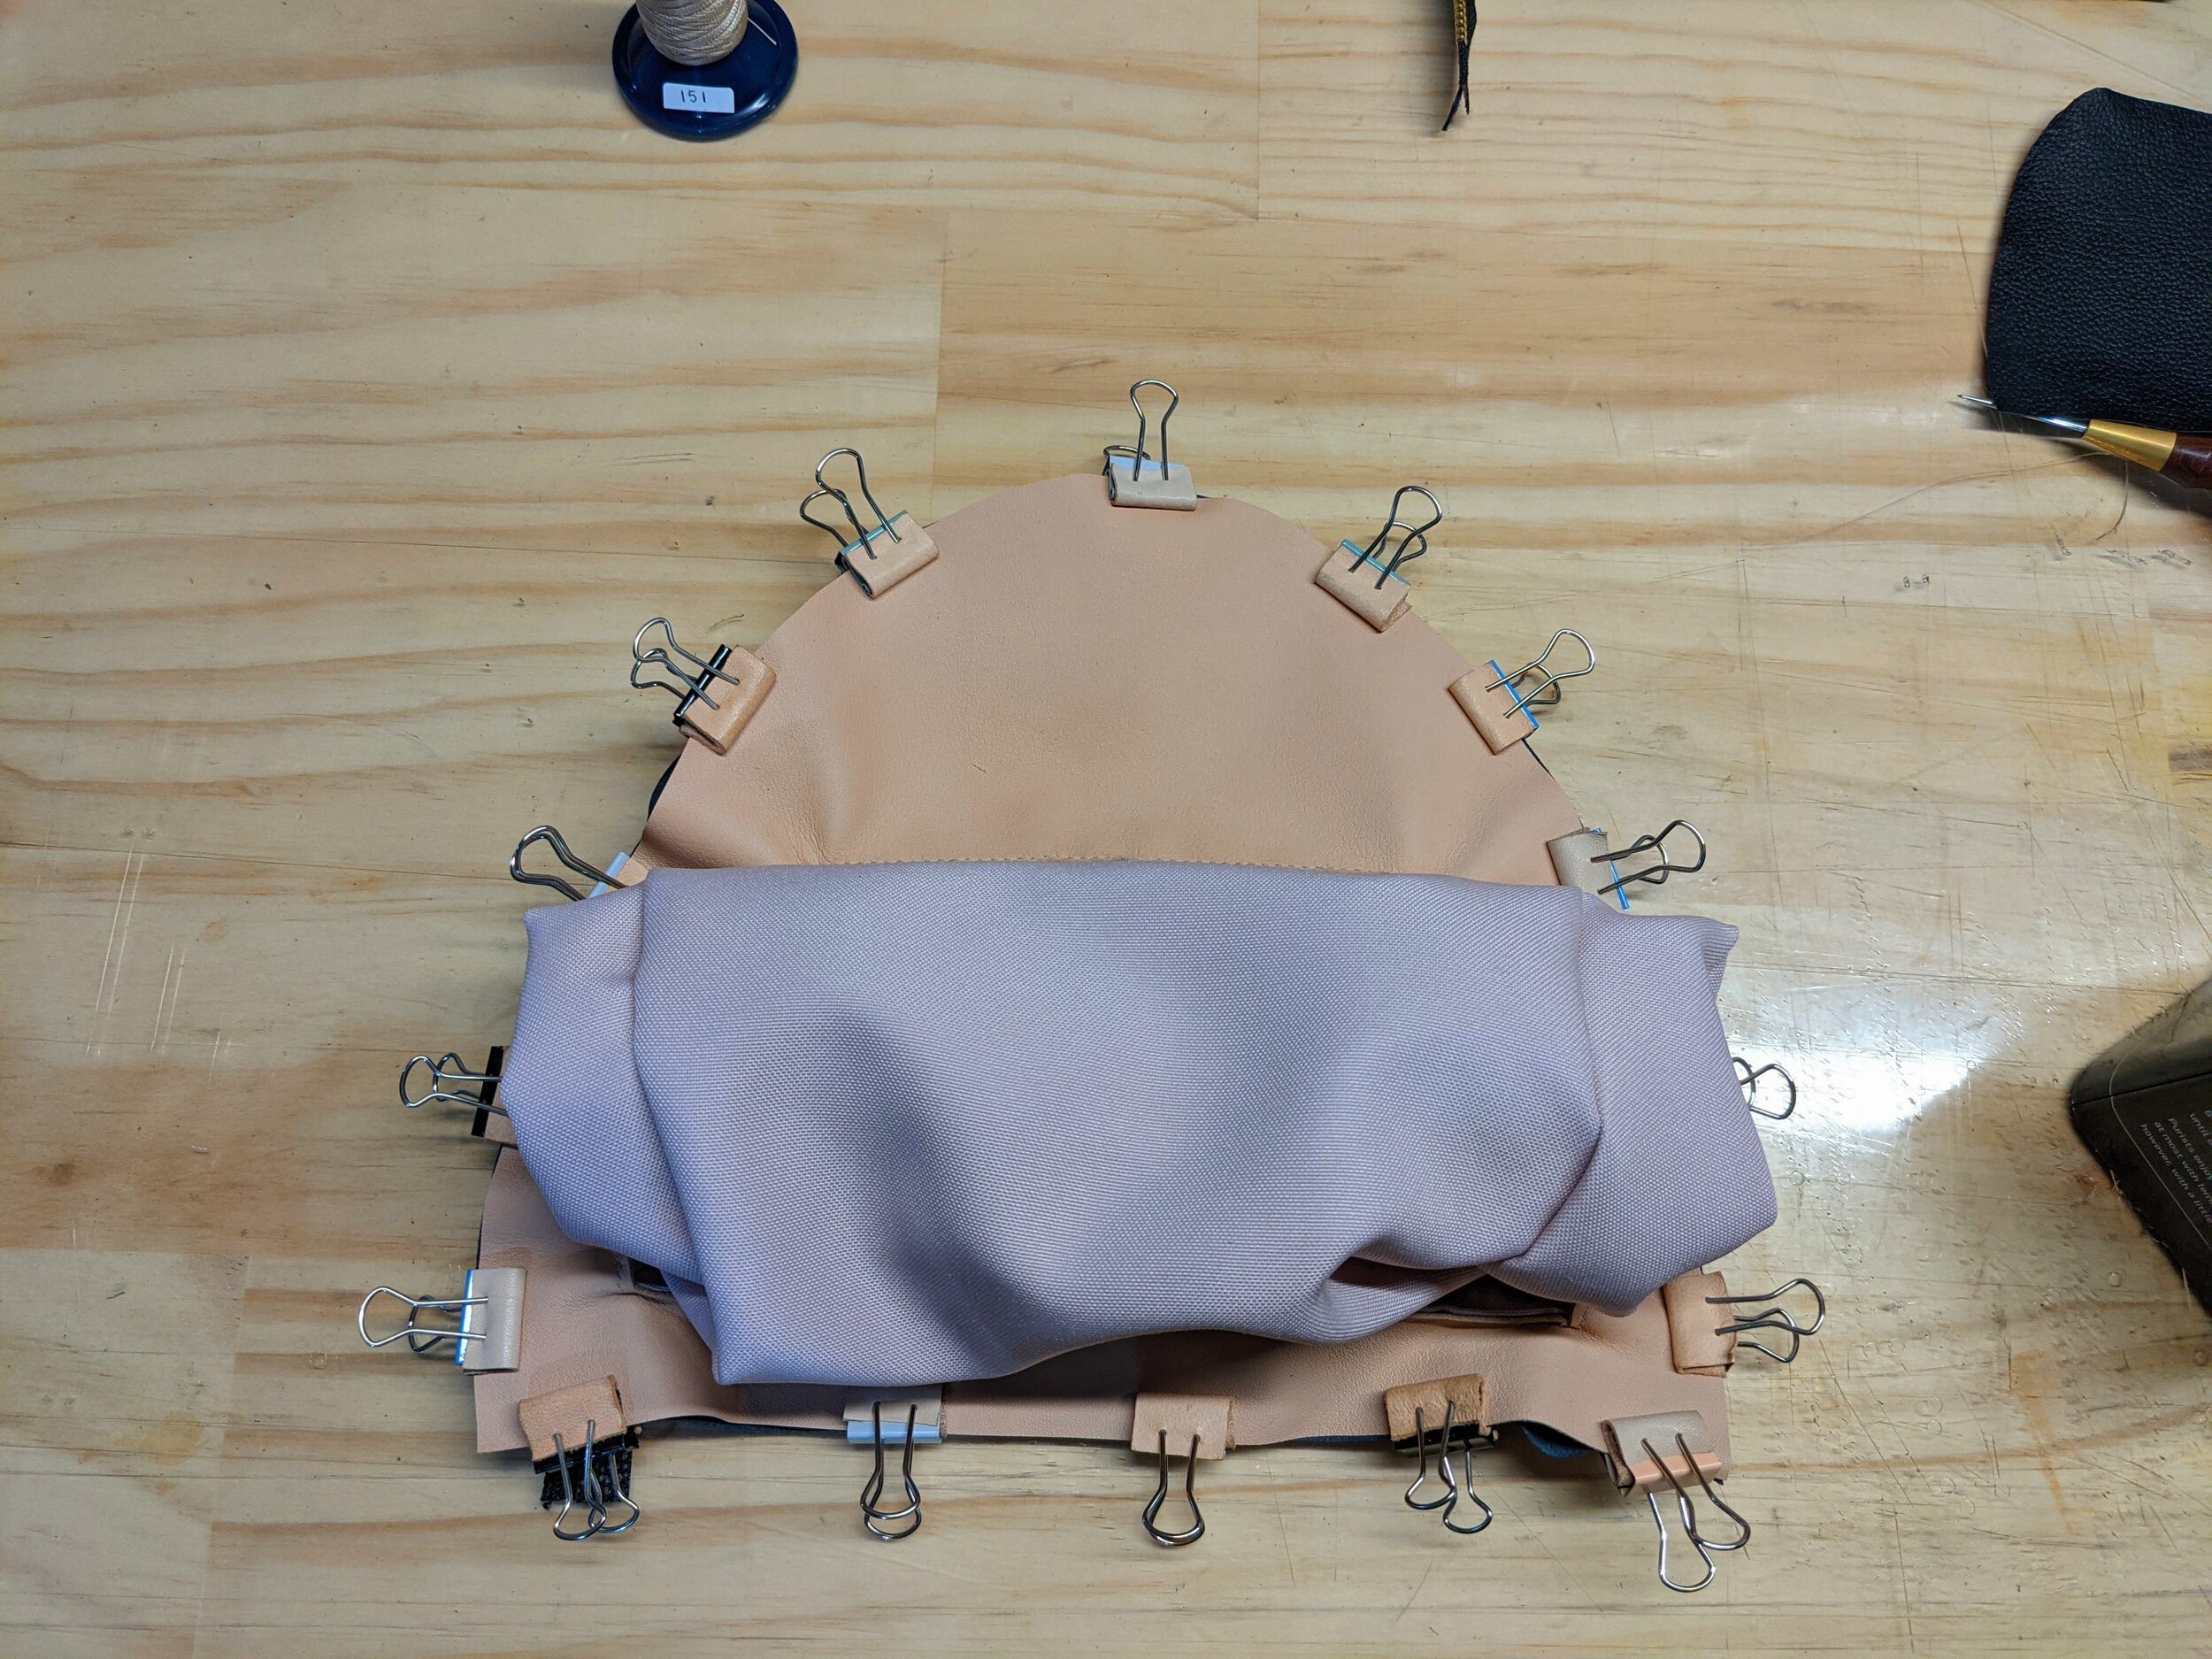
Next, it was time to finish up the liner. I folded the tops to ensure a nice clean line to line-up with the outer fabric and zip. I stitched up the sides and boxed the corners, then dropped in the liner to check the fit (liners almost always need to be taken in a little). I needed to tighten the sides a little (increase my seam allowance from 5mm to 8mm), which made the base fit relatively well.

Drop liner clipped into place. It’s finally starting to look like a bag

Liner clipped into place looks a little baggy

Bagginess of liner mostly removed, base fits much better. Outer fabric folder over the top of liner for a nicer finish.
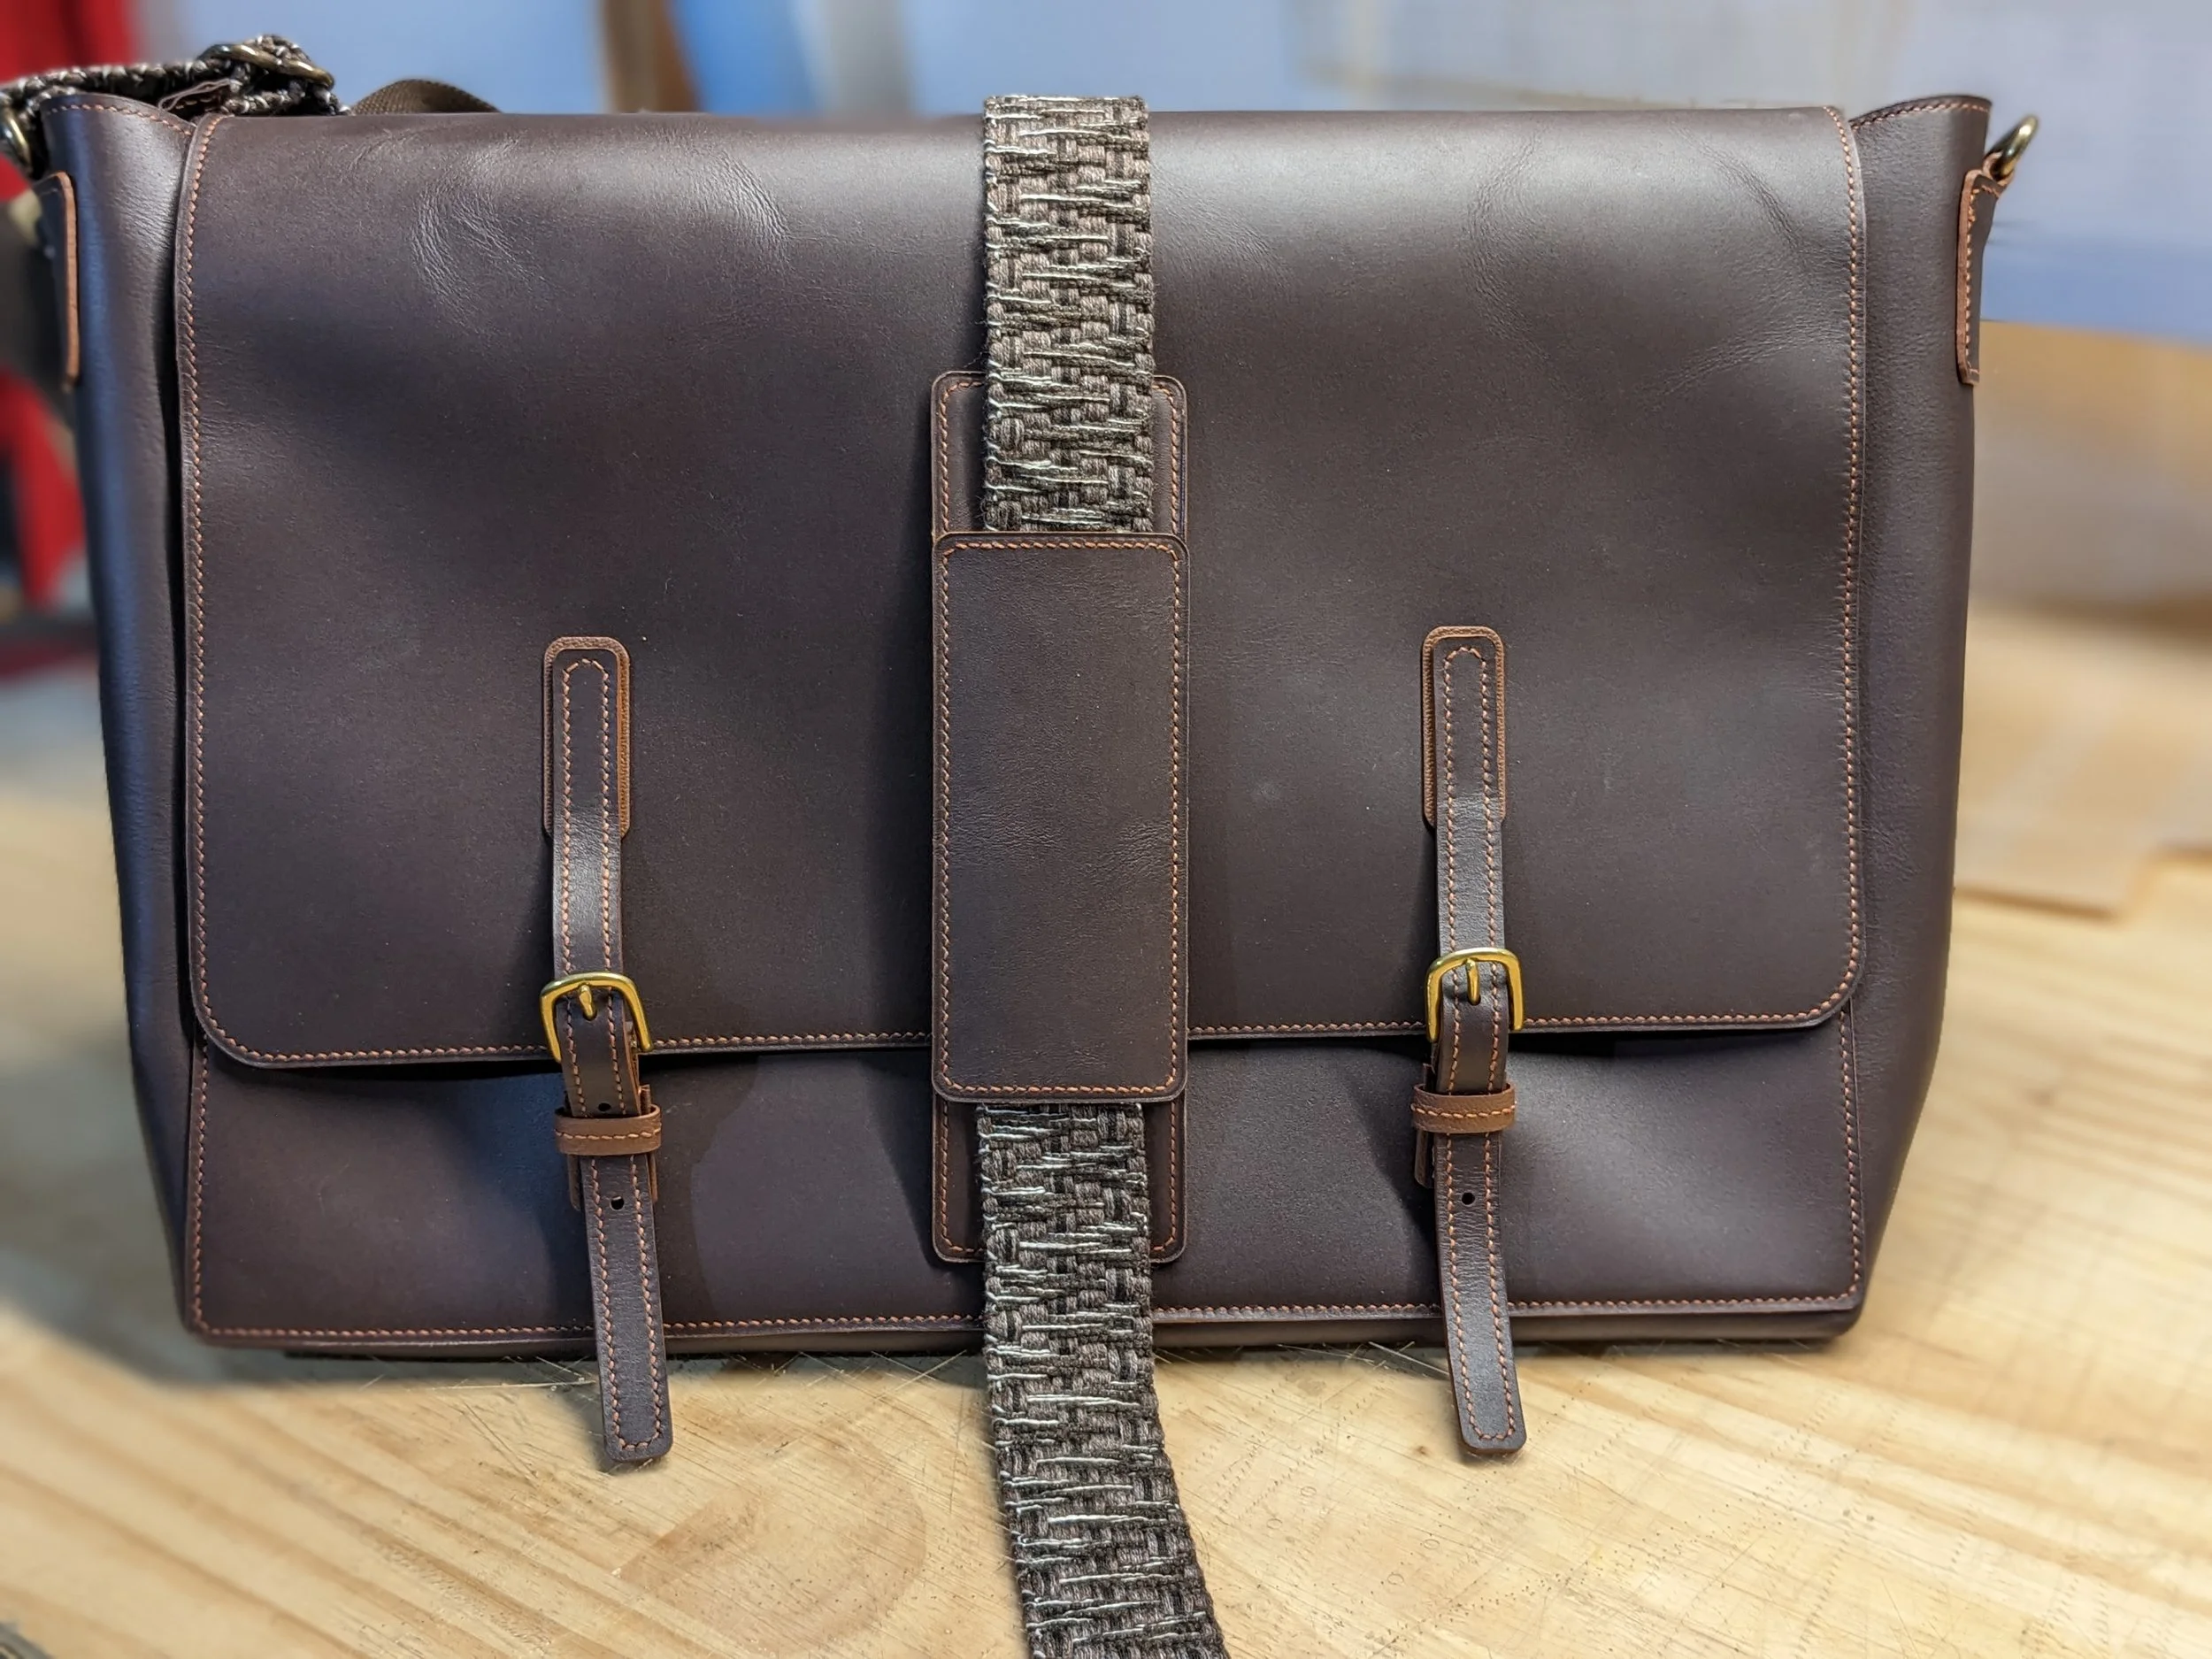
Finally it was time to sew the top zipper strips into place. This was quite tedious as I needed to stitch through leather and fabric. Leather needles would not cut it because they’re too blunt, so I needed to use sharp needles. The leather thread going through fabric also abraded the waxy coat, so I needed to use shorter thread runs. A leather sewing machine would be much better for this job, but alas I had to use the tools at hand.
Once the zipper strip was in place I put the zipper slider in and closed off the end with a stopper. Then I installed the top enchapes. I stitched these, and further reinforced them with a double-capped rivet.

Zipper strip attached, bag almost complete

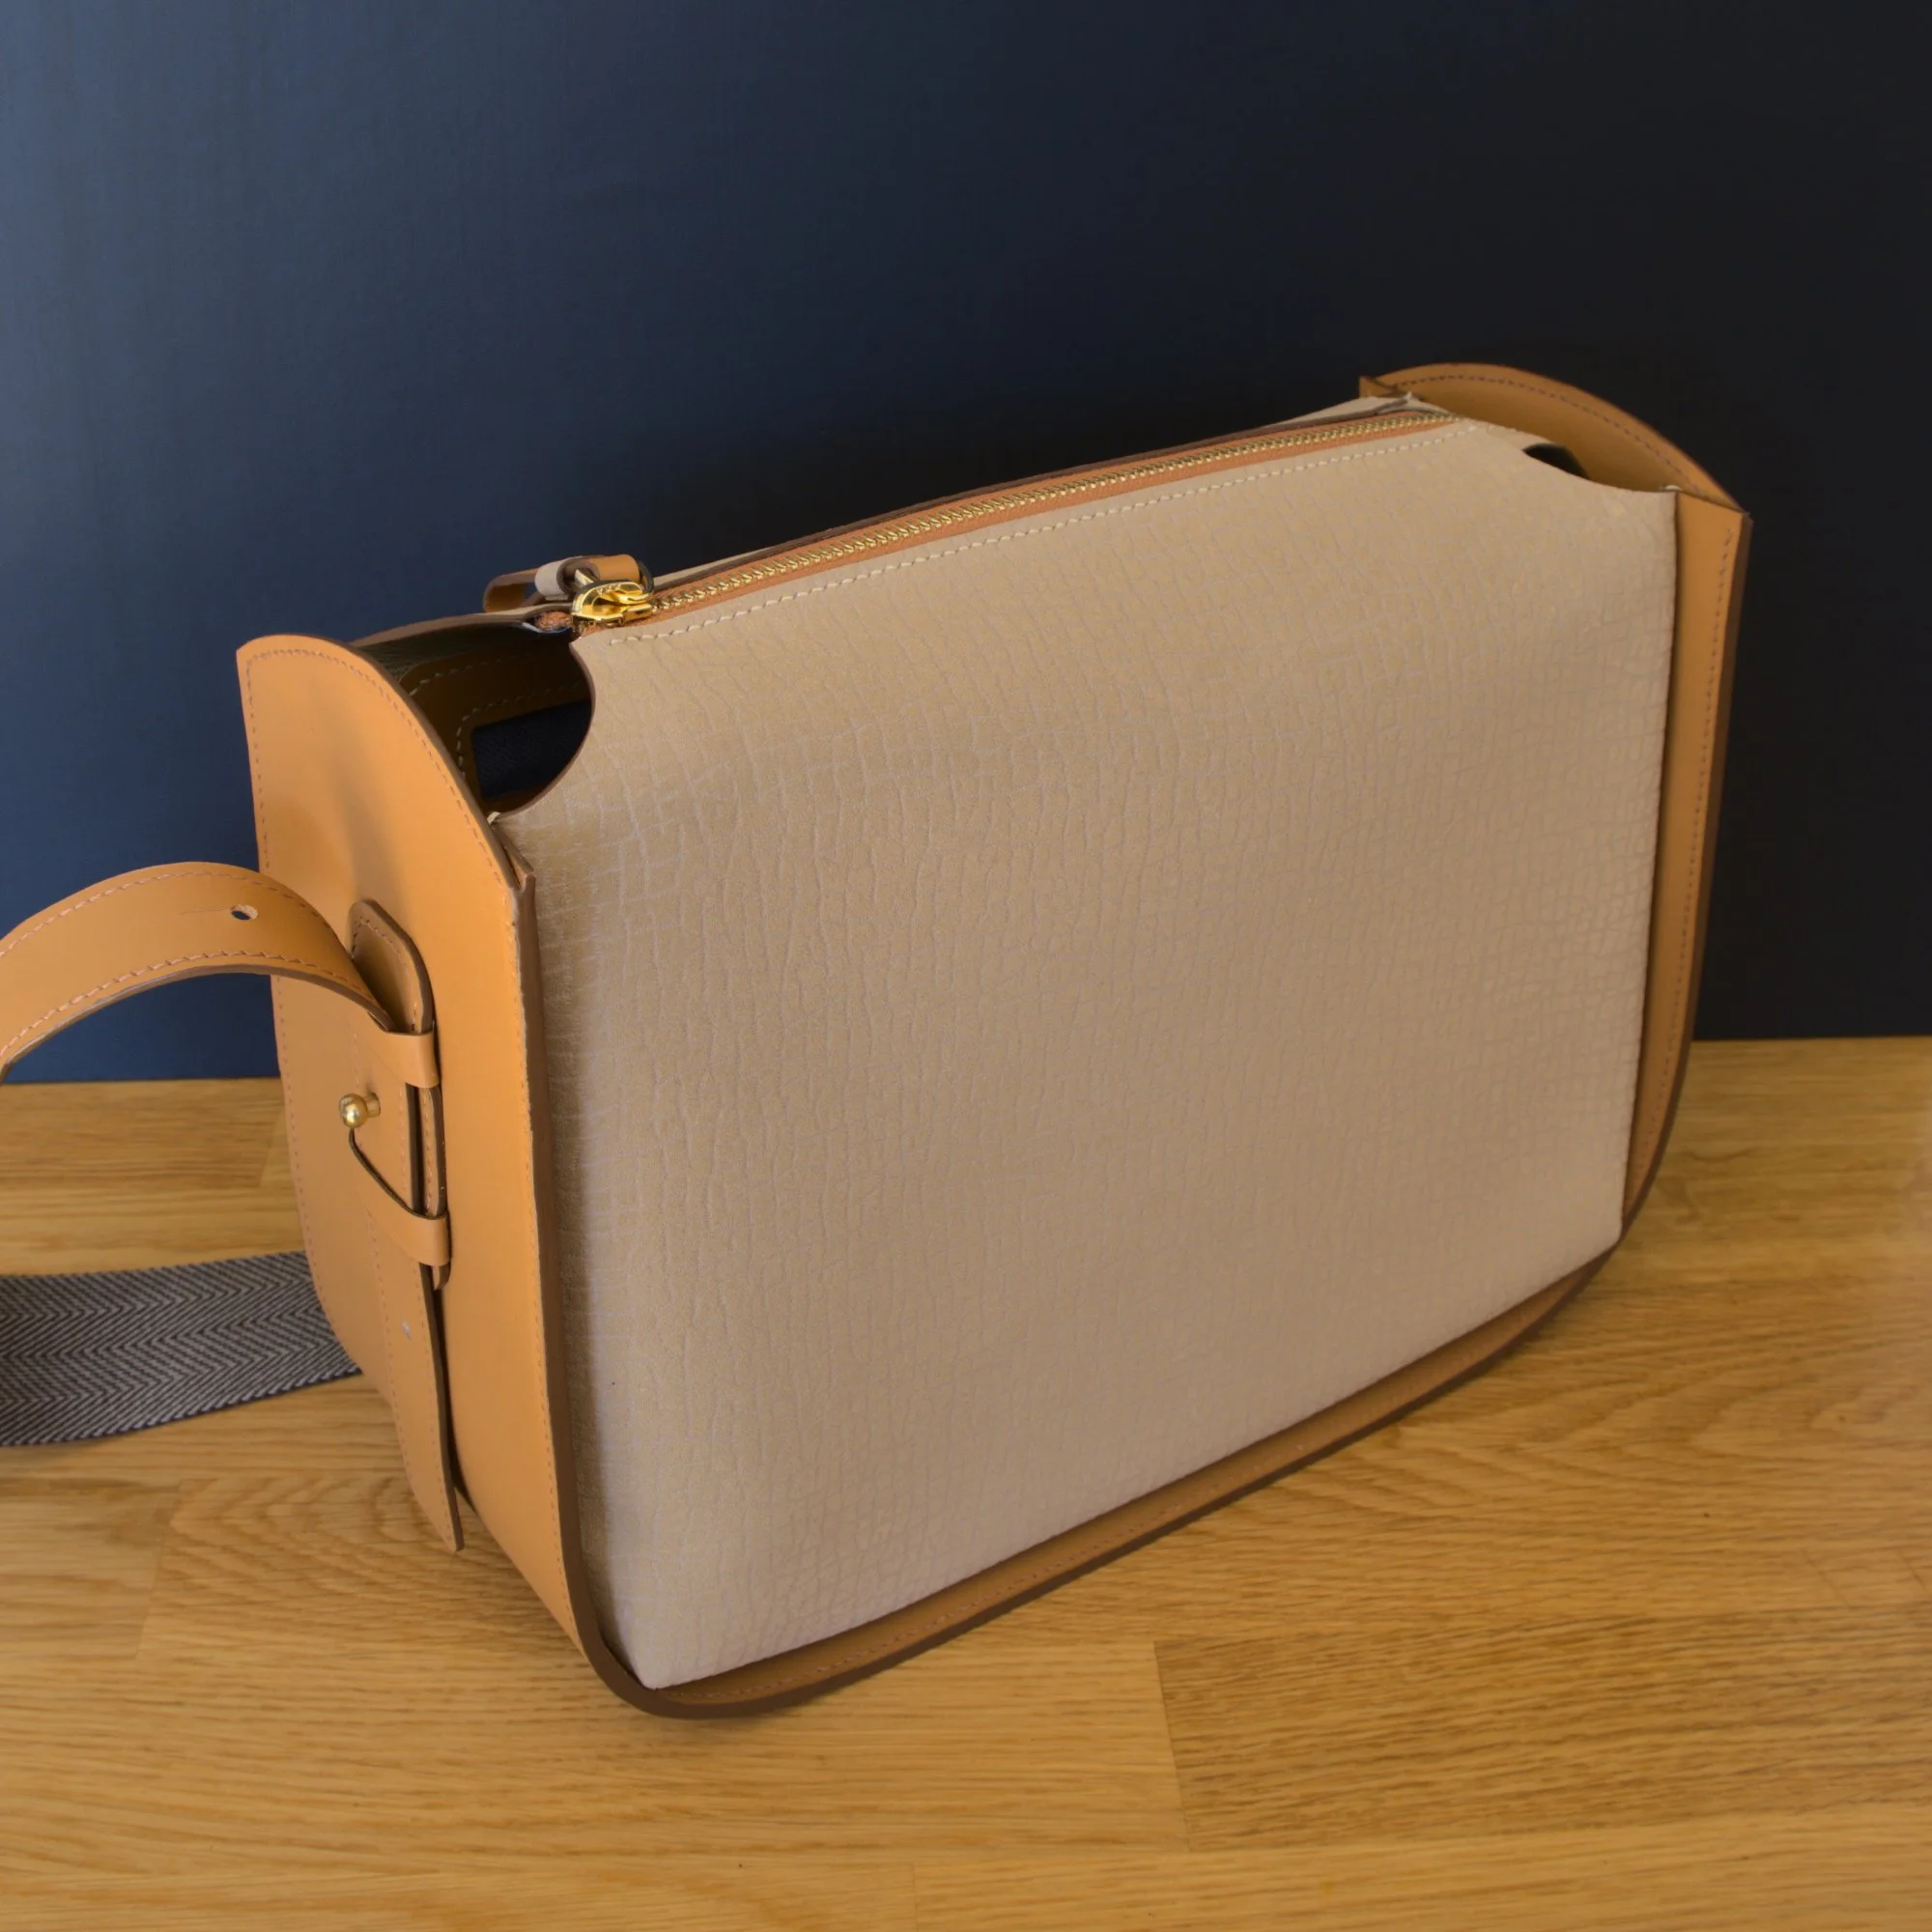
Bag in folded position
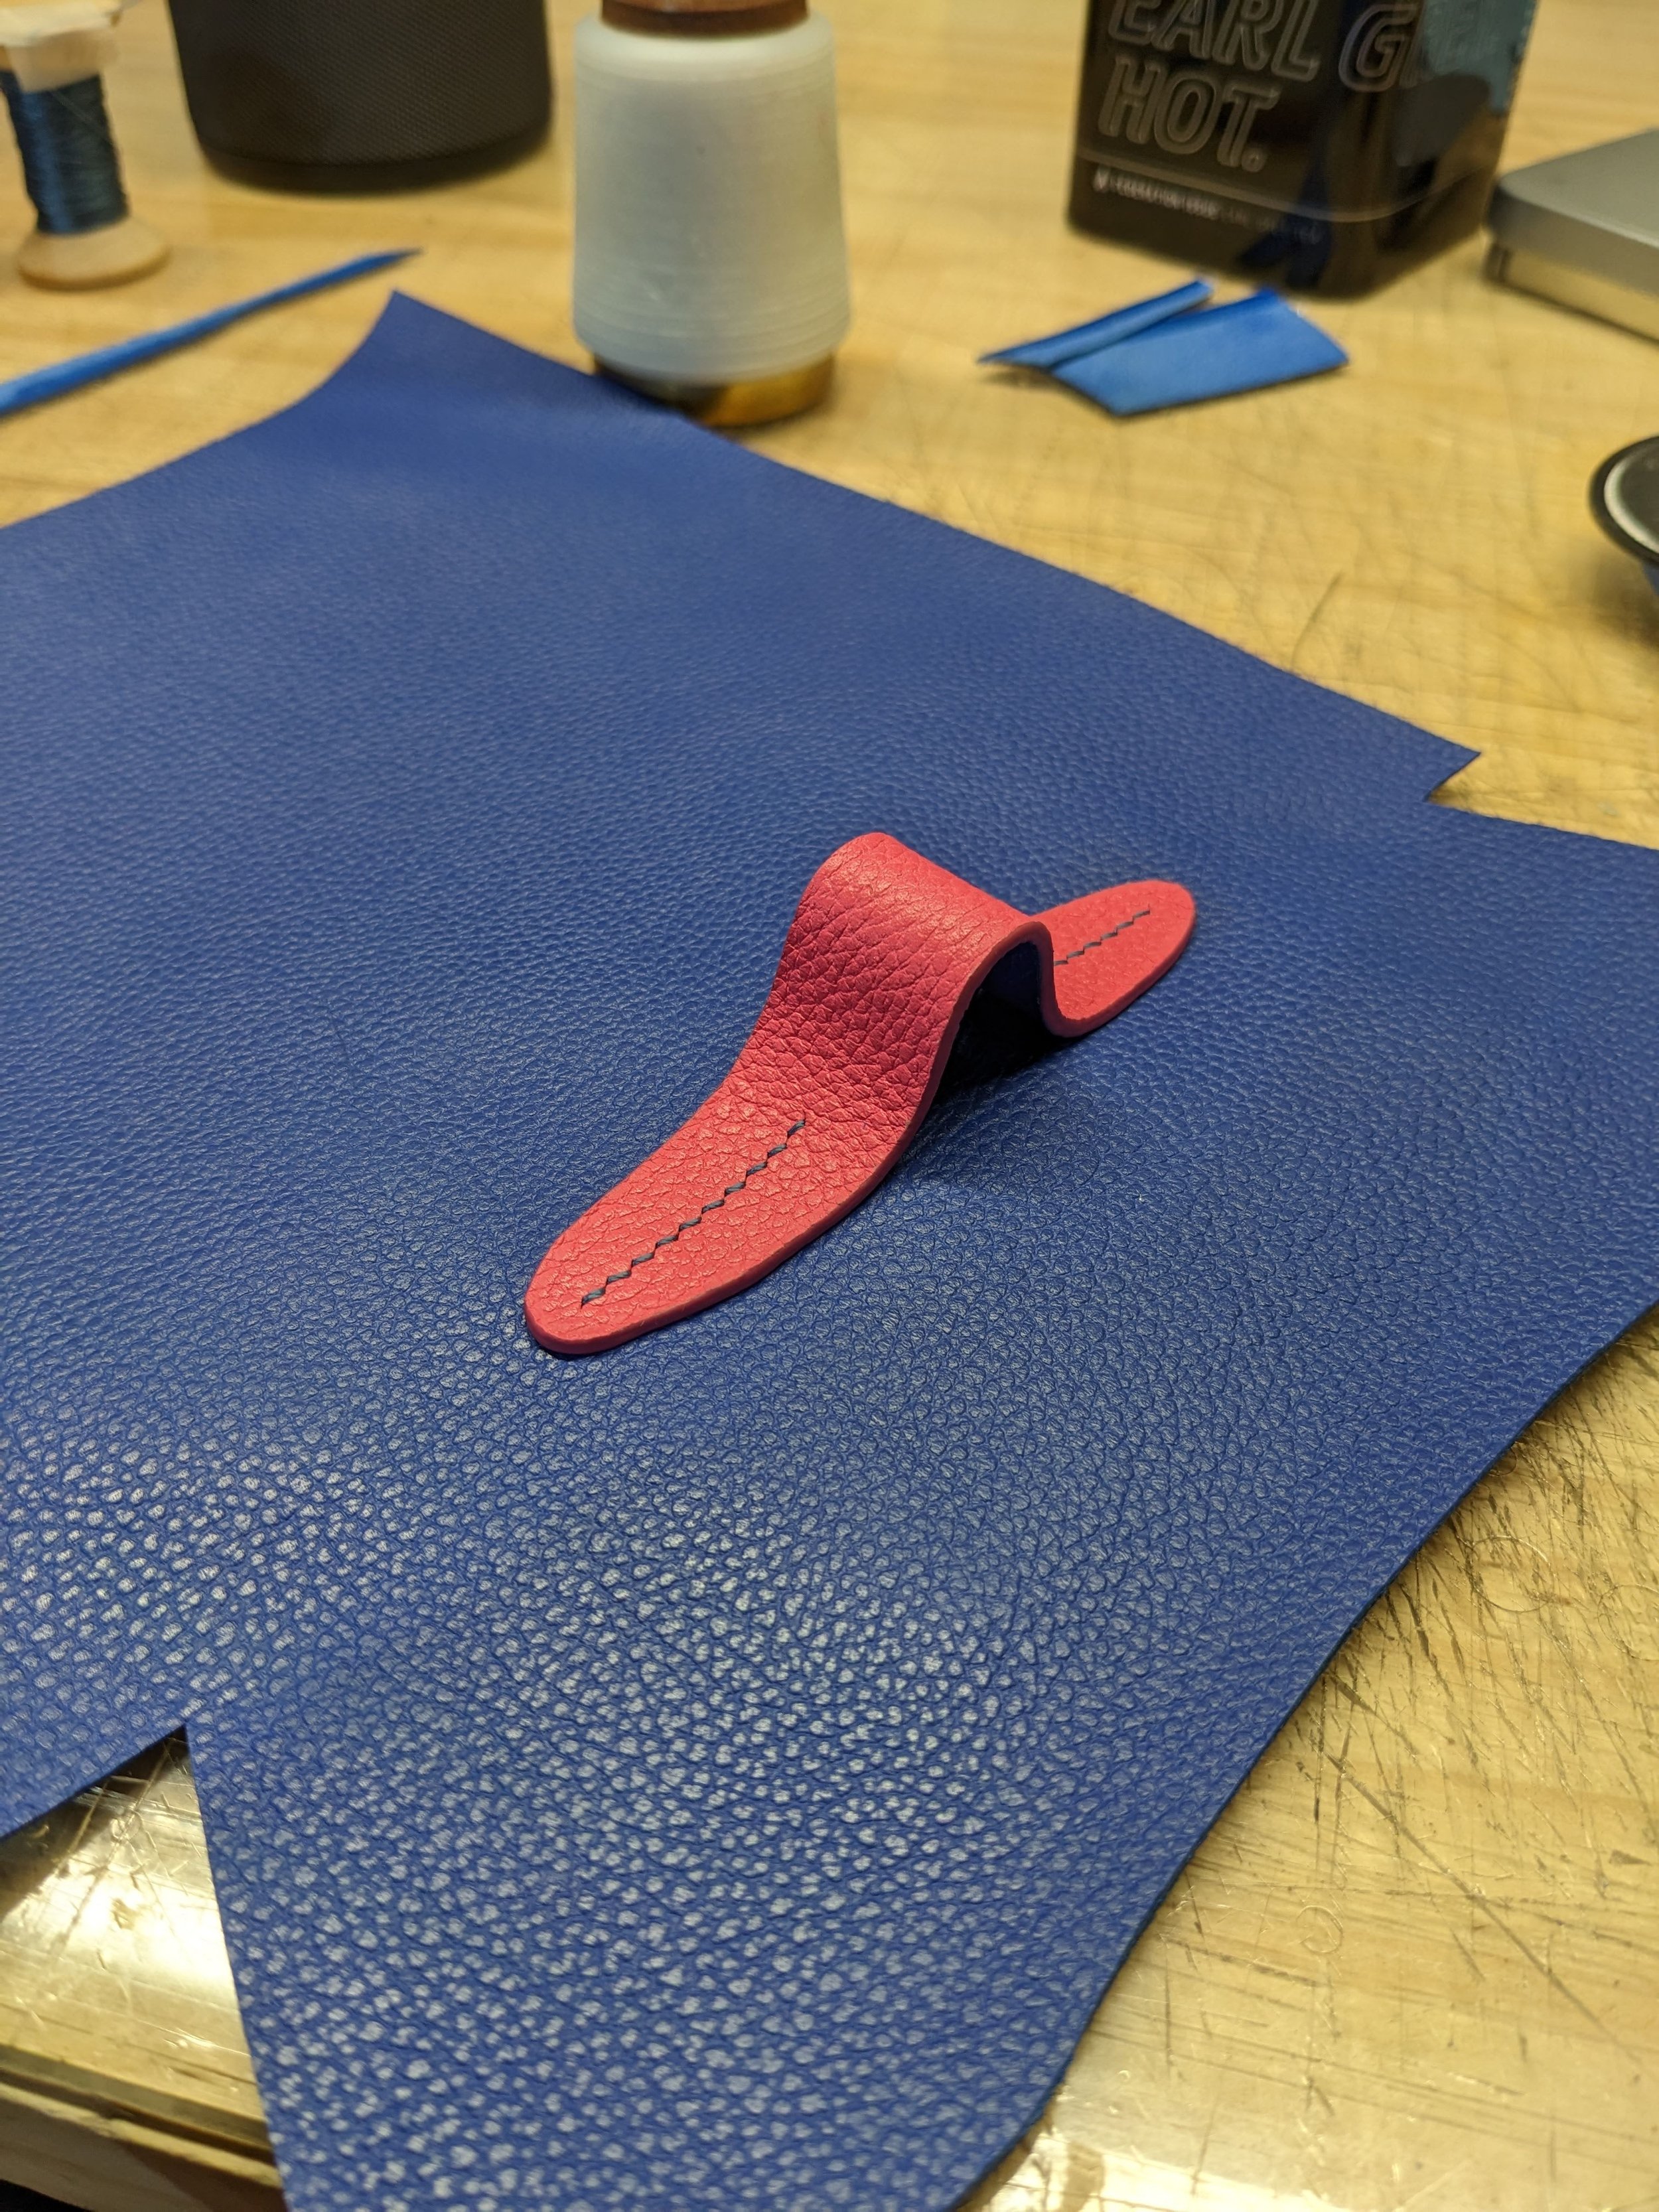
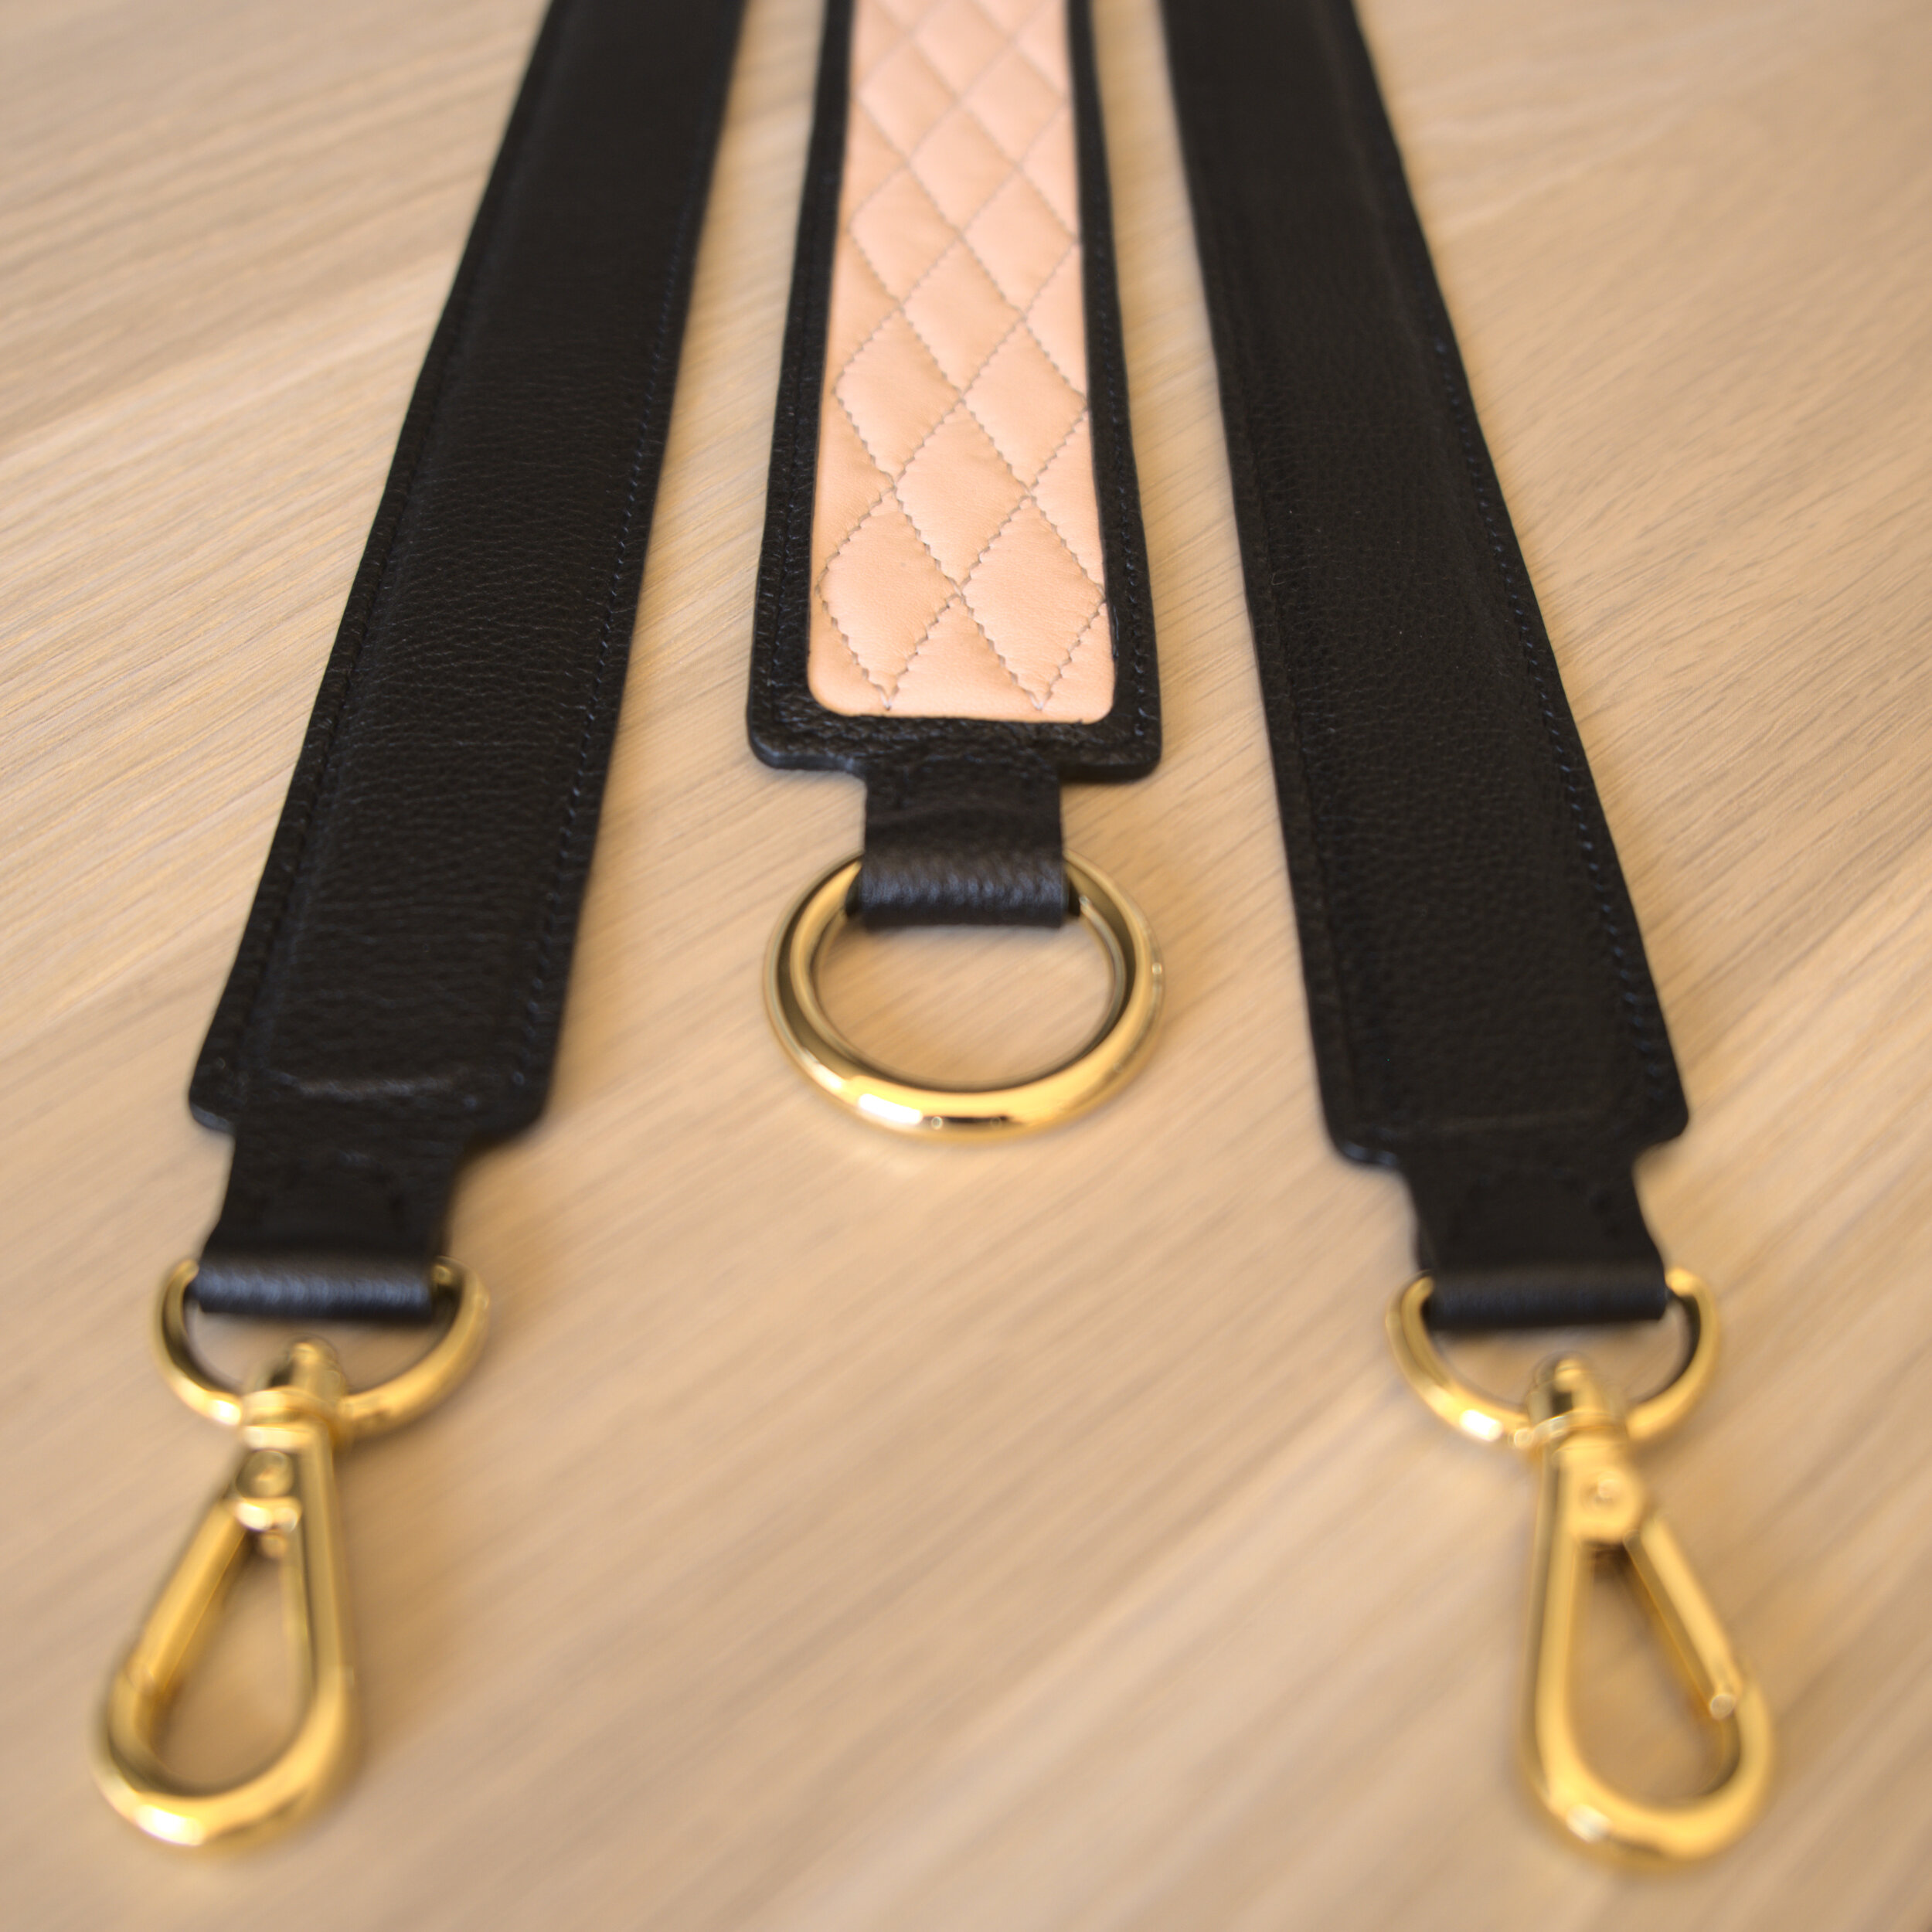
Finally I made the bag strap and zipper pulls. The strap was made primarily from fabric, reinforced with buckram. The ends to attach it to the slider and swivel snap were made from leather.

Zipper pull prototype

Zipper pull construction

Top zipper pull

Completed bag in backpack mode